How To Self-Install Breezeline Internet? [Save $99 Now]

With the new identity as Breezeline, Atlantic Broadband has expanded its services across the country. Self-installing Breezeline connection can save you $99, which the ISP charges as the professional installation fee.
Not only that, but you’d also eliminate all the pre-emptive booking and waiting. If you want to save more, get a third-party modem and router. This will keep the monthly rentals off your bill.
That said, let’s get started!
Getting Ready-Set-Install Kit
The first step toward Breezeline self-installation is raising a request for the installation kit while confirming your service plan. Once details are verified, the kit will be delivered to your address within 5 business days.
What’s included in the self-install kit?
- Gateway (rental charges apply)
- Power cord
- Ethernet cable
- Coax cable
- Installation instructions manual
How To Self-Install Breezeline Internet?
Setting up Breezeline internet is a straightforward process. To keep it smooth throughout, let’s get all the connections in order before powering the device.
1. Plug in the Connections
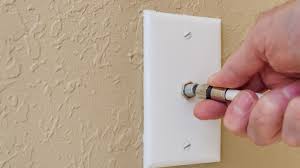
Step 1: Look for an active coaxial wall outlet in your home. If you find multiple wall outlets, look for the one in the most central location with easy access to power slots or switches.
Step 2: After the outlet is finalized, plug one end of the coaxial cable into it. Ensure the connection is tight.
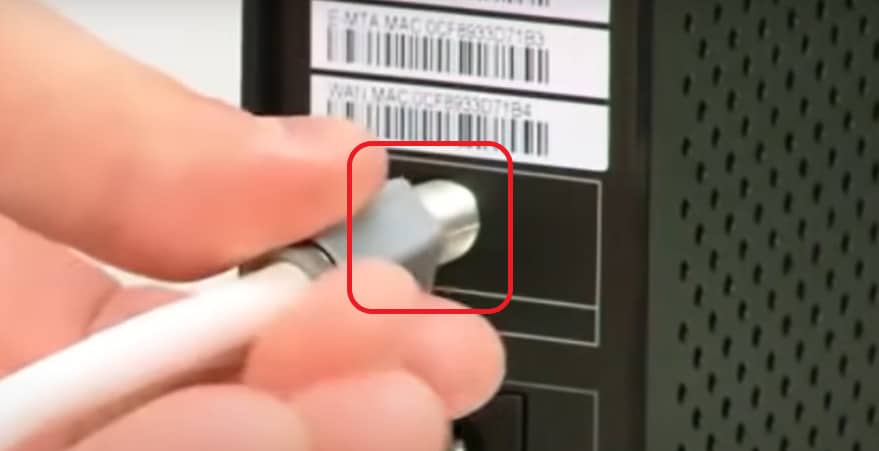
Step 3: The opposite end goes into the Breezeline gateway.
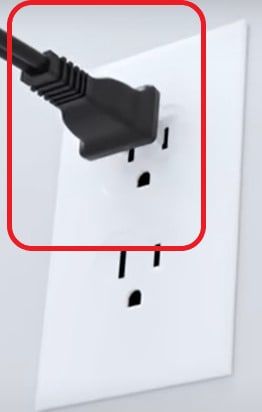
Step 4: Take the power cord and plug it into the wall.
Step 5: The other end goes into the gateway.
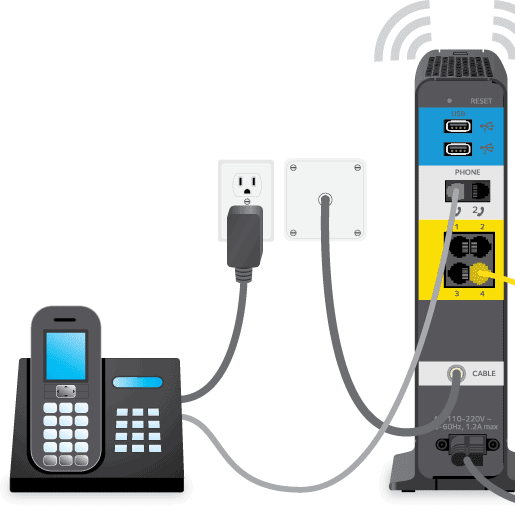
Step 6: Power up the device and wait 10-15 minutes until the LED lights stop blinking. If you have connected the phone, you’ll notice the corresponding LED lights blink when you power the device.
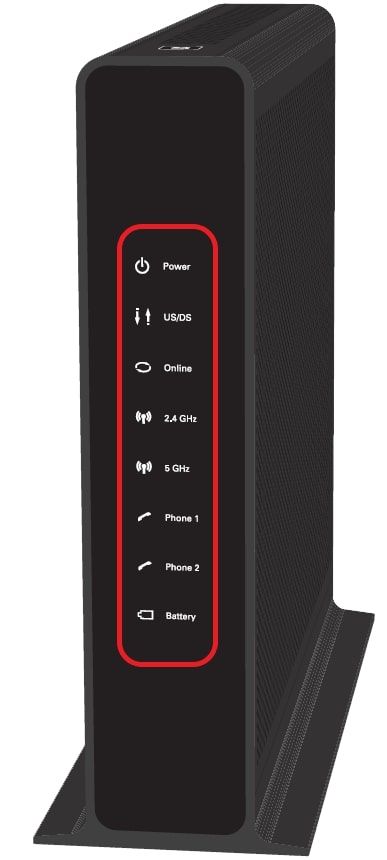
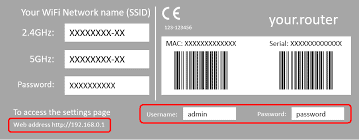
Step 7: Once the lights are stable, you can connect to the WiFi using the default credentials found on the gateway device.
2. Steps for Customer-Owned Equipment
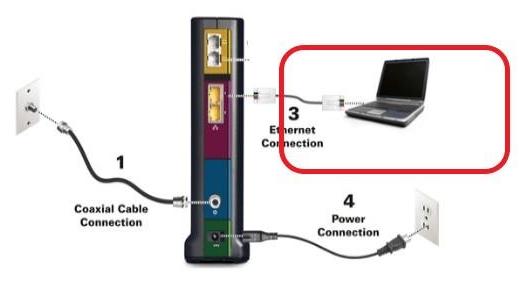
To make the connection wireless, connect the coaxial cable from the wall jack to the modem’s coaxial port, as highlighted in the picture above.
Next, connect a modem to the router using an ethernet cable. Then proceed to the WiFi setup.
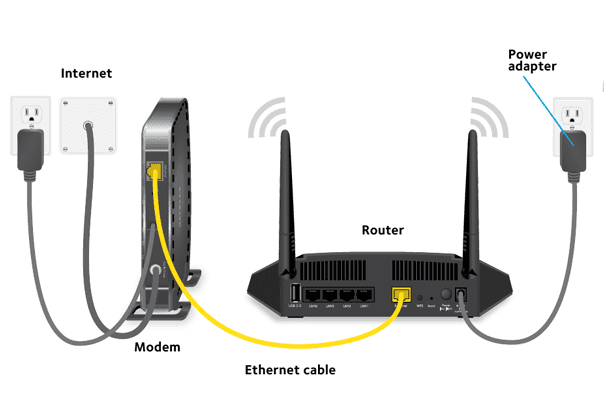
How to Connect a Modem
3. Change WiFi Name and Password
Step 1: If you are using the Breezeline gateway, open a web browser and type in 192.168.0.1, key in the “user” name, and log in.
Step 2: Navigate to the “Wireless” Menu and Choose “Security”
Step 3: In this section, you’ll notice the respective SSID and password for the 2.4 GHz and 5 GHz bands. You can change the default credentials to easily identifiable ones. Don’t forget to click save.
Step 4: If you are using your own router, you can find the login URL and default username/password in the label. The steps to change the password remain the same.
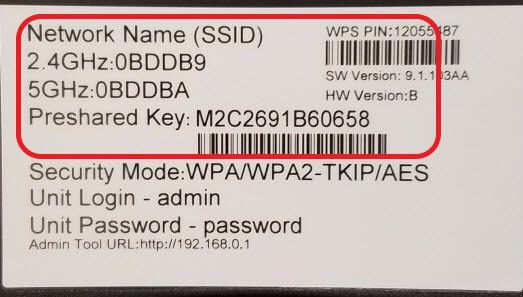
4. Connect Devices & Perform a Speed Test
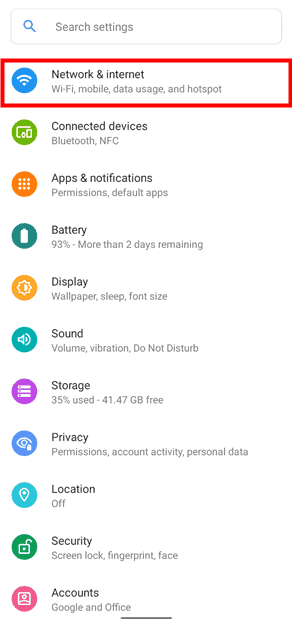
Step 1: You can now use devices and connect to the network. Go to Settings and look for Network and Internet. Click on it.
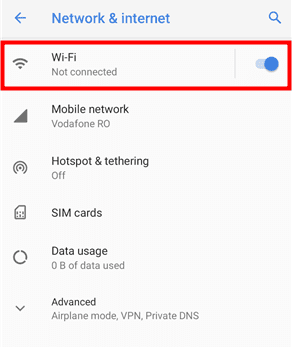
Step 2: Turn on the WiFi toggle button.
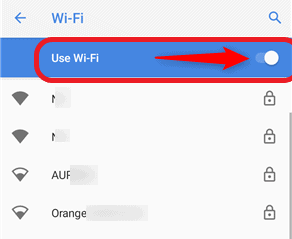
Step 3: Look for the new SSID in the list and connect.
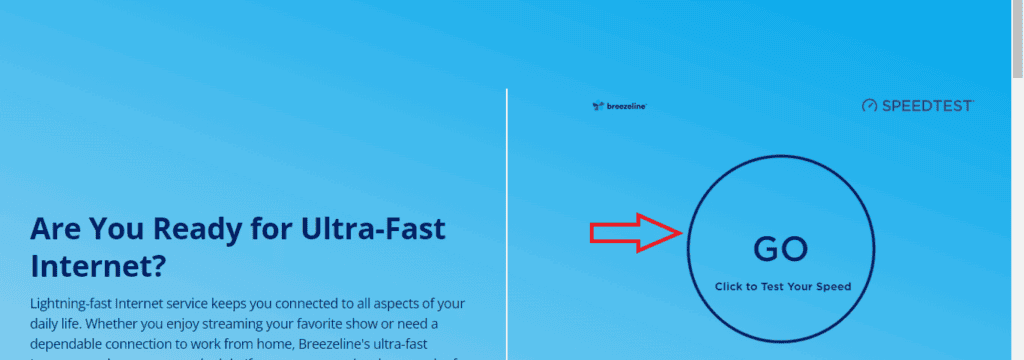
Step 4: Open the browser and visit.
Step 5: On the right side of your browser, click on the Go button. The Breezeline speed test result shall give you download and upload rates available to you.
Self-installation vs Professional Installation
- The professional installation from Breezeline internet will set you back by $99. While installing Breezeline internet on your own takes some effort, but it costs you nothing. Order the kit, wait for the equipment, and get it done.
- With a professional setup, pay the $99 Breezeline installation fee, book an appointment with the technician, and be available at home. You can’t leave your kids to fill in for you. But with a self-install, you can complete the setup at your convenience.
- If you are new to all the networking stuff and paranoid about it, you can book the professional install, wait and get things done without moving a finger. You’re paying for their full-fledged onsite support. You get none of that when you install Breezeline, aka Atlantic Broadband, on your own, except the customer support via telephone.
👉Related:Self Installation Guides for Other Major Internet Providers
Frequently Asked Questions
Can you install Breezeline’s internet on your own?
Yes, you can. When subscribing to the internet plan, choose a self-installation option. Alternatively, call customer care and inform them you don’t want to opt for professional installation. They’ll send you a Ready-Set-Install Kit within 5 business days, and you can activate your Breezeline internet yourself.
How to activate a modem on Breezeline?
Unlike activating the modem on Xfinity, you need not register or activate the Breezeline modem on their network. All you gotta do is connect the cables and follow the instructions explained above.
How to return Breezeline equipment?
If you use your own devices, you can raise the equipment return request online. Acquire a prepaid UPS shipping label from the UPS portal by filling out the details. Pack them in a box and drop them off at the local USP store or at a collection point.
Can you use your modem with Breezeline internet?
Yes, Breezeline allows you to use your own modem with their internet service. Although you should be wary of the compatibility before getting a third-party modem. You should note that Breezeline doesn’t offer technical support for customer-owned modems.
How long does Breezeline installation take?
Right from fixing the connections to completing the Breezeline internet setup takes around 30-45 minutes, even for a network novice.
How to reach Breezeline support?
You can contact Breezeline support through their online chat or phone at 1-844-579-0697.
Conclusion
Breezeline modem setup comprises simple steps. Right from fixing up the cables, you can complete the Breezeline modem activation and have the internet firing up in less than 40 minutes.
