How To Connect Blink Camera To WiFi? [Easy Step]

Blink Camera is known for its easy installation and reliable performance. To take advantage of its features, it’s crucial to connect the device to your WiFi network. But, how? Don’t worry, in this article, I’ve listed down the steps for both connecting a device to a new WiFi network or changing WiFi.
Requirements
But there are some things to keep in mind before going ahead with the setup process:
- Ensure that the batteries are inserted.
- Choose optimal camera placement.
- Create a Blink account.
- Install the Blink Home Monitor app.
- Make sure that the Wi-Fi signal is strong and steady.
How To Connect Blink Camera to WiFi?
You can connect your Blink Camera to Wi-Fi by following these step-by-step instructions:
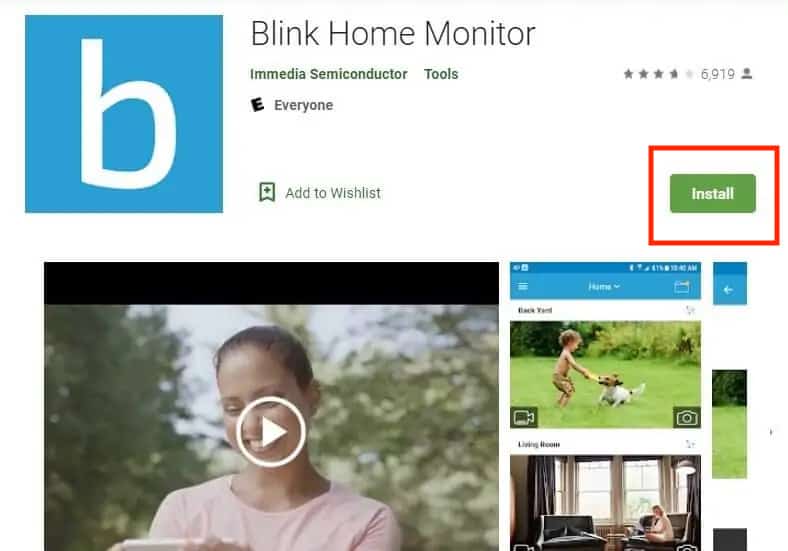
1. Download the Blink app
Download the Blink app on your phone, which is available for both iOS and Android devices.
2. Create a Blink account
If you don’t already have a Blink account, create one within the Blink Home Monitor app. Provide the required information and complete the account setup process.
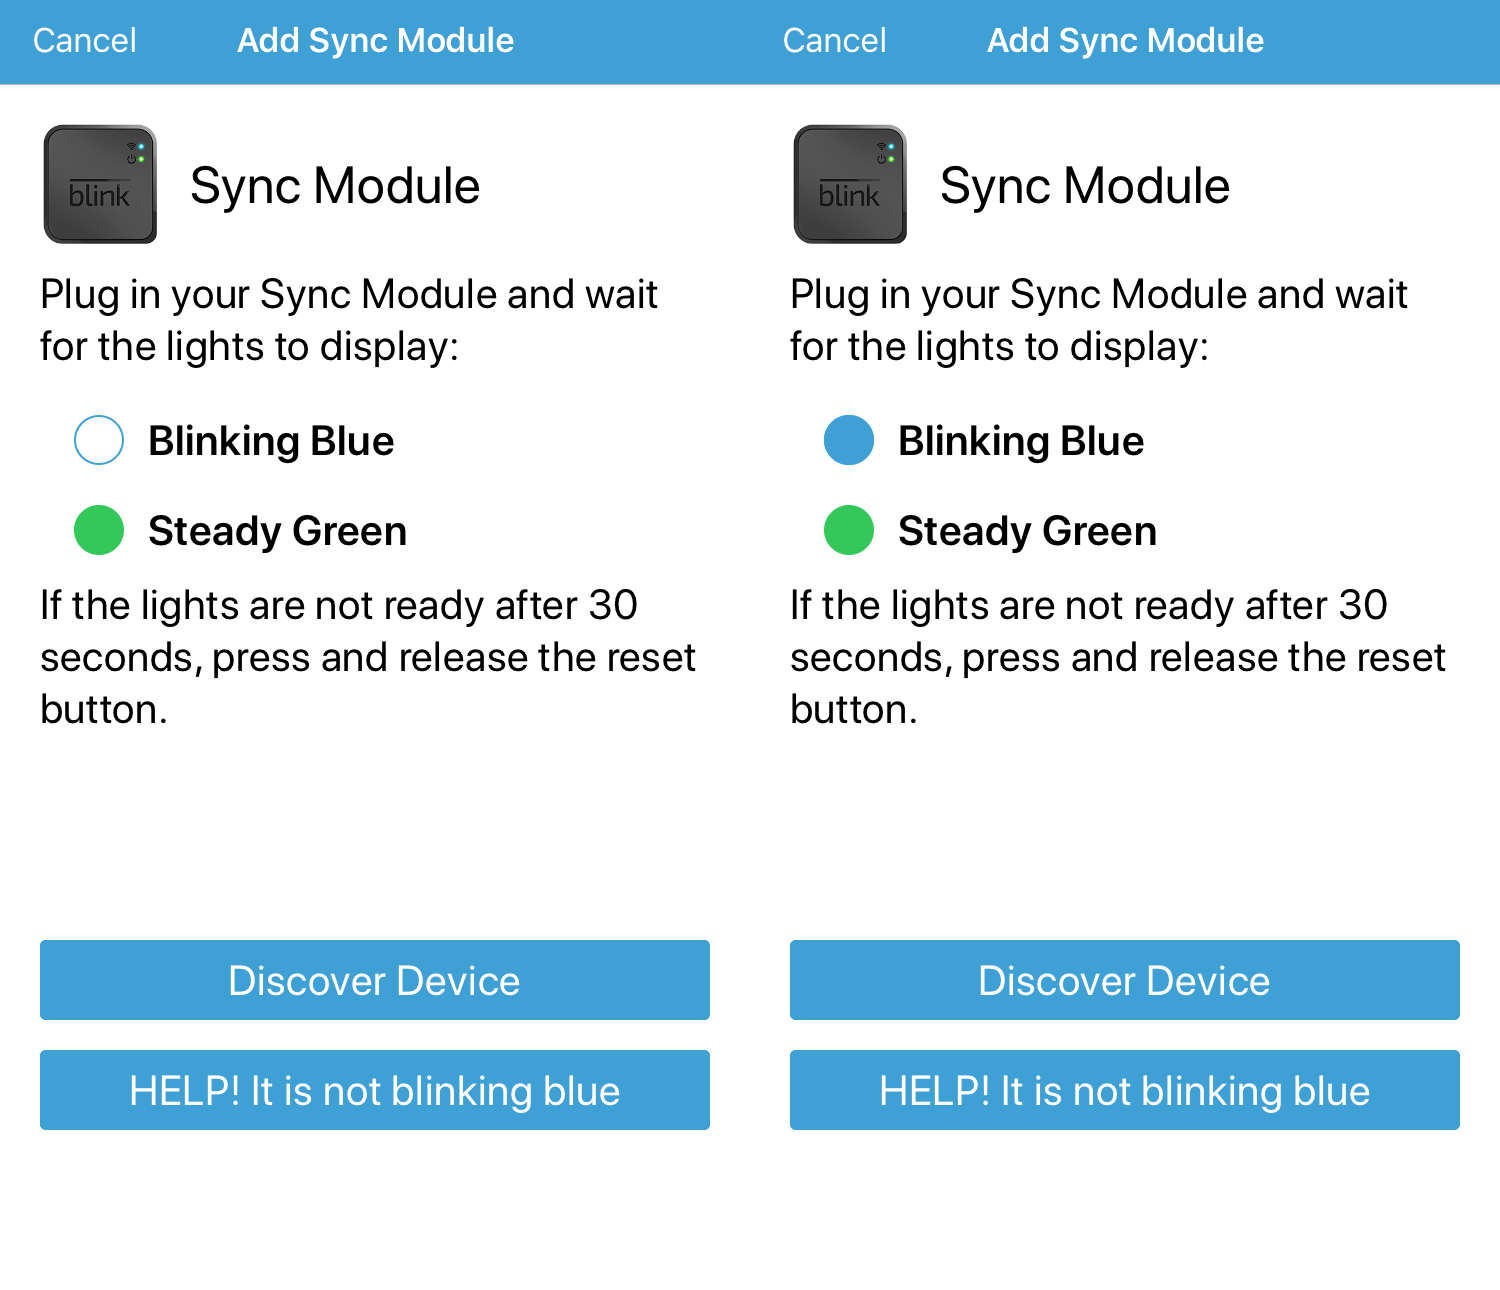
3. Install your Blink Sync Module
Plug the Sync Module into a power outlet using the USB cable and power adapter provided and wait for the lights to display blinking blue and steady green light.
Make sure the Sync Module is within range of your Wi-Fi router, if it’s not, then you should consider getting a WiFi range extender for the Blink Camera setup.
4. Power on your Blink camera
Your Blink camera should have a red light. Press and hold the Sync button on the camera for 5 seconds until the light turns blue.
5. Connect the Camera to Wi-Fi
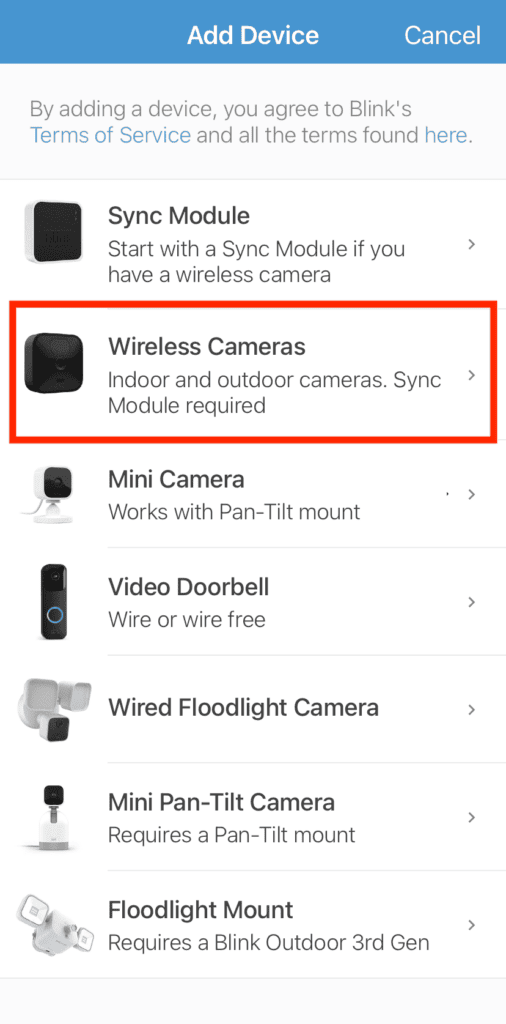
In the Blink app, tap the ”+” icon located in the top left of the screen. Then, select “Add Device” and choose “Blink Wireless Camera System.”
6. Scan QR code
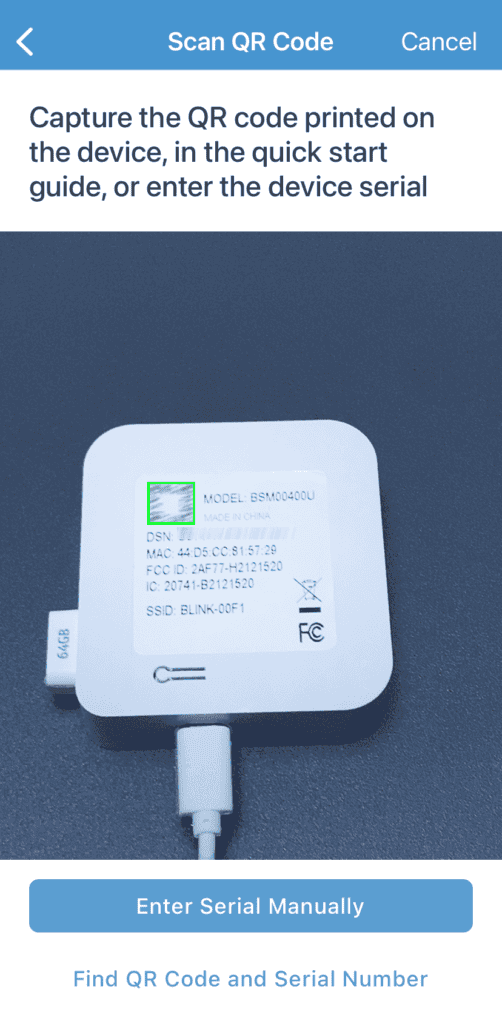
Scan the QR code located on the back of your Blink camera. Once you have scanned the QR code, the Blink app will find your camera and add it to your system.
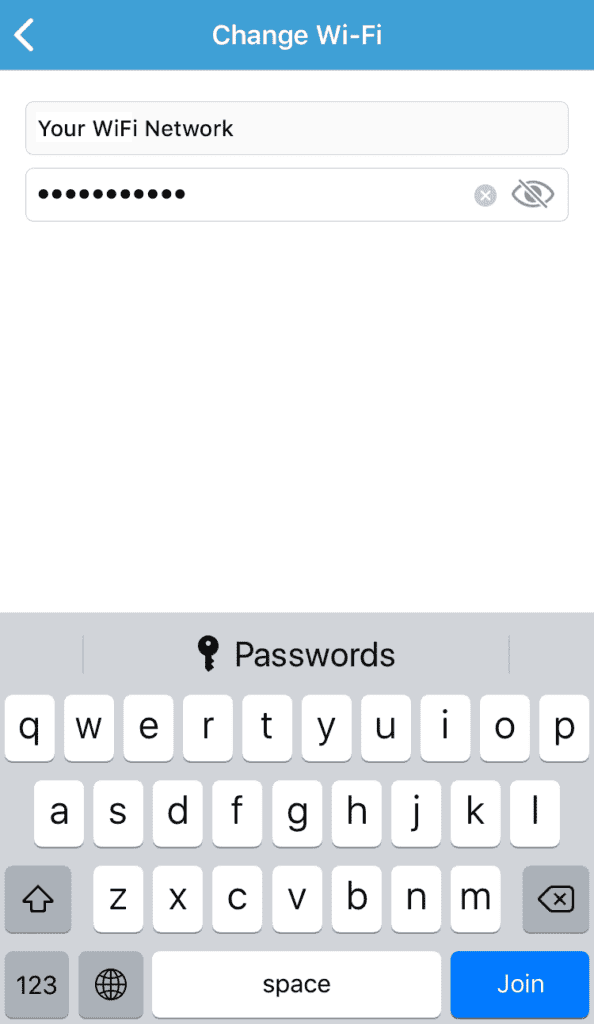
7. Enter your WiFi credentials
The Blink app will ask you to enter your WiFi network password. Once you have entered your password, the Blink camera will connect to your WiFi network.
8. Test the connection
Open the Blink Home Monitor app and access the live view of your camera to verify that the connection is working properly.
Congratulations! Your Blink Camera is now successfully connected to Wi-Fi. You can customize its settings, set up motion detection, and start monitoring your home through the Blink Home Monitor app.
How To Change WiFi on Blink Camera?
To change the Wi-Fi network on your Blink Camera, follow these step-by-step instructions
Step 1: Launch the Blink Home app on your smartphone and tap on the Sync Module.
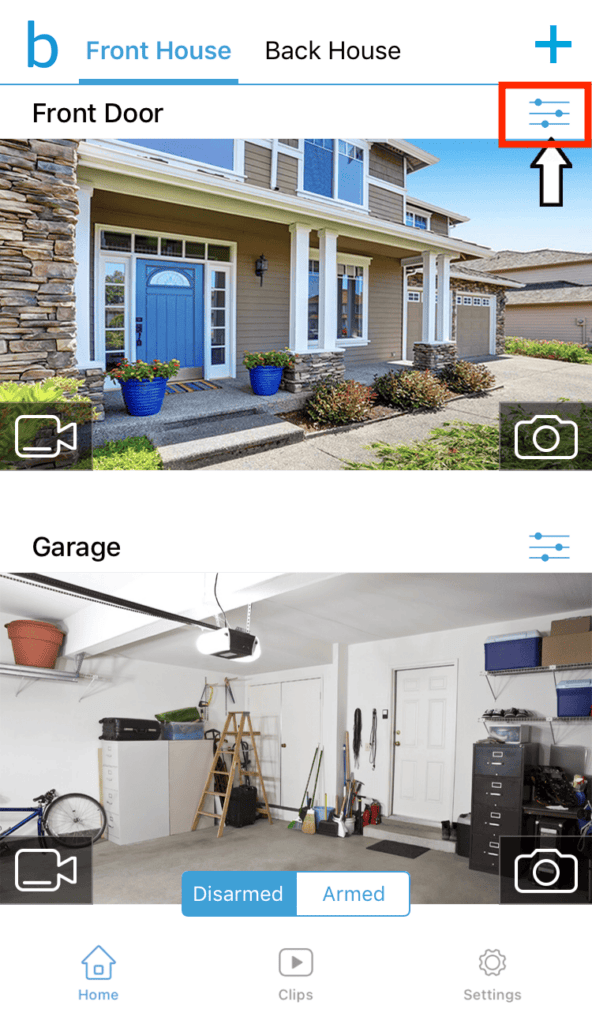
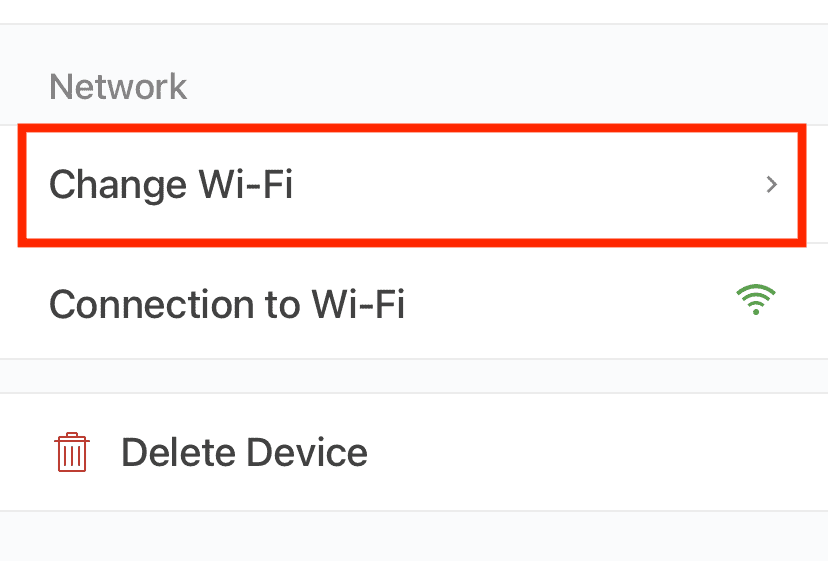
Step 2: Now select the Change Wi-Fi Network option.
Step 3: When you access the Wi-Fi change screen, you’ll notice a green light that remains steady and a blinking blue light located above it.
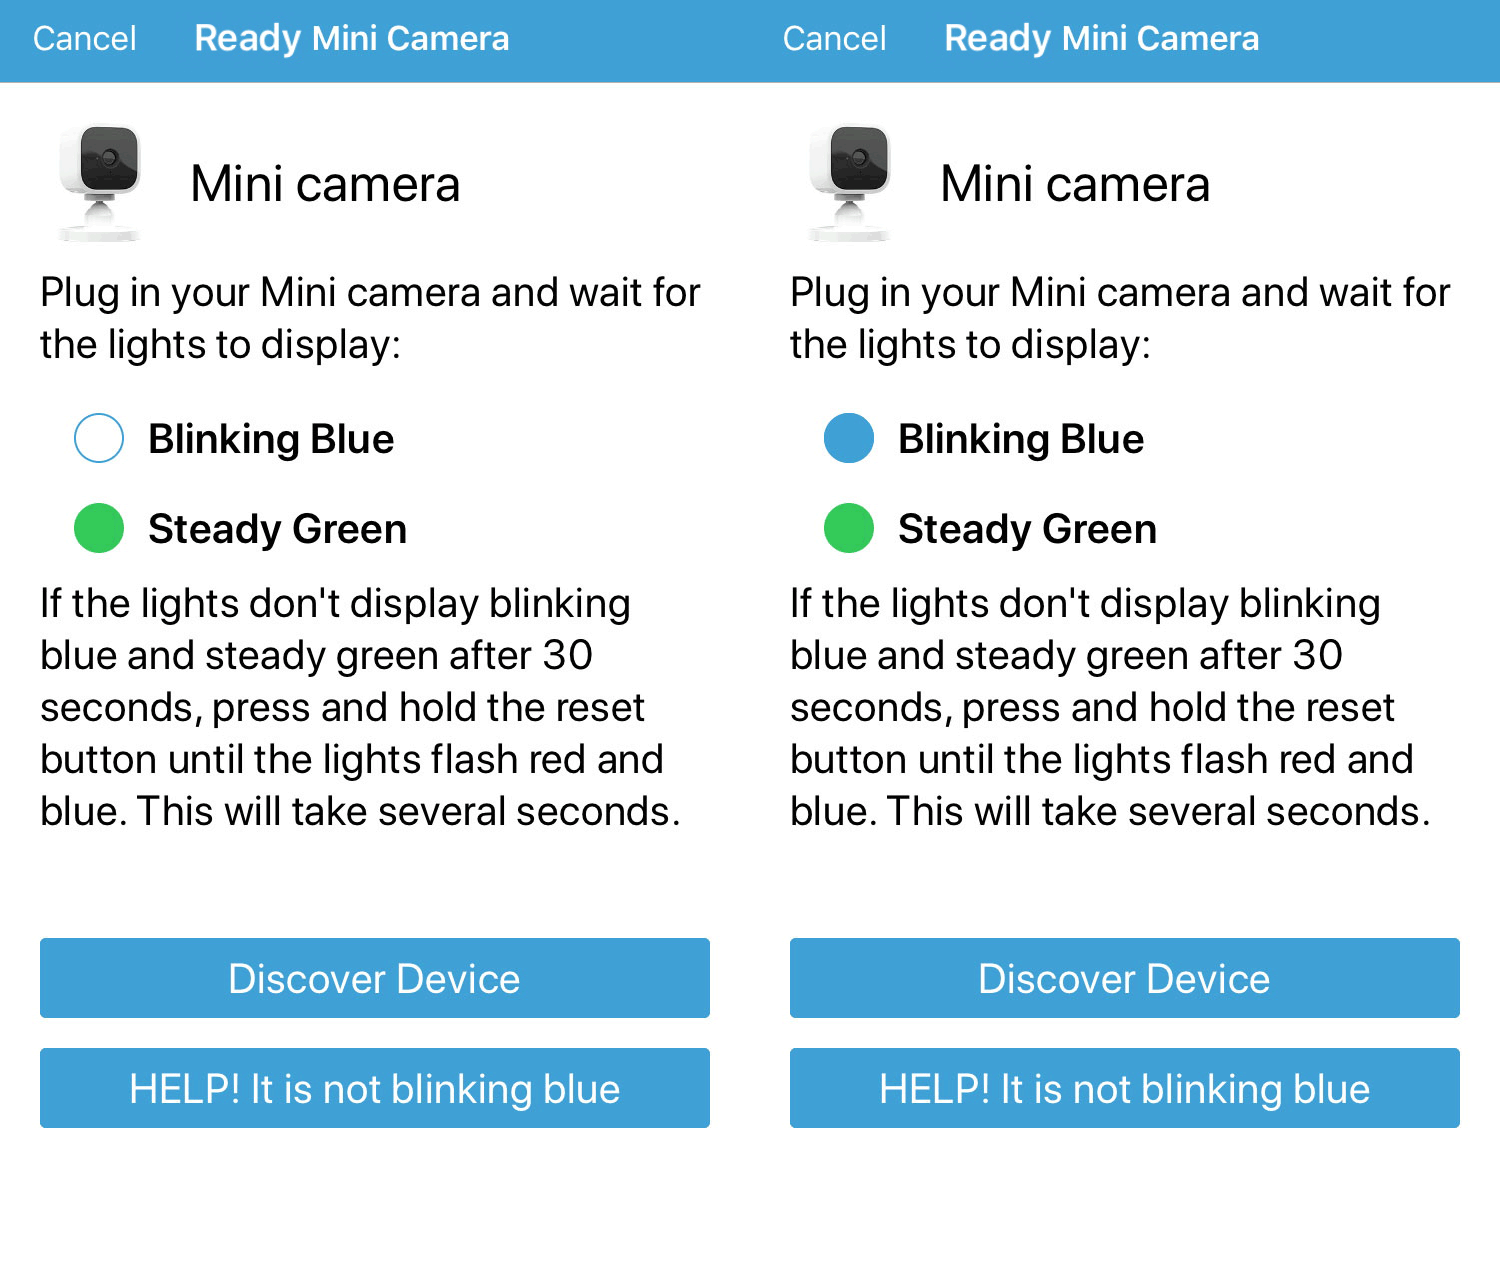
Step 4: The Blink app will ask you to press and hold the reset button on your Blink camera.
Step 5: Press the button firmly until you feel a click, and continue holding it until one of the LEDs changes to red.
Step 6: Then, release the button.
Step 7: Once the lights on the device display a blinking blue light and a solid green light, tap on “Discover Device.”
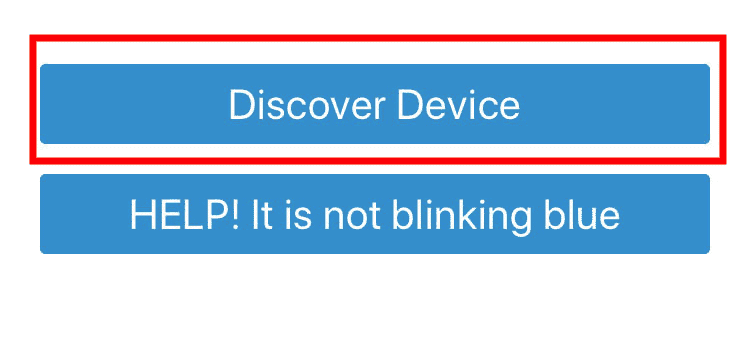
Step 8: This action prompts a prompt asking you to join the temporary Wi-Fi network of the Sync Module.
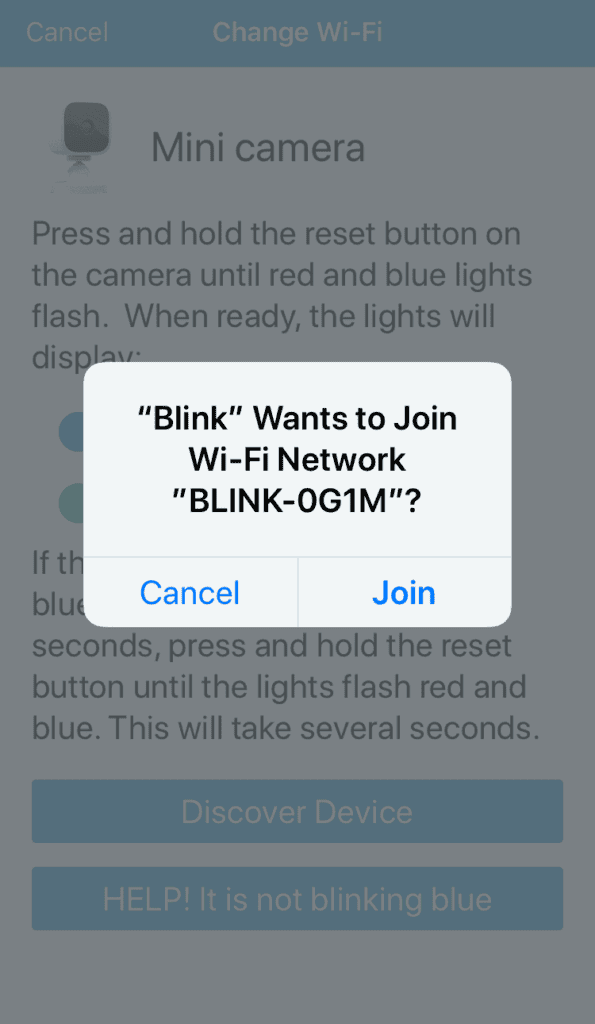
Step 9: Tap on the “Join” option and then choose your Wi-Fi network from the list of available choices.
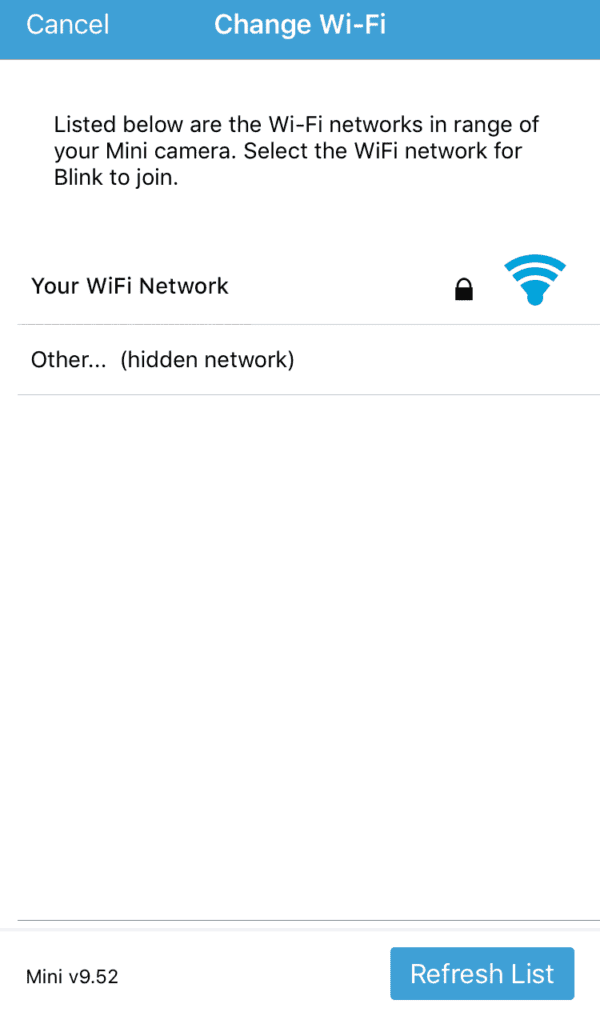
Step 10: Enter your Wi-Fi credentials and select “Join.”

Your system is now ready to be used as usual.

Connected? What To Do Next?
After successfully connecting your Blink Camera to Wi-Fi, it’s essential to test the connection to ensure everything is working correctly. Open the Blink Home Monitor app and access the live view of your camera. Check if the camera feed is clear and stable, and confirm that you can receive motion alerts and access other camera features.
Troubleshooting:
If you encounter any issues with your Blink Camera’s connection, here are some common troubleshooting steps:
- Blink Sync Module Not Connecting to WiFi: If your Blink Sync Module is not connecting to WiFi, make sure that the Sync Module is plugged into an outlet and that it is within range of your WiFi router. You may also need to restart your router and your Sync Module.
- Blink Camera Drops Wifi: To troubleshoot frequent Wi-Fi connection drops with your Blink Camera, start by resetting the sync module and cameras. If the problem persists, check the signal strength and ensure the camera is within a 100-foot range from the router.
- Any Other Common Error: If you are having any other problems with your Blink camera, you can try restarting your camera and the Blink app. You can also try resetting your camera to factory defaults.
Frequently Asked Questions
Does the WiFi extender work with Blink cameras?
Yes, WiFi extenders can work with Blink cameras. Blink cameras can connect to 2.4 GHz WiFi networks, and WiFi extenders can extend the range of your WiFi network. This can be helpful if your Blink camera is located far away from your router.
Where is the reset button on a Blink camera?
The location of the reset button on a Blink camera varies depending on the camera model. Typically, it can be found either on the back or bottom of the camera. It is a small, black button that is recessed into the camera.
Does Blink camera connect to WiFi or Sync Module?
Blink cameras connect to the Blink Sync Module, which in turn connects to your Wi-Fi network. The Sync Module acts as a bridge between the cameras and the Wi-Fi network, facilitating the communication and control of the cameras through the Blink Home Monitor app. The cameras themselves do not directly connect to the Wi-Fi network.
Conclusion
I hope this article was helpful and your Blink camera is now connected to your WiFi network and ready to use. You can view your camera’s live feed, record videos, and take pictures using the Blink app. Remember to keep your Blink Camera firmware up to date to access the latest features and improvements.
