How To Self-Install Midco Internet? [Complete Guide]


Have you recently subscribed to a Midco internet service? If you don’t want the hassle of booking a technician and are looking for easy steps to install the connection yourself, you’re at the right place.
Opting for Midco self-installation can save you some bucks. But if you want to lower the costs further, I recommend getting your modem and a good router for Midco.
That said, don’t be bothered about the difficulty. You can install the connection without a hassle if you know your way around browsers.
Getting Midco Self-Install Kit!
The first step towards the Midco internet setup is ordering the installation kit. You can bundle it online while confirming the subscription. Once placed, the service provider will ship it to your registered home address.
The kit contains the following items:
- Wireless gateway
- Power cord
- Coaxial cable
- Ethernet cable
Note: If you decide to use your own modem compatible with Midco, you must raise the return request for the ISP-supplied gateway (after installation service).
How To Self Install Midco Internet?
We’ll get all the connections in place before proceeding with the activation.
1. Plug in the Connections
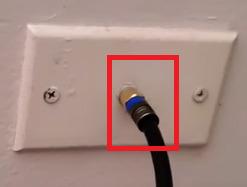
Step 1: Look for a coaxial wall outlet at your home. If you have multiple outlets, choose the one in the central location with easy access to power outlets.
Step 2: Plug in one end of the coaxial cable to the outlet and screw it in tight.
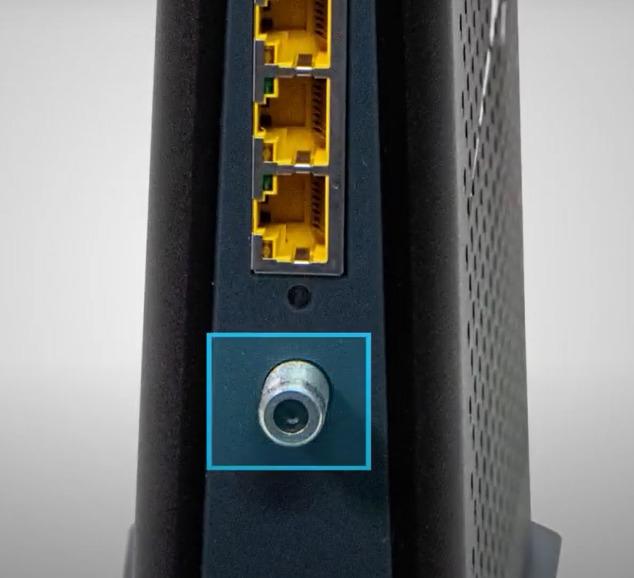
Step 3: The other end of the coaxial cable goes into the Midco gateway.
Step 4: Once you have plugged in the coaxial cable, take the power cord and plug it into the gateway device.
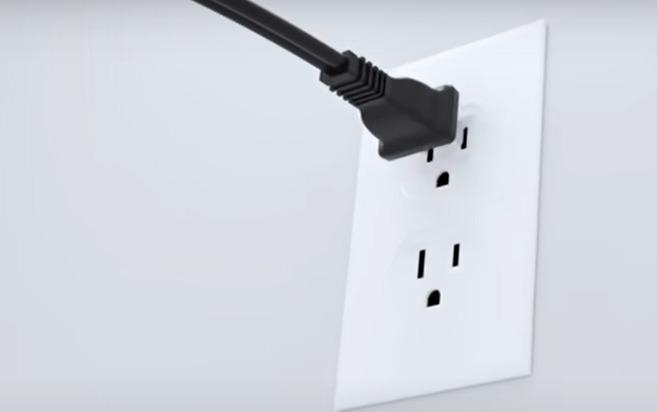
Step 5: The other end goes into the power outlet in the wall.
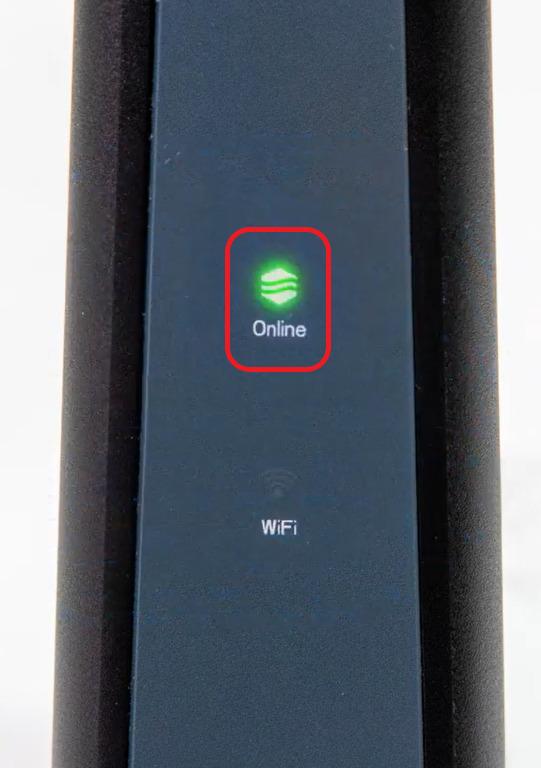
Step 6: Switch on the gateway. The LED lights will start to blink. Don’t interrupt the process.
Note: It takes 10-15 minutes for the LED indicator to stabilize. Be patient.
2. Activate Midco Modem/Connection
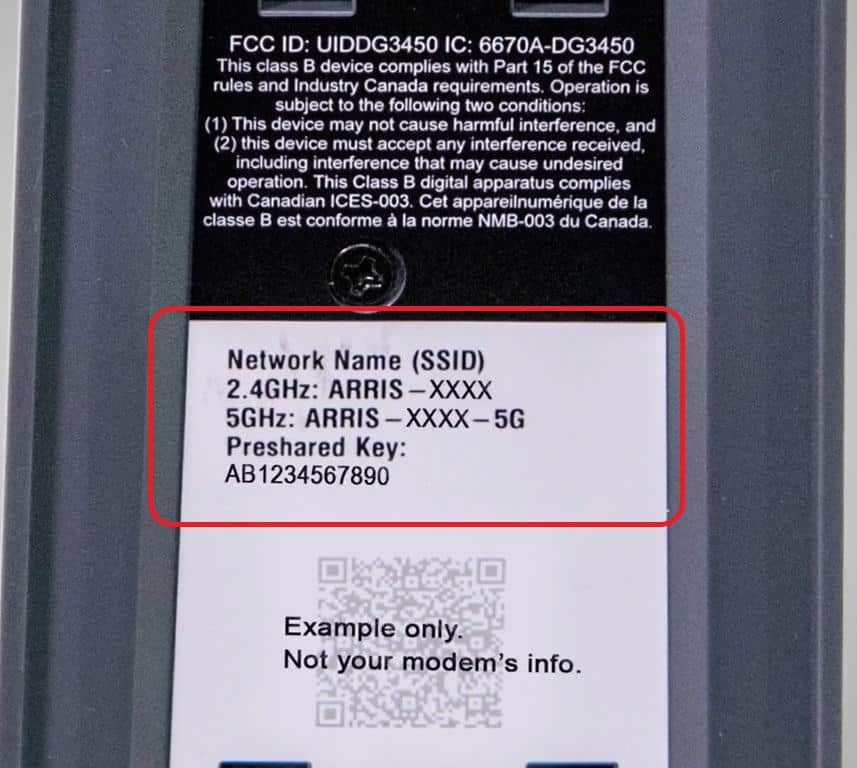
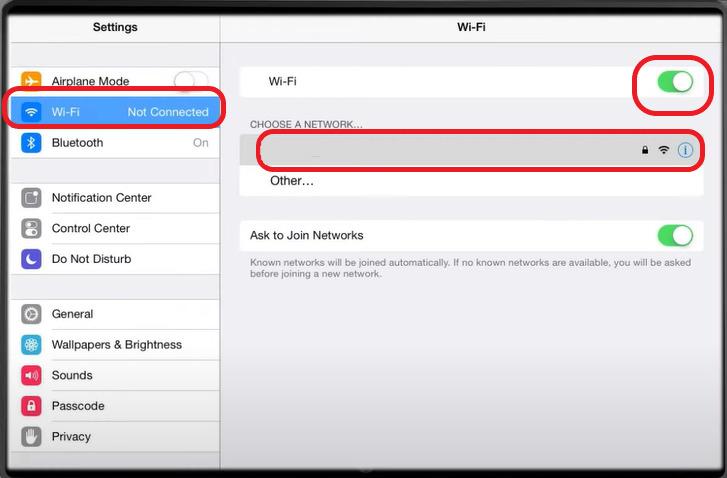
Step 1: Once the lights have stabilized, Use a smartphone to connect to WiFi.

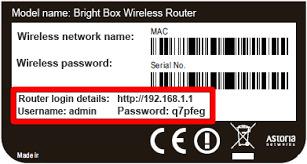
Step 2: Login using the credentials given in the label.
Step 3: Once connected, open a browser and go to https://midco.com. If your activation was successful, you would be to access the webpage.
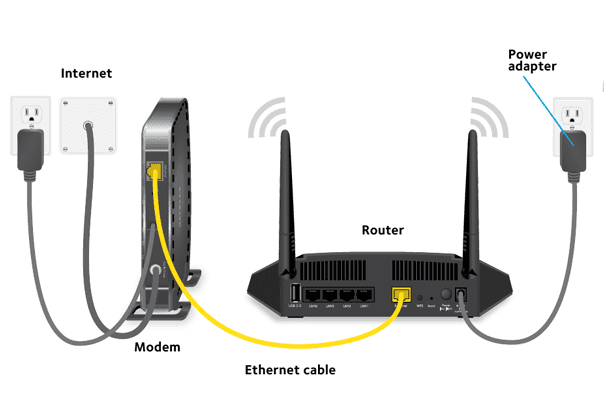
Step 4: If you are using your modem and router, connect the router to your modem with an Ethernet cable and plug the router’s power cord into a power outlet.
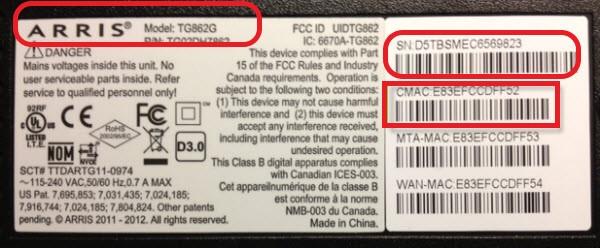
You can find the details on the back of the label or the modem box.
Step 5: Wait for the activation from the customer representative. Once the modem is mapped to your account, wait until the LED indicators turn stable.
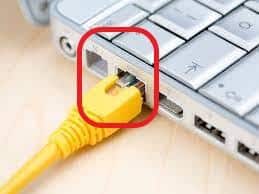
Step 6: Once the internet LED is stable, connect one end of the Ethernet cable to the laptop and the other to the Ethernet port in the modem.
Step 7: Open the browser and visit https://midco.com; the page will load up on successful activation.
Don’t interrupt the process and contact Midco’s customer support, in case you are not able to access the web page.
3. Set Up Midco Router
Midco’s gateway is a combination of modem and router. If you’ve no idea, you can read the differences between modem router combos and separate devices.
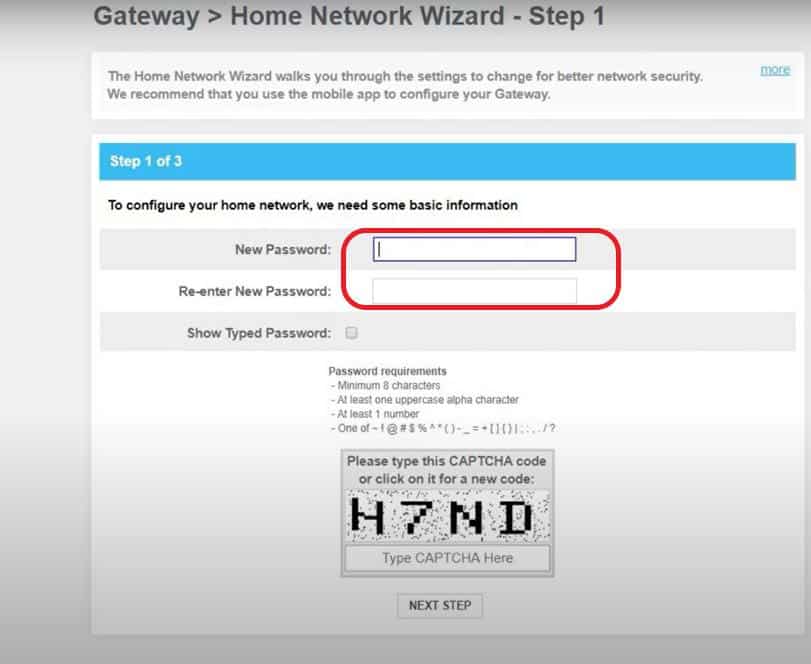
Step 1: To set up your Midco router, you have to access the Midco router login using
It will open a page where you can set a new admin password.
Step 2: Once the password is set, it will take you to the next page where you can set the SSID and password for both 2.4GHz and 5GHz.
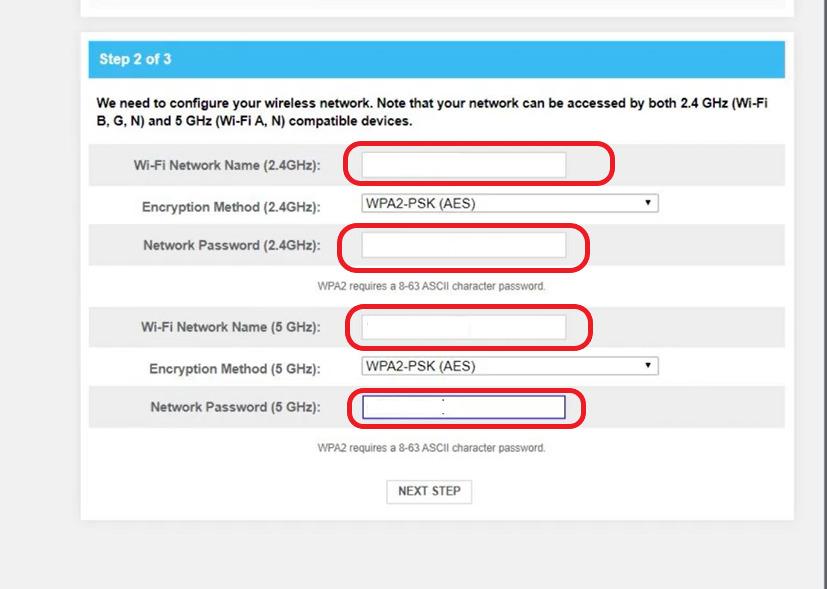
Step 3: Fill in the details, click the next step and save the changes.
Step 4: If you are using your router, use the Ethernet cable to connect your WAN port to the modem. Wait until the router’s internet lights are stable.
Step 5: Connect to the WiFi using a smartphone or laptop and open a browser.
Step 6: Login into or the URL mentioned in your router label.
Step 7: Once you log in, go to the basic setup page, and click on wireless settings/ security. There you can set up your SSID and passphrase. Once the credentials are filled, click on Apply to save the settings.
4. Connect Devices & Test the Internet
Step 1: Once the Midco installation is completed, log in to WiFi using the new credentials.
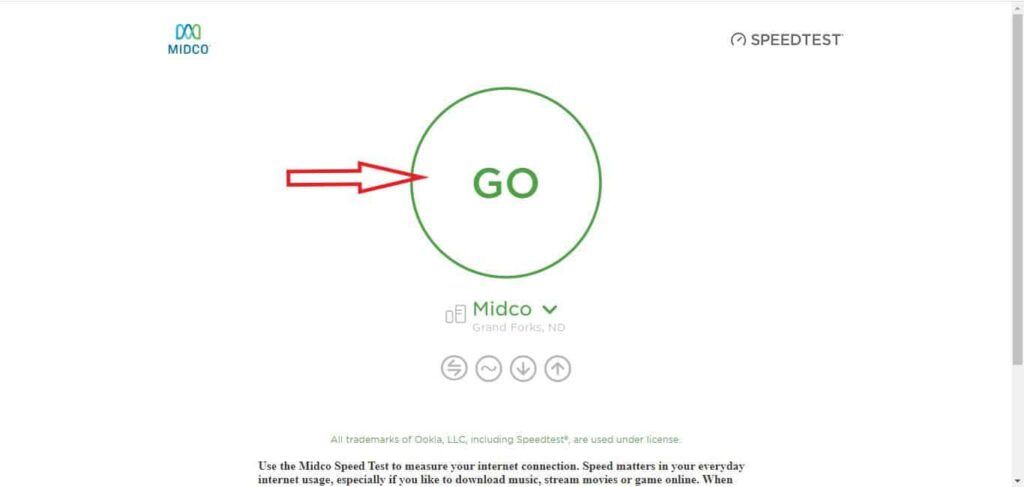
Step 2: Open a browser and type https://www.speedtest.net/.
Step 3: Click on Go to find your connection status along with the download and upload speeds.
Self-installation vs Professional Installation
- The professional installation is a costly affair. It will cost you $100. But if you are ready to roll up your sleeves and get this done by yourself, it will not cost you anything.
- You have to book the technician, schedule the appointment, block your commitments, and wait for the professional to arrive. With self-installation, you are free to finish the setup at your convenience.
- The only disadvantage of choosing to install by yourself, you’d miss out on the on-site support. You are left with the help of a customer executive over the phone. With a professional, you’d hardly have to do anything.
👉Related:Self Installation Guides for Other Major Internet Providers
Frequently Asked Questions
What is the Midco installation fee?
Midco charges $100 for a professional installation. If you are ready to complete the job yourself, you can install a Midco internet connection on your own and activate it for free.
How does Midco self-install service work?
Order the self-installation kit online and wait for the kit to be delivered home. Plug in the coaxial cable to the wall outlet and the gateway. Power up the device and wait for the lights to stabilize. Once the lights are stable, you can log in with WiFi and access the internet.
What is the Midco customer service number?
You can contact the Midco service executive at +1-800-888-1300.
How to change the Midco WiFi password?
Log in to the router admin portal via using the credentials at the gateway label. Go to the wireless basic settings page. Here you’ll be able to change the SSID and password.
Type the new credentials and save the changes. Alternatively, you can log in to the Midco portal, go to my account page and implement the changes.
Conclusion
For the network newbie, self-installing Midco internet at the outset might look intimidating. But if you follow the steps mentioned in this article and Midco self-activation instructions, you can complete the setup in less than 30 minutes.