Are you tired of weak or unreliable signals in certain areas of your home? Optimum offers a Smart WiFi 6 extender to eligible customers. If you're one of them and need help setting up your Extender 6, you're in the right place.
There are two ways to configure an Optimum WiFi extender:
- Using Ethernet
- Using a WPS Button
In this article, I shall discuss both methods with steps and pictures as well as troubleshooting steps for some of the most common issues faced in the process.
Things You Need
- Smart extender 6
- Power adapter
- Electrical outlet
How To Set Up Optimum (Altice) Extender?
Before beginning, it's important to note that extenders repeat the signals from a wireless router, hence there will be a notable difference in speeds. If you seek higher speeds and top-notch performance, you're better off upgrading your ISP-rented equipment to one of the third-party wireless routers for Optimum or WiFi extenders.
Now, let's get started without any delay!
Method 1: Using an Ethernet Cable
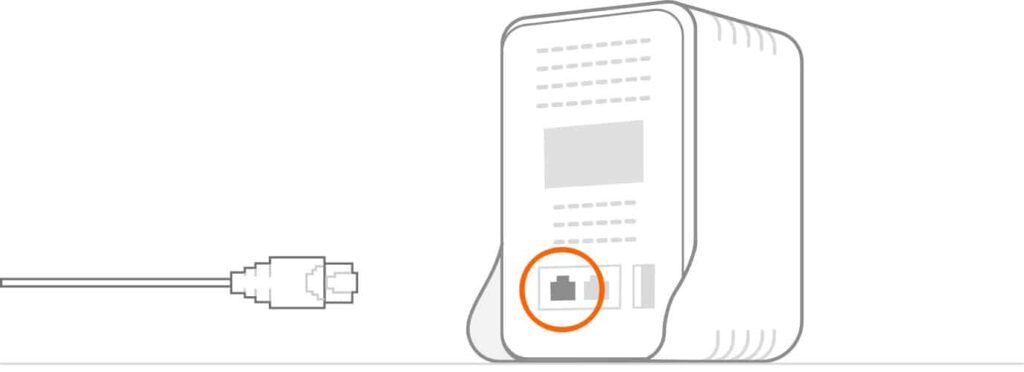
This is the easiest method and involves connecting the Optimum extender to your main router using an Ethernet cable.
Establishing a direct wired connection ensures a stable and reliable link between the extender and the router. This method is particularly useful when you have an Ethernet port available near the desired extender placement.
Steps to Set Up Using Ethernet:
Step 1: Connect one end of the ethernet cable to the ethernet port on the extender.
Step 2: Connect the other end of the ethernet cable to a LAN port on your router.
Step 3: Power on the extender.
Step 4: The extender should automatically connect to your router.
Method 2: Using a WPS Button
If you prefer a wireless connection, you will need to enter the extender's SSID and password. Consider the extender's range and limitations, experimenting with placement for the best coverage. Learn how far extenders reach.
Now, you're ready to proceed with the setup process. By pressing the WPS buttons on both devices, a secure wireless connection is quickly established without the need for any cables.
Using a WPS Button method is ideal for a hassle-free Altice WiFi extender setup, allowing for easy integration of the extender into your existing WiFi network. Note that it requires both your router and extender to have WPS buttons.
Steps To Set Up Using WPS Button:
Step 1: Bring the extender close to your router.
Step 2: Plug in the extender nearby and turn it on.
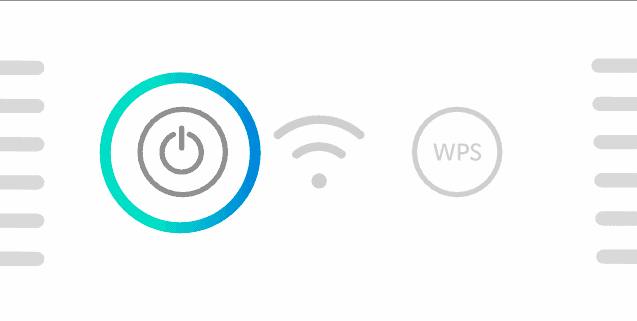
Step 3: Wait for a few minutes until the Wi-Fi symbol on the extender starts blinking slowly.
Step 4: Now press the WPS button on your router.

Step 5: After that, press the WPS button on the extender for about 2 seconds.
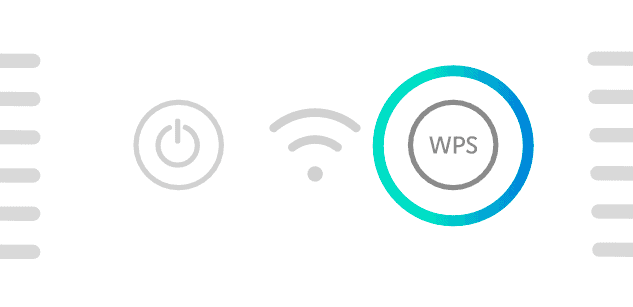
Step 6: Wait for a few minutes until the Wi-Fi symbol turns solid white. This means the connection is established.
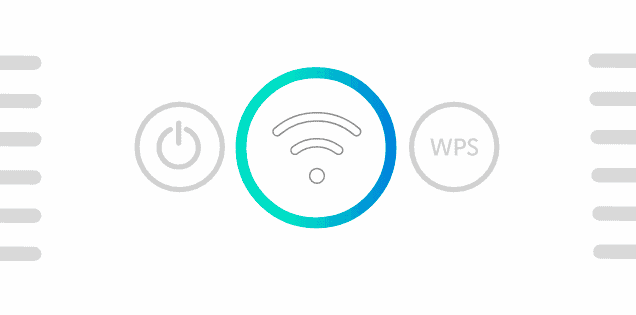
Step 7: Now unplug the extender and place it anywhere you like.
Step 8: Turn it on and wait for the WiFi icon to turn solid white.
How To Connect To an Optimum Extender?
Begin by accessing the Wi-Fi settings on your device, such as a smartphone, tablet, or computer. Look for the list of available Wi-Fi networks and locate the network name (SSID) of your Optimum extender.
Select the extender's network and, if prompted, enter the password. Your device will then establish a connection with the extender. Once you are connected, you can start using the extender to access the internet.
The extender's password will be the same as the password for your main router's WiFi network.
Common Problems Faced With Optimum Extender Setup [& Fixes]
1. Altice Extender Not Connecting to the Internet
- Make sure that the extender is properly connected to your router.
- Check if the extender's LED lights are solid.
- You can also try restarting both the router and the extender.
- If these don't work, you may need to reset the Optimum extender to factory settings.
2. Altice Extender Blinking White
- A blinking white light on the extender indicates that it is not connected to the router.
- Make sure the extender is placed close to the router and restart both devices.
- Ensure that the Wi-Fi network names (SSIDs) on the extender and router match.
- If the issue persists, reset the extender to factory settings and repeat the setup process.
Frequently Asked Questions
To determine if your extender is working, check the LED lights. If the lights are solid, it indicates a successful connection. Additionally, you can try connecting a device to the extender's network and test the internet connectivity.
Yes, you can use an Optimum extender with any WiFi router via the help of an ethernet cable. However, Optimum extenders are generally designed to work with Optimum routers wirelessly.
Compatibility with other routers may vary, so it's recommended to check the extender's specifications or consult with the manufacturer to ensure compatibility.
Generally, it takes around 5 to 10 minutes to complete the setup process. However, it may take longer if you are using a WPS connection.
The WiFi icon LED on your extender should be solid white when it is working properly. If it is solid red or flashing white, you need to move the extender closer to your router.
The WPS (Wi-Fi Protected Setup) button on the Optimum extender is used for quickly establishing a secure connection between the extender and the main router. To use the WPS button, press the WPS button on both the router and the extender within 2 minutes.
Conclusion
That was all about connecting the Optimum WiFi extender, and I hope now you have significantly enhanced coverage and performance of your home network.
However, it's important to note that the effectiveness of the extender may be influenced by factors like distance, obstacles, and interference. Experimenting with placement can help achieve the best results.


