How To Reset TP-Link WiFi Extender? [3 Easy Methods]


Are you experiencing weak signals or inconsistent performance with your TP-Link extender? Resetting it should resolve all the connectivity problems and get your network back up and running smoothly.
There are three ways to reset a TP-Link WiFi extender:
- Through a Reset Button
- By accessing Web Interface
- Using the Tether App
I shall explain all three ways with steps and pictures. So, let’s get started!
How To Reset a TP-Link Extender?
Note: You’ll lose the current configuration and any customized settings you may have applied. Keep the extender turned on during the whole process to ensure a smooth reset and avoid any potential issues.
Method 1: Using a Reset Button
Making use of a reset button is a straightforward method that restores the extender to its factory settings.
Steps To Follow:
Step 1: Plug in the extender and make sure it’s on.
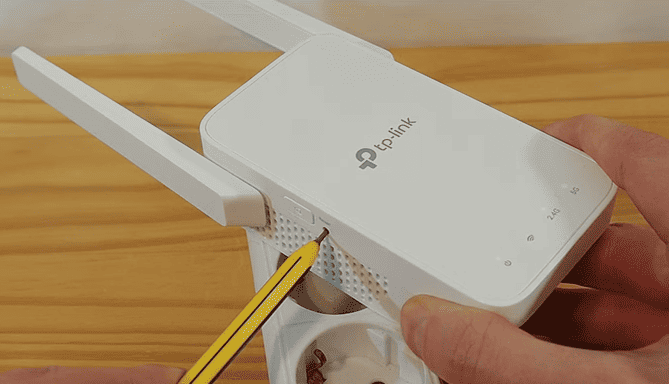
Step 2: Locate the reset button on the TP-Link extender, usually on the side or back of the device.
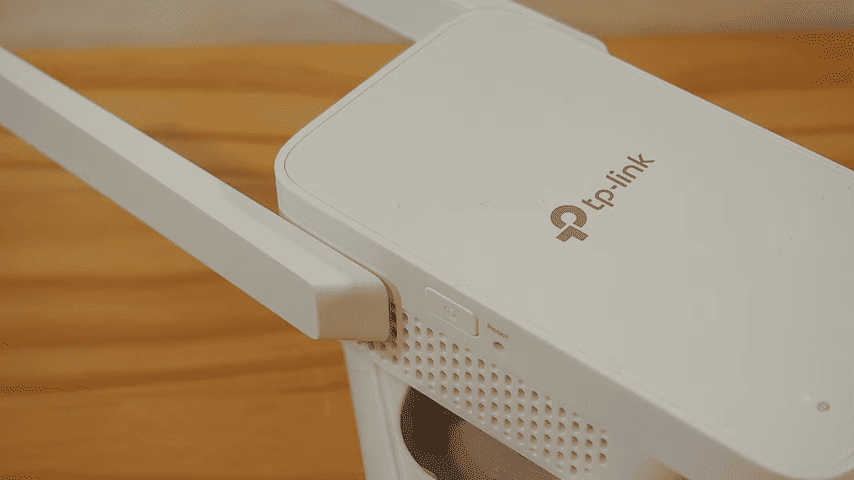
Step 3: Use a paperclip or a similar pointed object to press and hold the reset button for about 5-10 seconds.
Step 4: Release the reset button when the LED lights on the extender start flashing, indicating a successful reset.
Step 5: Wait for the extender to reboot, which may take a few minutes.
Method 2: Using TP-Link Tether App
Yes, TP-Link’s Tether app also helps you reset the device. It has a user-friendly interface, guiding you through the reset and re-configuration.
Steps To Follow:
Step 1: Download the Tether app on your smartphone.

Step 2: Launch the app and log in to your TP-Link account or create a new one if you don’t have it already.
Step 3: Locate your TP-Link extender in the app’s device list and select it.
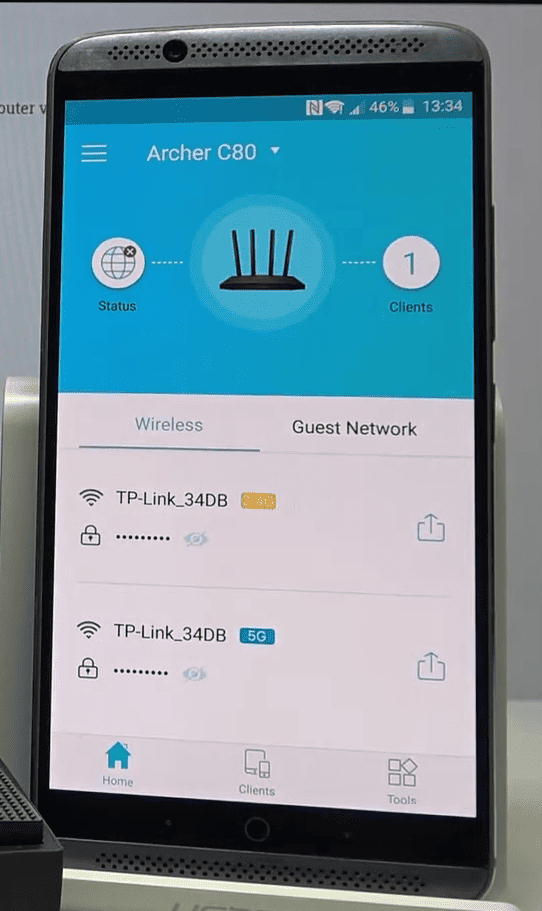
Step 4: Go to the settings or management section within the app.

Step 5: You’ll be promoted with two options: Reboot and Factory Defaults option. Tap on the latter one.
Step 6: Follow the on-screen instructions to initiate the reset process.
Step 7: Wait. It will take about 3-5 minutes for the whole process to complete, and then the device will reboot.

Method 3: Using a Web Interface
Resetting through the web interface enables you to access the device’s settings via a web browser. This method provides flexibility for users who prefer to use a PC.
Steps To Follow:
Step 1: Connect your computer to the TP-Link extender’s network.
Step 2: Now open any browser and search www.tplinkrepeater.net in the search bar.

Step 3: Log in with your account credentials.

Step 4: Now, find the System Tools option on the Home Page.
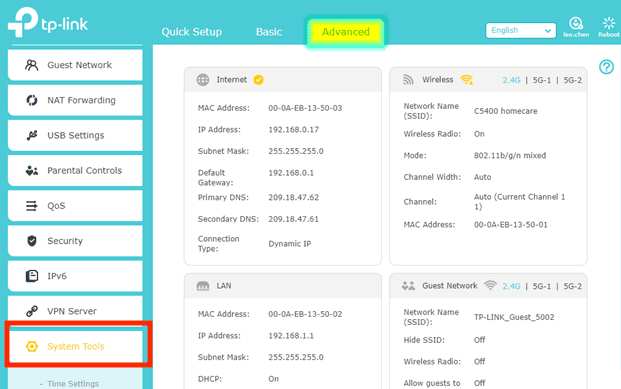
Step 5: Navigate to the Factory Defaults option from the menu and simply click on Factory Restore.
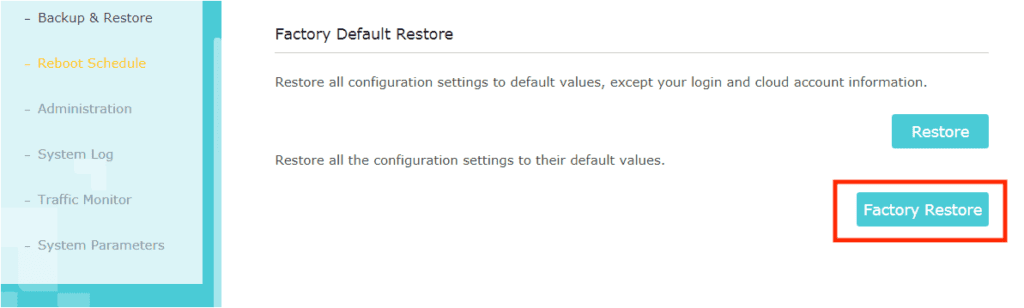
Step 6: Click Ok when prompted. The reset process will begin.
What Happens When You Reset?
A factory reset restores the device to its default settings. This means that all personalized configurations, network information, and Wi-Fi settings will be erased. The extender will revert back to its original state, requiring you to set it up again from scratch.
How To Reconnect TP-Link Extender?
Steps To Follow:
Step 1: Plug in the extender near the main router and turn it on.
Step 2: Open the TP-Link Tether app and log in with your account information.
Step 3: Now tap on Add device.
Step 4: It’ll scan for WiFi networks around you.
Step 5: Select your home network and enter the WiFi password.
Step 6: Now confirm the extender settings and tap on apply.
Step 7: Confirm the location with the help of the app, and you are done.
Issues That Can Be Fixed with a TP-Link Extender Reset
- Connectivity problems
- Slow or inconstant internet
- Range issues
- Performance optimization
- Incorrect settings
- Firmware glitches
- Any other software issues
- Forgot account credentials
Frequently Asked Questions
How long does it take for the TP-Link extender to reset?
The time can vary depending on the model. Generally, a reset performed through a web interface or the physical reset button takes a few minutes, about 2-5.
Where is the reset button on the TP-Link extender?
The location of the reset button on a TP-Link WiFi extender can vary depending on the model. In most cases, you can find the reset button on the side or back of the device. It is usually a small, recessed button that can be pressed with a paperclip or a similar pointed object.
Why is my TP-Link extender not connecting to the internet?
Some common causes include incorrect WiFi settings, interference from other devices, distance limitations between the extender and the main router, outdated firmware, or compatibility issues.
Troubleshooting steps such as checking signal strength, updating firmware, and keeping the right settings can help resolve the problem.
Conclusion
All three ways of resetting a TP-Link extender are effective and useful in their own way. They should help to resolve various connectivity issues.
However, if the problems persist even after a factory reset, it is advisable to seek further assistance from TP-Link support or a qualified professional.