If you've recently subscribed to the Kinetic internet by Windstream, you can choose to self-install the connection and take $35 off your bill. If you're bothered about the difficulty, worry not. Setting up and activating Windstream internet is a fairly easy process.
If you wish to save further, you can get your own Windstream-compatible modem and a router to save a $10 monthly rental lease that the ISP charges for its gateway device. In this article, you will find all the information required to complete the setup.
Get Windstream Self-Install Kit!
Once you've subscribed to Kinetic by Windstream, you can opt for a self-service setup. The ISP will courier the package to your home. It will take 3-5 working days for it to be delivered.
In most cases, the self-installation kit will be delivered before your activation date, to ensure you can start using the internet the same day.
What’s Included in Windstream Self-Installation Kit?
- Windstream gateway
- Power cord
- Ethernet cable
- Phone cable
How To Self-Install Windstream Internet?
Getting all the connections ready makes the Windstream internet setup seamless & organized. Let's get the connections out of our way first.
1. Plug in the Connections
The first step to Windstream modem setup is to look for an active DSL wall outlet in your home. If you have multiple outlets, choose the one in the optimal location, at the center of your home, and with easy access to power outlets.
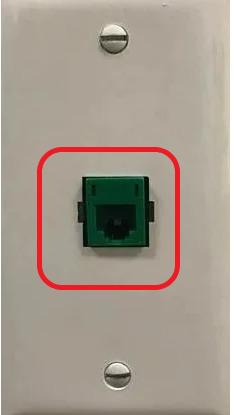
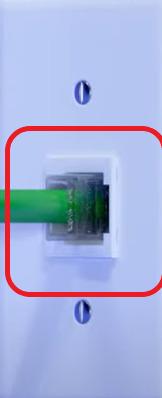
Step 1: Plug the phone cable into the outlet
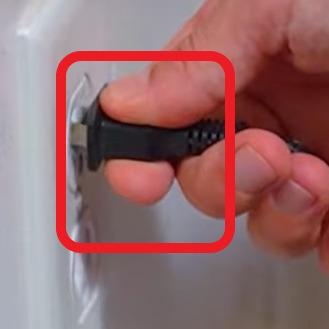
Step 2: Plug the power cord into the wall outlet
Step 3: The other end of the power cord and then the Ethernet cable going into the Windstream gateway as shown below
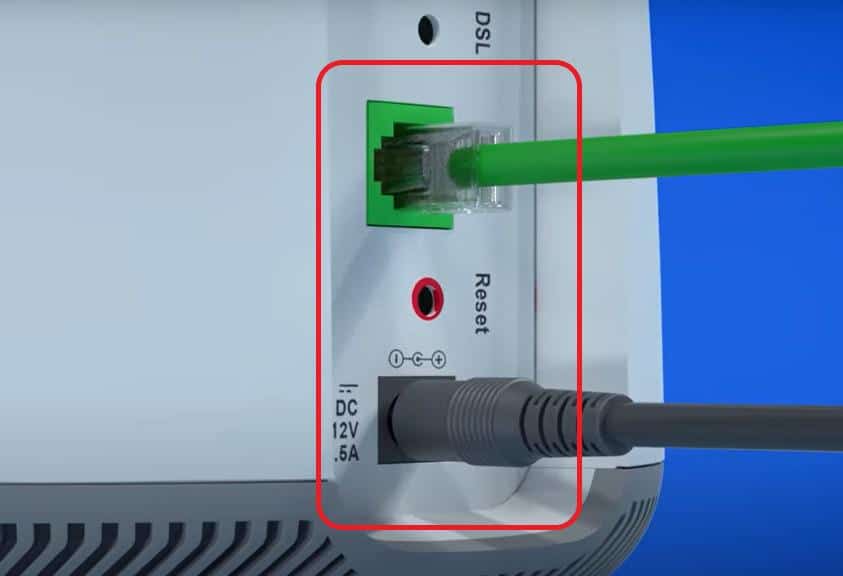
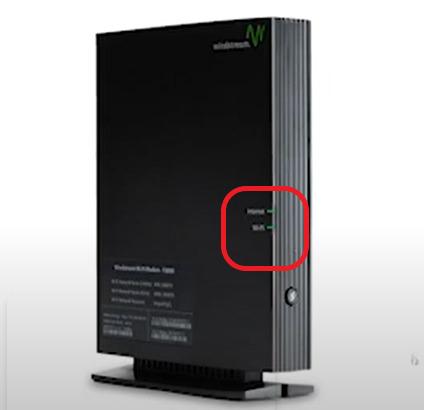
Step 4: Switch on the Kinetic Windstream internet gateway and wait for the lights to turn stable. This takes anywhere between 10-15 minutes. Don’t interrupt the process.
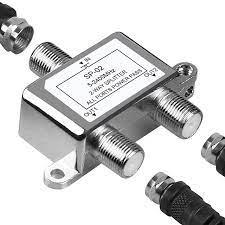
Step 5: If you use an internet and voice bundle, you will use a DSL splitter to connect to the wall outlet.
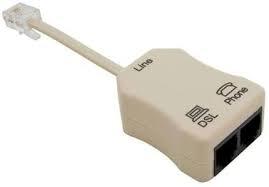
Step 6: Your input to the gateway will be from DSL and the input to the phone device will be from the port-labelled phone.
2. Windstream Activation
Step 1: Once the lights are stable, you can activate Windstream internet. Use a smartphone or a laptop to connect to the WiFi.
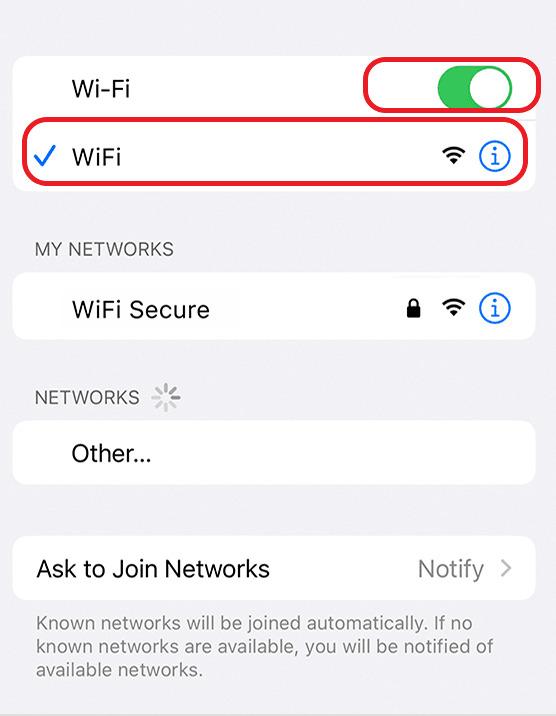
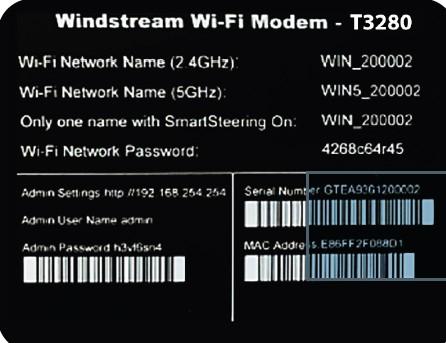
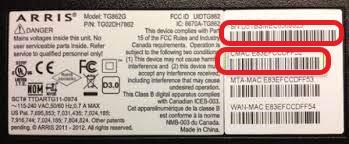
You will find the login credentials on the label
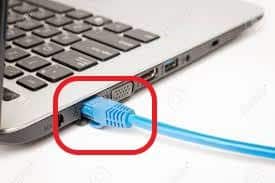
Step 2: If you are using your own modem or modem router combo, connect the laptop to the modem via an Ethernet cable to continue the Windstream activation.
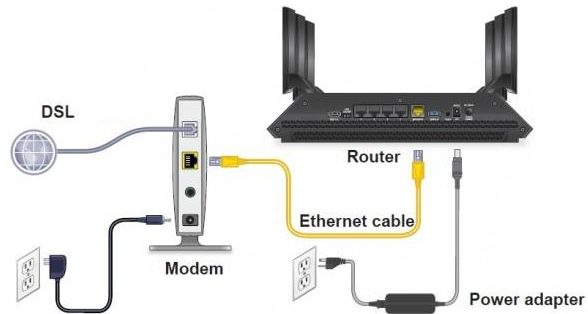
Step 3: After the activation, you can use the Ethernet cable to connect your router and modem. Your final Windstream internet setup will look similar to this:
Step 4: Open a browser and visit the Windstream internet service setup page at https://my.gokinetic.com.
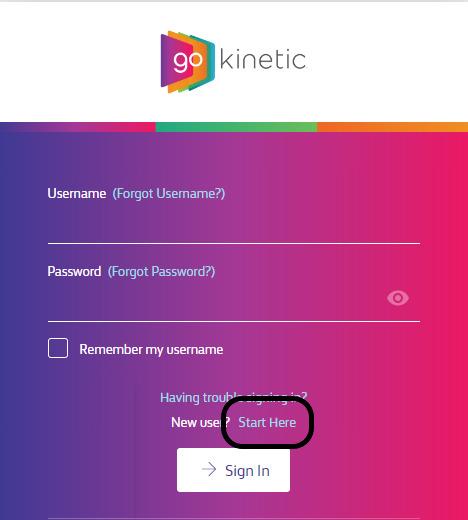
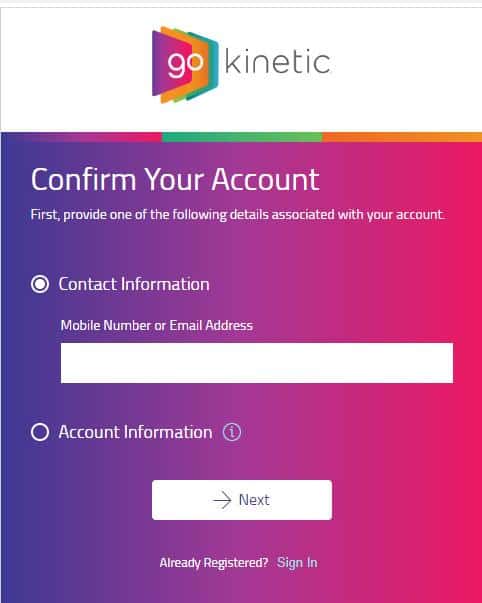
Step 5: Click Start Here and enter your registered phone number or email address. Click on next to confirm your subscription.
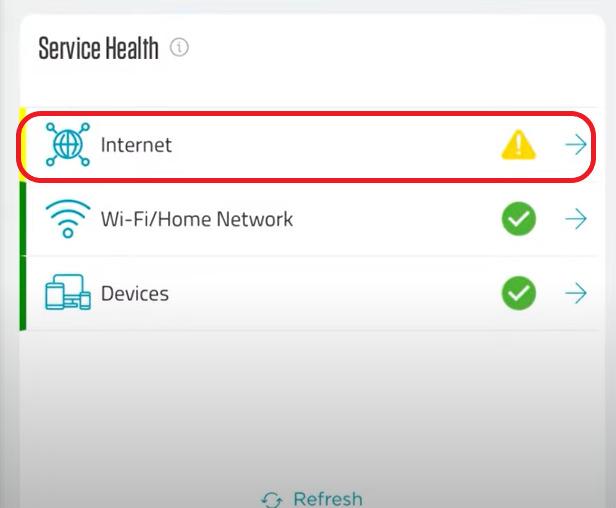
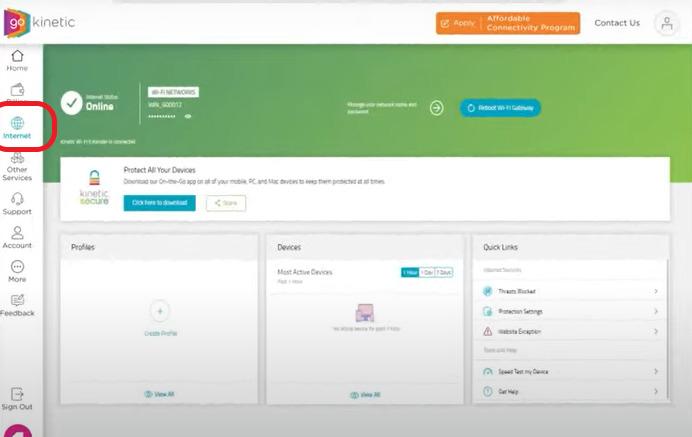
Step 6: Once you verify your details, it will take you to the portal, where you can activate your new device. Click on the Internet.
Step 7: You will see a pop-up that prompts new device activation. Click Yes.
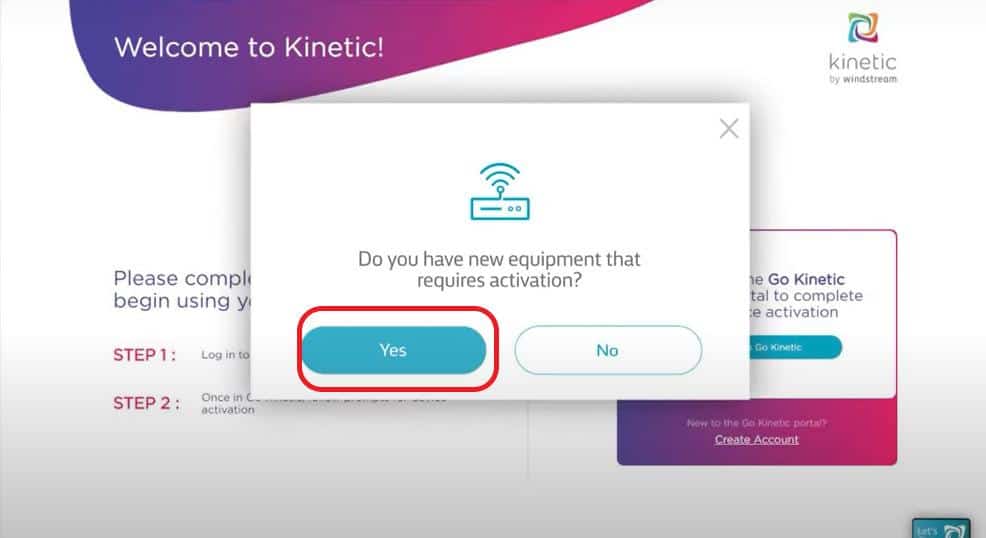
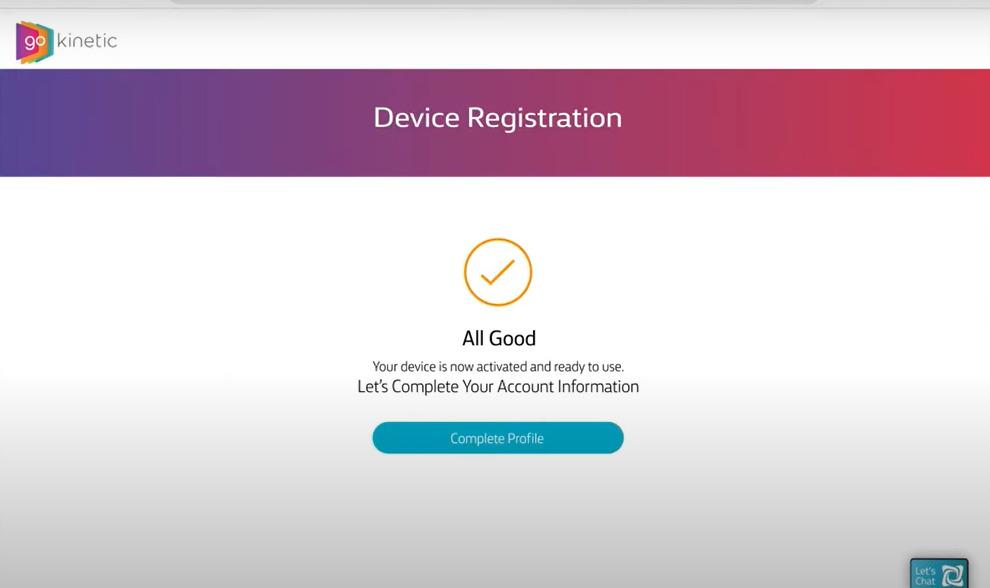
The Windstream activation can take up to 10 minutes. Once the process is complete, you will be notified of the successful activation.
Note: If you use your equipment, keep the MAC address and S/N of the modem. In case of any trouble with the Windstream kinetic internet installation, the support executive on the phone will require this info for activation.
3. Connect Devices & Test Internet
Step 1: Once the activation is complete, you can connect the other devices to the network and access the internet. You can use the default credentials to log in.
Step 2: Once you are connected, log in to https://my.gokinetic.com using the registered id. Click on the internet and you will find the details of your internet connection.
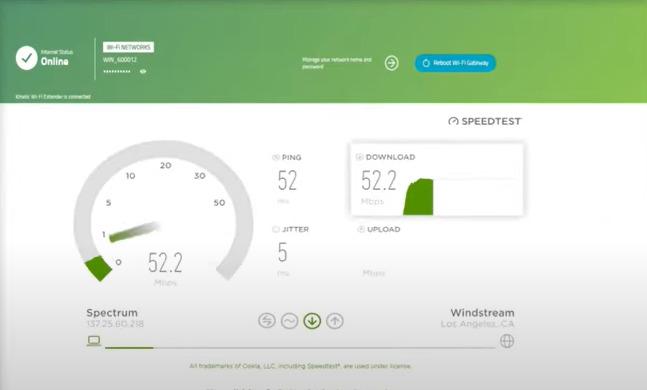
You can do a speed test and verify the status of your internet connection, including the download and upload speeds available to you.
👉 Suggested Read: How to Improve your WiFi Router's WiFi Speed?
Self-installation vs Professional Installation
- With the Windstream Kinetic internet self-installation, you can avoid the one-time fee of $35 Windstream charges for the professional setup inside your home.
- You have to pre-book the appointment and block your schedule on the installation day. The self-installation can be done at your convenience after the activation date.
- The professional installation has its benefits. The technician will set up your account, activate your modem, and help you connect up to 4 peripherals (printer, desktop, etc). and ensure the internet is working. But with self-installation, you are left with the help of technical support over the phone.
👉 Related Reading: Is Your Windstream Internet Slow? [Reasons & Fixes]
Frequently Asked Questions
Once your internet is activated from the Windstream end, you will complete the installation inside your home and activate the internet.
Wait until your activation date. Find the centermost active wall outlet and connect one end of the cable to the outlet and the other to the Windstream gateway or your own Windstream-compatible router. Plug in the power cord and power up the device. Once the lights are stable, connect to WiFi, visit the Go Kinetic portal and follow the instructions.
The self-installation of the Kinetic by Windstream is a reasonably straightforward process. With the kit and account information ready, connecting and activating will take 30-45 minutes.
If you need technical support during your installation or activation, contact Windstream Technical help at 1-877-449-5707.
Conclusion
Setting up Windstream internet can look intimidating if you have done none of the setups before. But this article gives simple instructions that make it easier for even a newbie to install Windstream internet on your own. Ensure you follow the self-install Windstream internet steps; you will have the internet firing quickly.


