
In this post:
- What do you need to know about priming wood?
- Unfinished Wood or Previously Painted Wood
- Quality and Color of Wood
- Where is the wood item going to be placed?
- What type of primer should you use?
- What type of paint are you using?
- What are the best kinds of primers available?
- How many coats of primer should you apply on wood?
- Supplies for Priming Wood
- Conclusion
This guide will teach you everything there is to know about applying primer and paint onto wooden projects. Whether you are working on an interior or exterior project, you’ll have a deeper understanding into the techniques that go into prepping your wood so primer can be applied correctly to give you the best results.
How many coats of primer should you be painting on your wood? This guide will tell you everything you need to know about priming wood, different primers and how to apply the primer on wood correctly. Whether you’re undergoing a small project or a massive renovation, knowing how to apply primer is going to give you the best results and preserve the material.
Starting off the guide telling you everything you need to know about primer and wood, we’ll then delve into a guide that explains how you need to properly apply the primer.

What do you need to know about priming wood?
Priming wood is one of the most important parts of any DIY project whether you’re applying it to bare wood or preparing to repaint a piece of wood that has been painted on many times. But what does primer actually do? Primer provides the wood with a new coat of shine that makes the surface of the wood ready to accept paint.
If you don’t prepare the wood with primer, problems can occur. Due to the unevenness of the paint itself as well as the texture of the wood, primer helps to even the surface out and means that the paint that is applied will have a smooth and shiny texture.
When you are painting on wood, there are a couple of things to think about when you’re trying to think about what primer you’ll need. Using the correct primer will save you money as it means you’ll be using less paint as the surface will be better for the paint to adhere to meaning you’ll use less of it.
Unfinished Wood or Previously Painted Wood
The first step of this whole process is evaluating whether the surface is unfinished wood or a previously painted surface that you will be repainting. Unfinished wood is a porous surface which means that it will absorb most of the paint that is applied if a primer has not been applied meaning that the texture will be uneven and you’ll be using more paint which will cost you more time and money.
If you repaint on the wood without having applied primer, the paint molecules that are already on the wood grain are going to be retained which can affect the overall color and texture of the finish. Primer will ensure that the surface is smooth and has a glossy finish. Even if you do plan on sanding the uneven surface, previously painted surfaces tend to need less coats of primer than a bare piece of wood.
No matter what kind of wood you are working with, applying an appropriate number of coats of primer is going to ensure that the surface will retain the new color as much as possible.
Quality and Color of Wood
The next thing you need to look at when thinking about how much primer you should use is the quality of the surface of the wood itself. For example, a stained piece of wood should be treated with a tinted primer which will ensure that the stain is thoroughly covered before you apply the paint as it won’t show through the new color.
If you are working with a darker piece of wood or wood that has a dark color on it already then you’ll want to apply more coats of primer to ensure that it is fully covered. This means that when you paint over the surface, it will accept the new color the best it can.
Remember, if you want your paint to look as close to the original desired finish as possible then you need to work with the wood in its current state and base your application of primer coats on that.
Where is the wood item going to be placed?
Now that you’ve thought about what the wooden item looks like in its current state, you now have to think about where it will be once the project is finished. A lot of people don’t think about this but it is very important as this can affect the number of primer coats applied. For example, is a door that will be used a lot or a piece of furniture that will be placed outside.
If you are working on a product that will be outside or high traffic areas such as doors then using more coats of primer and possibly a stain blocking primer is going to ensure that your item will remain in top condition for longer periods of time.
Are you planning on removing primer from an item before reapplying a new coat of primer? This can take some work to do manually so using a sanding tool can help do this faster and it will even out the initial surface so it is ready for more primer coats. This is usually advised for large items that will be removed and placed elsewhere as transporting it from one area to another can affect the reapplication of primer.
If you are repainting an item such as a door or a wall then you can use sandpaper to even out the surface then primer and paint rather than getting the sanding tool out.
If you are painting over oil based paints with a water based paint then priming the item is definitely needed as the original paint will come through.

What type of primer should you use?
We’ve covered everything in terms of the surface that you’ll be working with so now we will be discussing the primer and what primer is the best for your project.
The first thing to bear in mind is that self priming paints should be avoided. This is because they will not give that glossy and sleek finish that you want, especially if you are working on a bare wooden surface.
As they have a high content of color, the amount of primer in the formula is actually more diluted than an actual primer.
When it comes to selecting your primer, you need to look at the kind of paint that you are using. The likelihood is that you have selected your paint first so your primer needs to compliment the paint rather than the other way around.
What type of paint are you using?
The type of paint that you are using is important when it comes to selecting your primer. Is the project interior or exterior? Will the project be exposed to the outside or a lot of traffic?
Just like your primer, you need to consider all of this when selecting your paint. If you are using exterior paint then you want to make sure that the primer you use is a high build primer so your paint will be maintained and durable for a long period of time.
If you are using a latex paint then you want to make sure that you’re using a latex primer as well. Latex is water based so a latex primer is going to ensure that the glossy finish stands out.
What are the best kinds of primers available?
There are a lot of primers available on the market so it can be overwhelming when trying to find the best one for you. Here are three of the best all around primers available on the market that you should consider:
1. Zinsser Bulls Eye 1-2-3 Primer
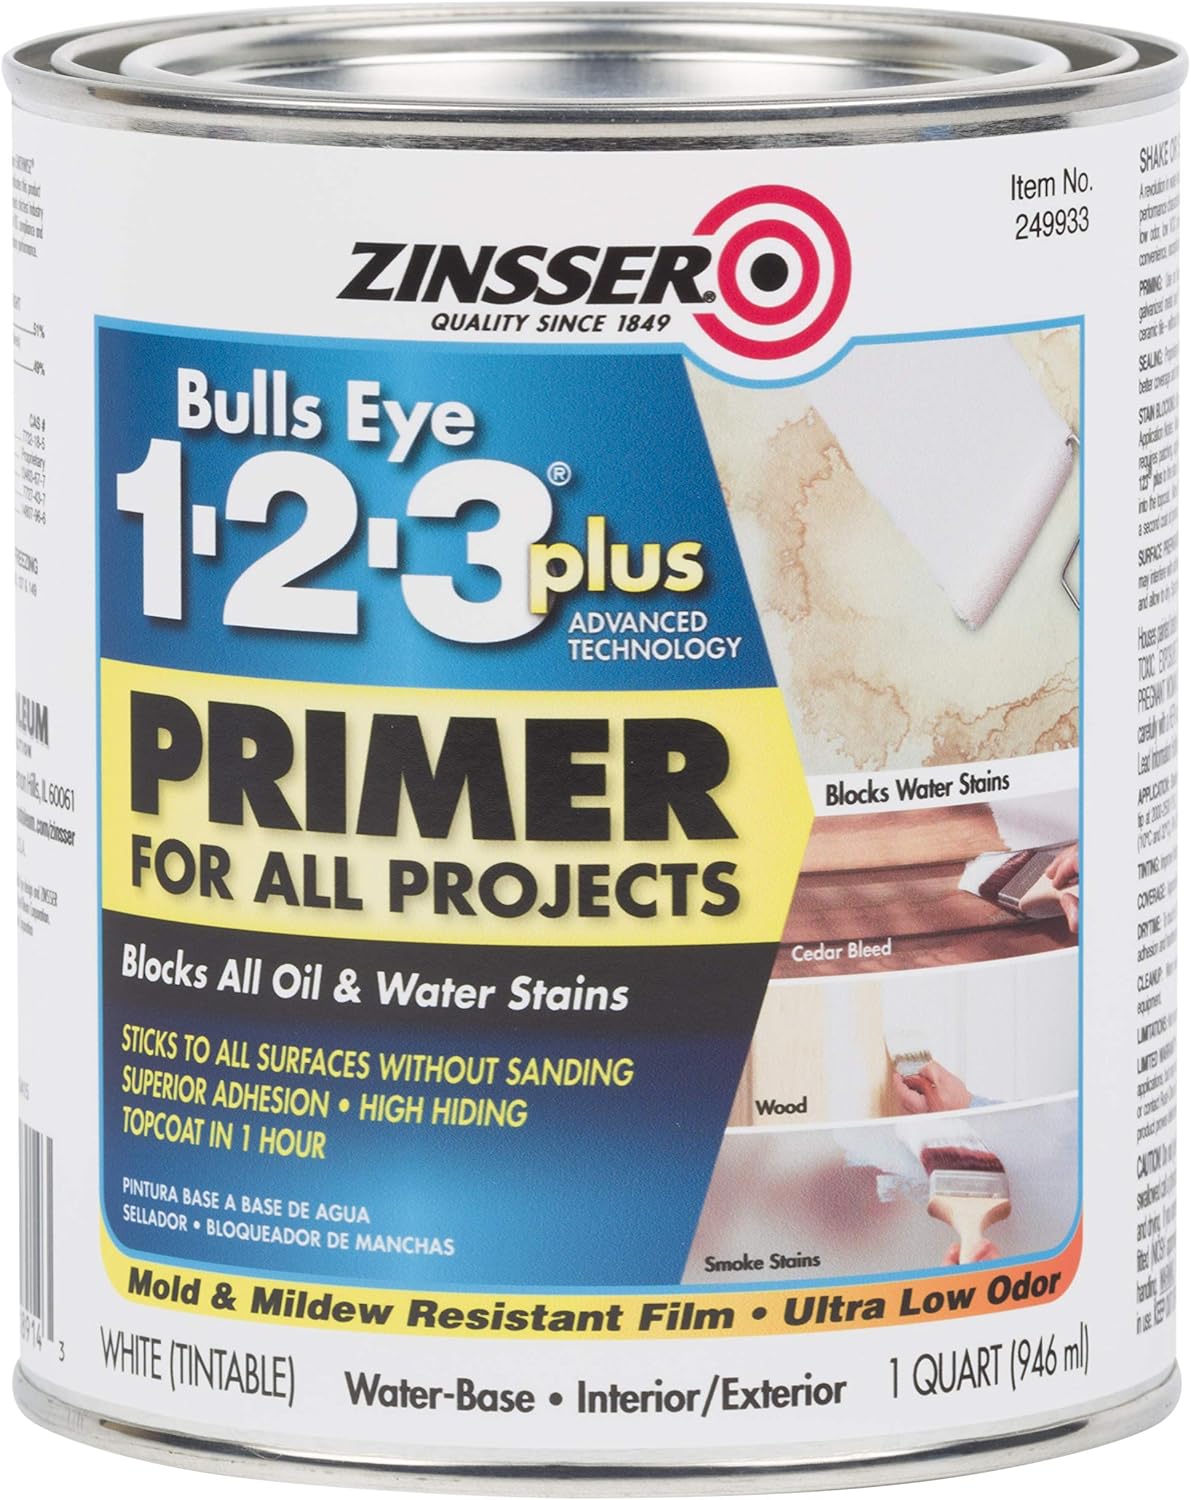
The best all around primer on the market is the Zinsser Bulls Eye 1-2-3 Primer which is easy to use and can be used on the majority of surfaces including dark and previously painted materials.
It is a water based primer that blocks water stains making it highly durable and reliable so it is ideal for exterior projects. It dries in one hour and sticks to any surface whilst also covering approximately 350 to 400 square feet per gallon meaning that you get a lot of painting for your money.
2. Kilz Multi Surface Sealer and Stainblocker
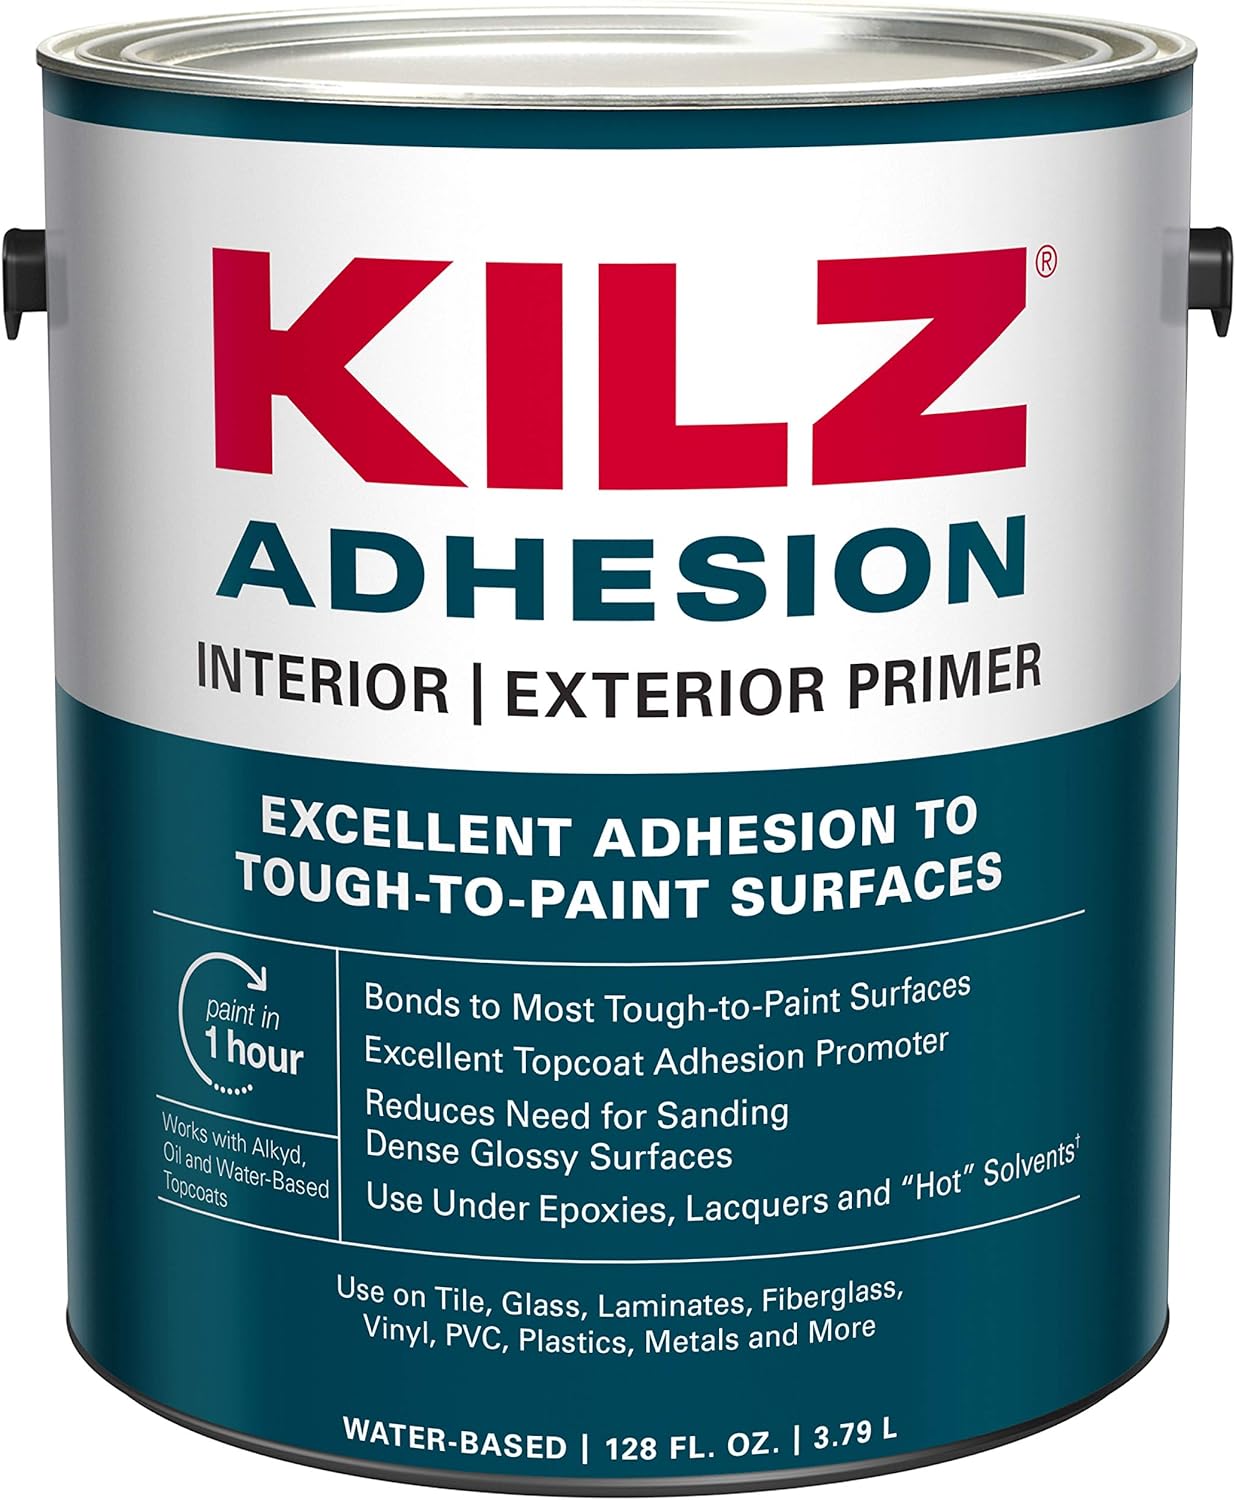
Our second recommendation is the Kilz Multi Surface Sealer and Stainblocker which is ideal for those who are working with stained surfaces. This primer in particular is great for surfaces that are tougher to paint on. This unique latex primer has been developed to bond securely on slick surfaces where traditional water or oil based primers will not adhere. This primer dries within 30 minutes and can be recoated after an hour so you can work on your projects quickly making it highly convenient.
3. INSL-X Aqua Lock Plus Water-Based Sealer Primer
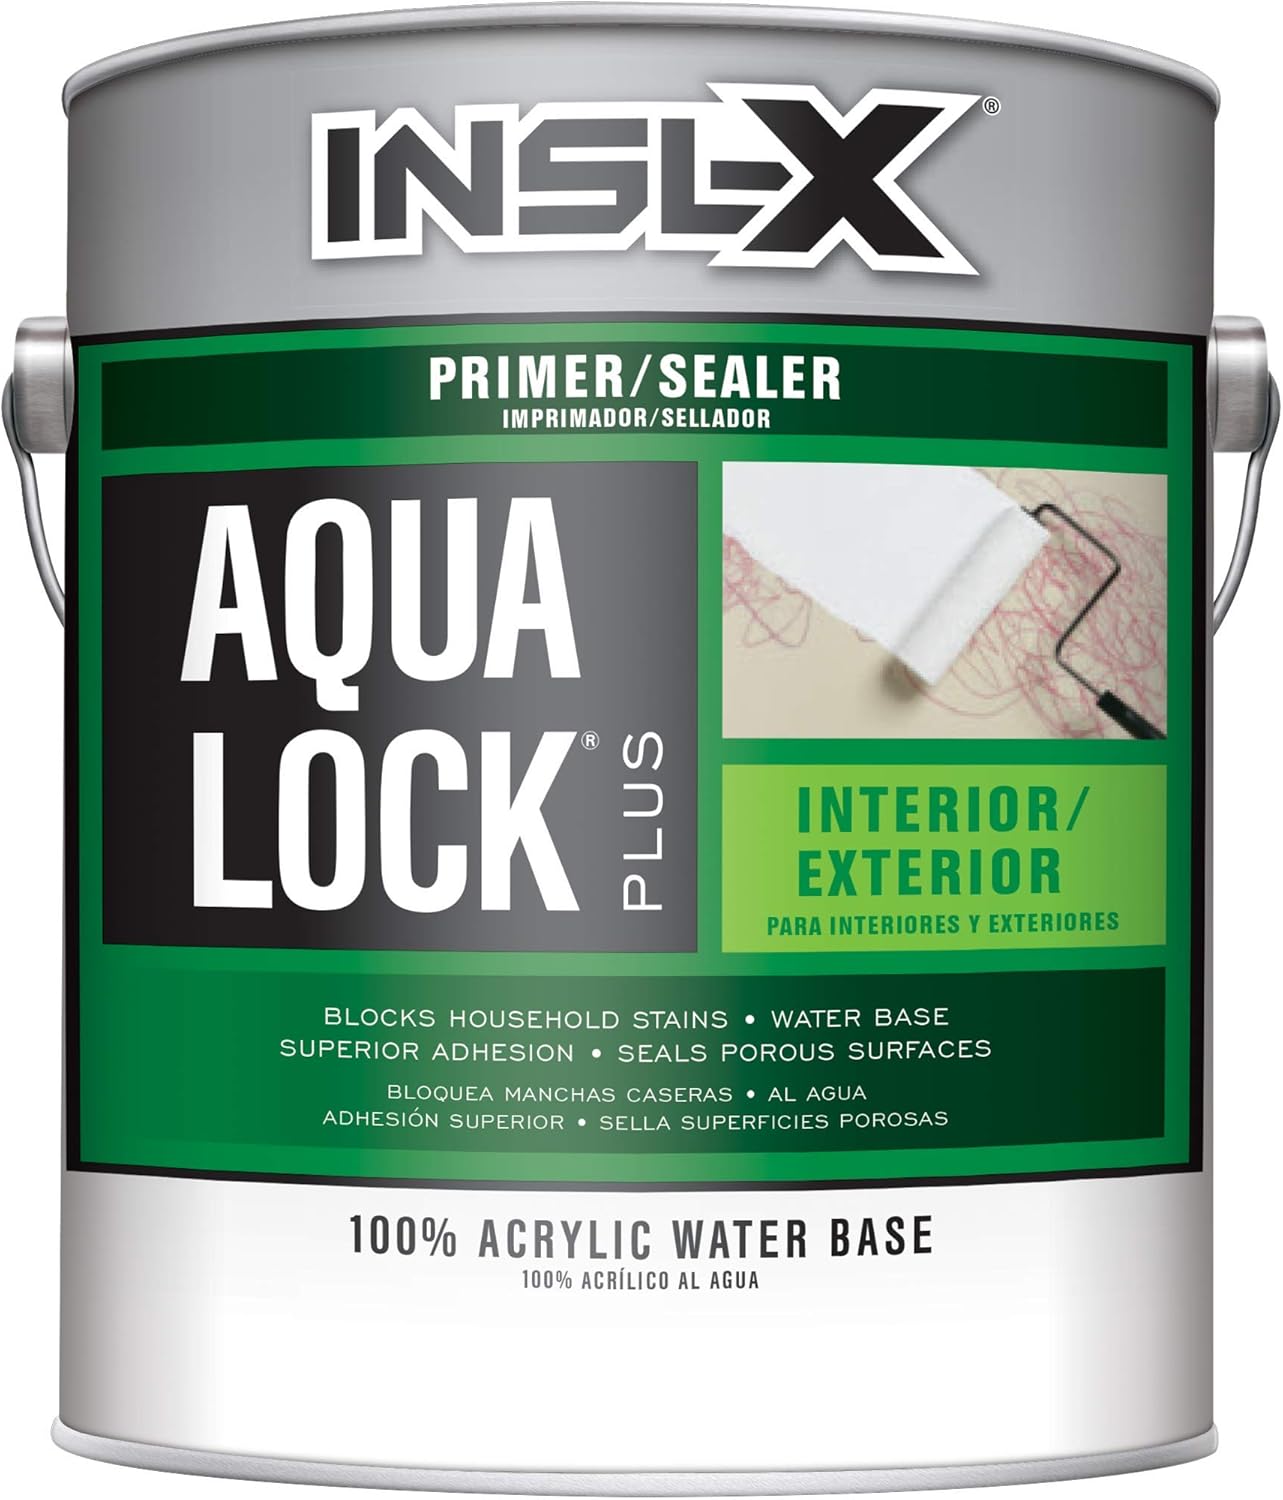
Our final recommendation is the INSL-X Aqua Lock Plus Water Based Sealer Primer which is a 100% acrylic primer sealer that provides adhesion to both interior and exterior surfaces. This product boasts superior sealing and coverage qualities whilst providing versatility and an excellent base coat for latex and oil based paints.
Particularly ideal for those working on exterior projects as this primer has a mold resistant coating and stain blocking properties so it is extremely durable and reliable. It dries within 30 minutes and reapplication can occur after an hour meaning that you won’t be wasting time waiting.
How many coats of primer should you apply on wood?
As you can expect, this will depend on all of the factors mentioned above so be sure to read this section carefully so you can gage what is the appropriate number of coats for you.
A lot of the time, you will only need one coat of primer especially if you are painting over an existing coat of paint or an even surface of bare wood. You’ll be able to tell that it is enough if the primer has been applied evenly and covered the surface completely so you cannot see through the wood or paint.
If you apply your paint after one coat and are not happy with the result then you can always apply more primer coatings on top of that and try again. It can be a case of trial and error but it will ensure that you are getting the results you want from the project.
There are also cases when you will need to apply more than one coat. This is usually the case when you are working with a worn down piece of wood that needs a lot of care, especially if the project is going to be placed outside. In that case you'll need two to three coats.
Wood that hasn’t been treated or covered will more than likely need at least two coats of primer so the paint will be secured and give the best results. Before you even apply the primer, make sure that you sand down the wood so it is even. This means that the wood will accept the primer and paint color a lot better.
Another situation in which you may use two or more coats of primer is if you are working with a dark piece of wood or a piece of wood that has been painted with a dark color and you are wanting to apply a light color.
Multiple coats of primer will ensure that the wood or dark color will be able to be seen through the light paint. As well as two coats of primer, you may also need to apply two coats of paint.
Supplies for Priming Wood
Now we’re at the stage where you are ready to apply primer to your wood. Before you begin, make sure that you have the following supplies so you’ll have everything you need:
- Sandpaper
- Painting mask that has a ventilator
- Several paint brushes including one for primer and one for paint
- Primer
- Paint color
- Plastic drop cloths
Step 1 – Sanding Your Wood
One of the most important steps of this whole process is making sure that your wood has been sanded thoroughly. This means that you can be assured that your wood is evenly textured and is going to be prepared to accept the primer and paint.
This is particularly essential if you are working with a worn out piece of wood or wood that has been painted with a darker color.
Step 2 – Cleaning Your Wood
Now that the wood has been sanded so it can accept the primer and paint, you want to make sure that it has been cleaned thoroughly to avoid any dust particles creating bubbles when primer and paint is applied.
You can either use an air compressor or a damp rag evenly across the surface of the wood to make sure that there is no dust or other excess material.
If you do apply a damp cloth, make sure it isn’t overly wet as this will add more moisture to the surface which will take longer to dry before primer is applied. If you apply primer to wet wood then it will not stick and won’t be secured or adhered to the surface.
Step 3 – Applying the First Coat of Primer
Now it is finally time for the application of the primer. You want to make sure that you are using enough of it evenly across the surface. If you use too little then it won’t give the coverage that you want and using too much is going to create goopy spots and drip marks which will affect the end result.
To apply the primer, simply work the primer in clean and even strokes and make sure to distribute it all over so your surface is fully covered.
Step 4 – Applying the Second Coat of Primer (Optional)
This step is optional but is essential if you want to ensure that your paint color will be fully secured and as vibrant as possible.
Before applying a second coat, always make sure that the first coat of primer has fully dried before going in with the second coat. This will prevent any unevenness in primer application and avoid any brush marks from becoming visible.
Once the first coat of primer has been applied and dried, simply repeat the previous step and make sure that you are getting even coverage throughout the surface of the wood.
Step 5 – Applying Paint Color
The final step is applying your paint color. Always make sure that your primer coatings have completely dried before applying your paint as the paint will end up mixing with the primer if it is wet and it will create an uneven and lumpy surface.
To apply your paint, you want to make sure that you are following the same steps as the primer to ensure that the paint is being applied properly and evenly across the surface. Whilst you are painting, watch out for any signs of the primer popping through, especially if it is a lighter color.
Your paint should look bold, strong and evenly distributed. If you want to apply a second coat then wait for the first coat to dry before applying more paint and follow the instructions as before.
And there you have it! That’s all you have to do to complete your project!
Conclusion
You may find that there are elements of trial and error but this is the best way to figure out what works best for you and your project. If you do make a mistake, you can simply try again.
Wood is an incredibly easy surface to work with and there are an array of projects for both interiors and exteriors where you can apply these techniques to.


