When thinking about the disadvantages of smart homes, I remembered a time when my internet router broke. I changed this, and so I had to manually re-configure 5 smart home devices… along with a couple of TVs, my printer, two tablets, two Kindles, three mobile phones and two laptops. Ugh – changing 17 devices manually is a complete pain!
What's more, I then changed my ISP a few months later, which came with a new router: meaning that I had to change all my passwords all over again. Double ugh! This got me wondering whether there was a way of avoiding this pain, and changing the WiFi info on all your smart home devices automatically?
An internet router often allows you to change the SSID – the WiFi name. By changing this (and the password) to your old router's details, your devices ‘should' re-connect without complaining.
The Problem
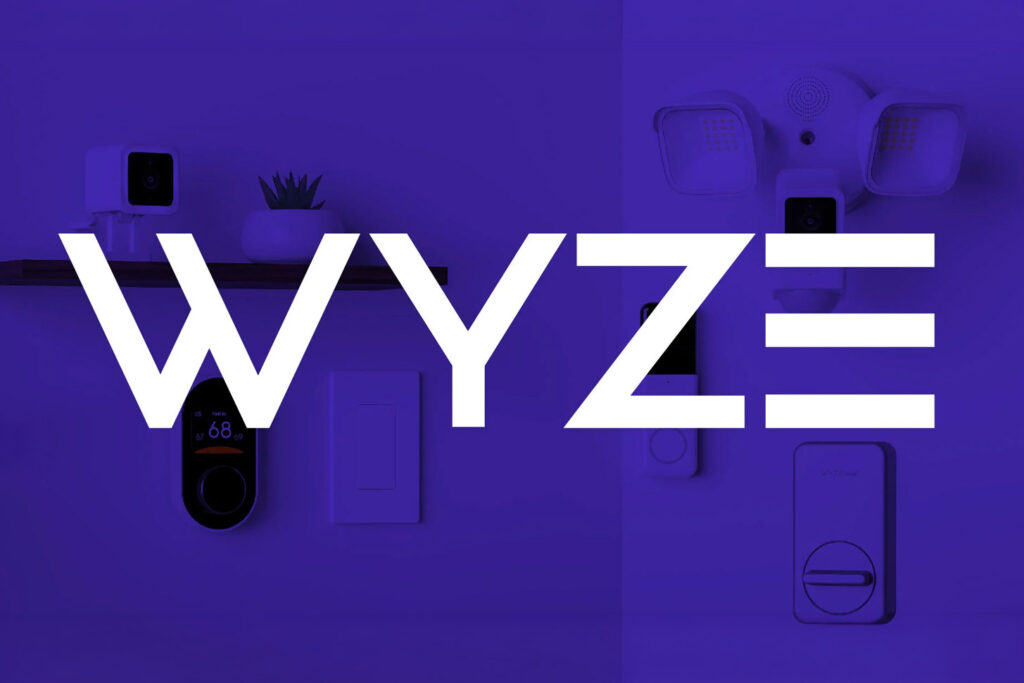
Everything seems to connect on WiFi nowadays, and without realizing it you might have dozens of devices connected wirelessly:
This is fine until you change your router. This is usually done for two reasons: either someone has the previous password who you no longer trust (such as an old roommate), or you have changed ISP and have a new router.
Whatever the reason, going around and changing all the details manually – on every single device – is a completely pain. It's a lot easier to make a single update (to your router), and then just a simple restart of each device is required.
Solution 1: Change SSID And Password/PSK
When you scan for WiFi networks, you'll probably see a bunch of results (especially if you're in a shared space) – the names of these WiFi networks are called the SSID – the service set identifier.
Then you naturally have the WiFi password as well. If you change both the SSID and the password to match your old router, then you should be able to just restart each smart device and it will automatically connect to the new router.
After all, when you connect to a new WiFi network on a device, all you do is choose the name (SSID) and enter a password – so if these match the old router, it should work seamlessly.
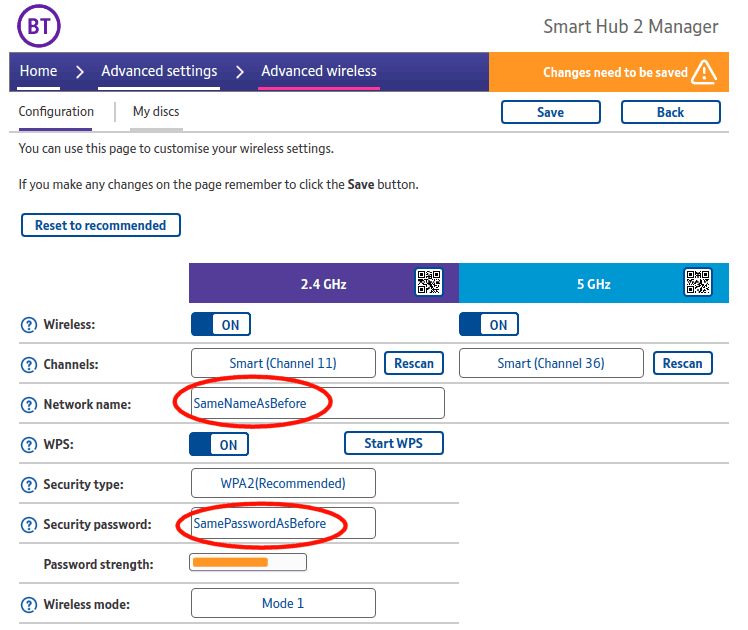
It's worth noting that some router's will refer to the ‘password' as a ‘PSK', or they might say ‘PSK Password'. For our purposes, they are essentially the same – just make sure that any password and/or PSK fields have the same value in your new router.
In terms of how to do this, every router is different. But your router's sticker should have an ‘admin password' (and possibly the ‘admin URL') printed on it. If not, Google “[router model] default admin details” because some routers come with the same URL and username/password.
Once you have the URL, and the admin username/password, simply go to the URL in a web browser and login using the username and password. There should be a ‘WiFi Configuration' or ‘Wireless Configuration' page which allows you to change this.
As I say, every router is different – an example of how to do this on a TP-Link router can be seen below:
Finally it's worth pointing out that you must get all the details exactly right for this to work. Double check that there are no extra (or missing) spaces between the SSID name, and also make sure that the password/PSK is completely correct too.
Also a final note of caution – some newer routers have upgraded internet security. Maybe they disable WPS (the button you press to add new components), or maybe they have dropped support for some older WPA2 versions in favor of WPA3. Whatever the reason, some older Wi-Fi devices might struggle to connect to a really new router, with upgraded/enhanced security.
An example of this is the eero range of routers:
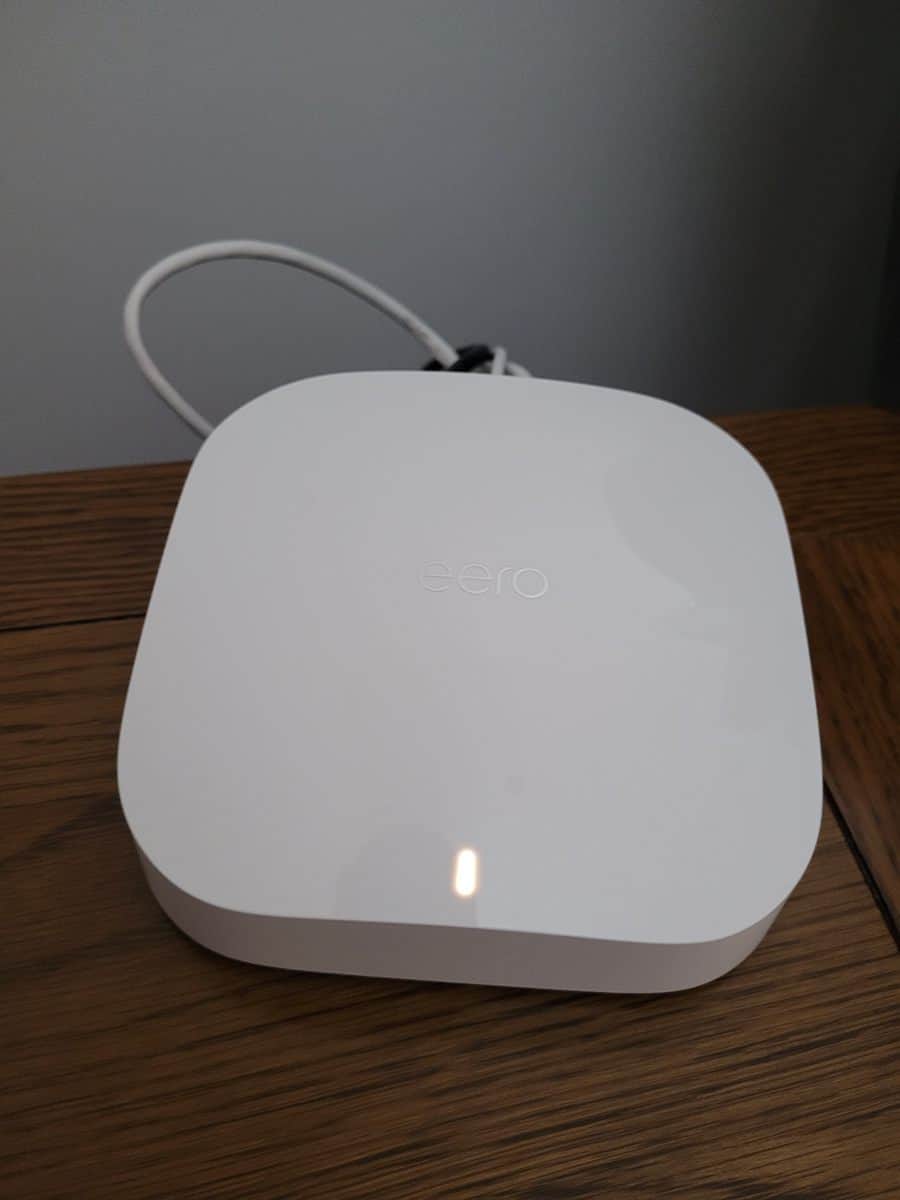
eero's own security FAQ page says that they disable a range of older wireless technologies:
eero only supports WPA2 PSK AES network security… eero doesn’t support WEP, WPA, or WPS, as these protocols are known to be insecure
eero router, security FAQ, accessed 7th December 2021
Therefore if you have an older device that relies on WPA connections, switching to an eero router but keeping the same Wi-Fi network name (and password) won't work – unfortunately.
Solution 2: Leverage Ethernet
If you can buy a smart device with Ethernet support, I'd definitely suggest doing this. Not only is Ethernet (or Power over Ethernet) much more reliable, but it's also a physical connection into your router – meaning that passwords are not required.
Unfortunately only a handful of smart devices support Ethernet, but the Ring Doorbell Elite and most professional-grade smart cameras do support it. The downside? They're usually more expensive – the Ring Doorbell Elite costs $350, whereas the Ring Doorbell Wired costs under $70.
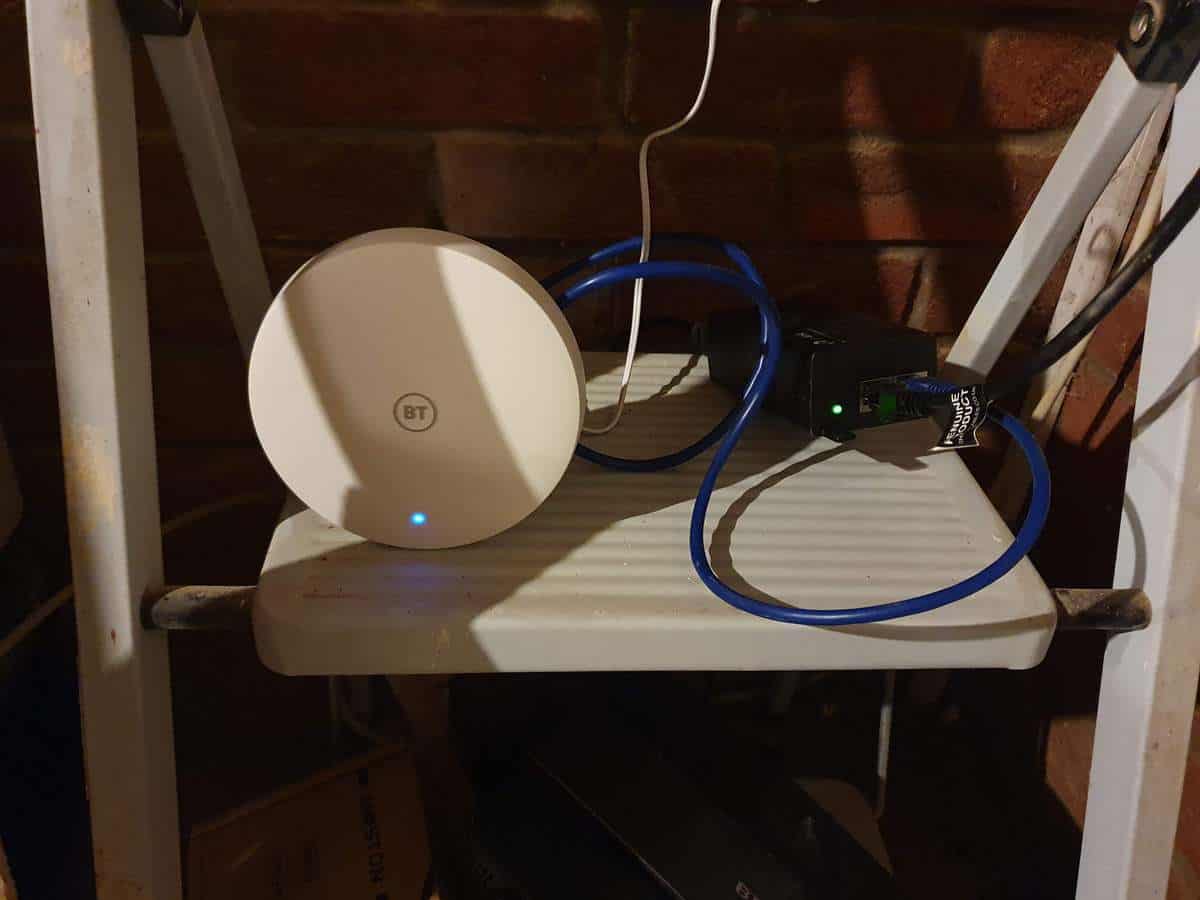
Solution 3: Use A Whole-Home Wi-Fi Mesh System
The other solution is a bit of a cop-out: buy a brand new Wi-Fi mesh system, and use this for all your devices. The reason I say it's a cop-out is because you may end up needing to change all your devices to this new mesh system (unless the SSID/password trick from solution 1 works, of course).
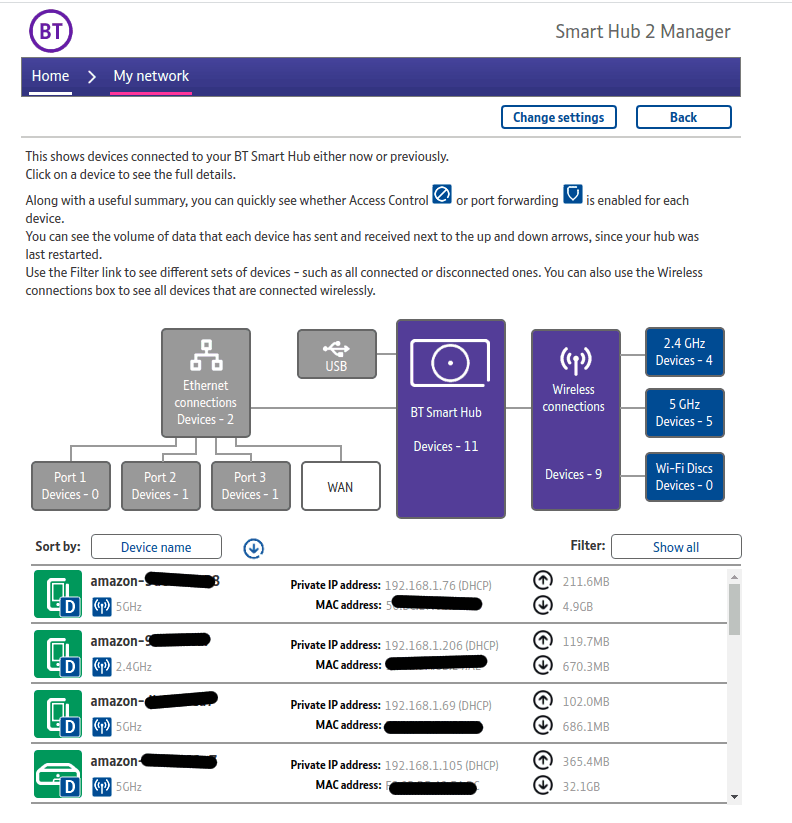
In-case you haven't heard of mesh systems before, one plugs into your main router – and then you have a range of other points that connect to this ‘base' unit:

This gives your home a much better Wi-Fi connection, but it's also useful because you're likely to use your mesh system for a lot longer than a typical ISP's router, which might change every time you change your internet package.
So by connecting your dozens of smart devices to a mesh Wi-Fi system, you bypass your dependence on your ISP's router – a device that might change every year or two.
Tip: While it's recommended to disable the Wi-Fi on your ISP's router (so that the mesh Wi-Fi signal doesn't clash with it), you can keep both on temporarily. This will allow you to slowly update your device's Wi-Fi details from the old router, to the new mesh system. And then when all devices are using the mesh router, you can turn off the Wi-Fi on your old router.
A Word On Saving WiFi Passwords to Amazon and Google
Both Google and Amazon allow you to save your WiFi passwords with them, which they usually ask you about during the setup process of a new smart device.
This sounds like it could be perfect for our case, right?
Well, unfortunately not. To quote Amazon's support page:
“4. What should I do if I change my Wi-Fi passwords?
You can save your updated Wi-Fi passwords to Amazon by re-running any compatible device through its Wi-Fi setup process. Once reconnected to your Wi-Fi network, your updated Wi-Fi password will be automatically saved to Amazon.”
In other words, if you have 10 Amazon Echo devices setup and you change your WiFi password, you still need to run through their setup process again.
Whilst this is annoying, it makes sense from a technical perspective: if your WiFi password (or router) changes, each Echo device is cut-off. It isn't connected to your network anymore, and it therefore has no internet access either. This means that your Echo won't know that Amazon has a new WiFi password for it.