Sometimes people have a hard time letting go of the past. Apparently, so do some Amazon Echos!
Over the years, for one reason or another, we may have to change the Wi-Fi network or internet service provider (ISP) we use. In turn, of course, the Wi-Fi used with our Echos has to change as well. But some Echos resist this change and keep reverting back to the old Wi-Fi. This problem can get very annoying – especially when performance is affected! So why is this happening, and how do you fix it?
Overview: The Amazon Echo
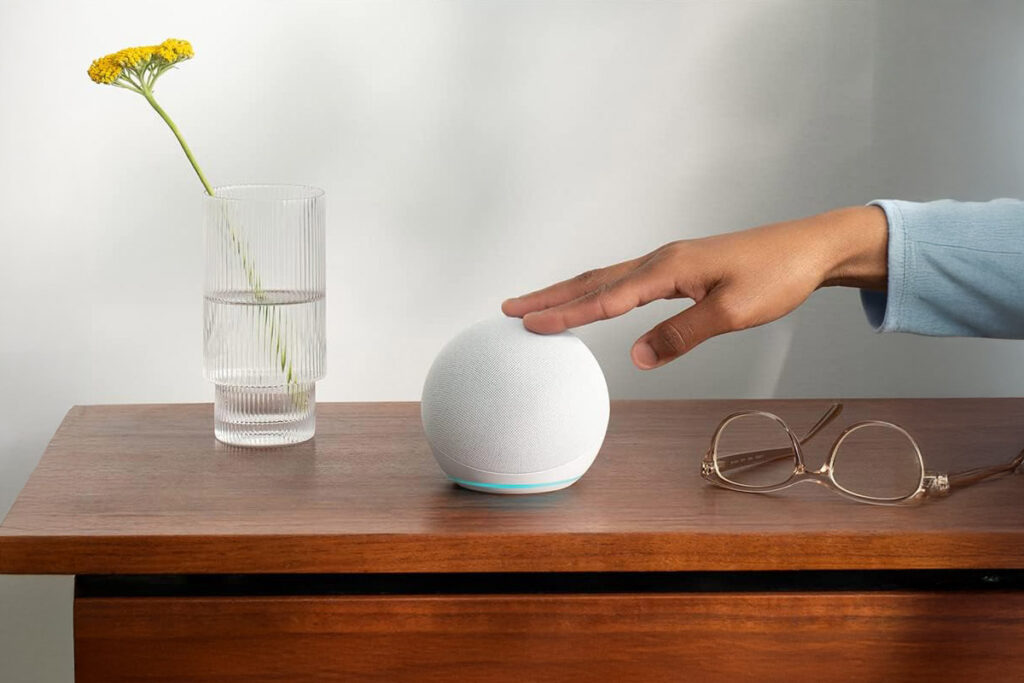
Love or hate it, the Amazon Echo is one of the most popular smart home hubs worldwide on the market today. They come in a variety of shapes, sizes, and capabilities.

From their little round Echo Dot, to the tall Echo Plus, to the more visual Echo Show.

These devices are designed to help you automate your smart home more efficiently. They can tell you the news, the weather, give you traffic updates, and even play your favorite music – just to name a few functions!
They also help you control your other smart home devices with voice commands. They do this using the Settings and Devices you have set up in the Alexa app.

The Alexa app is the brains behind the Amazon Echo. Here is where you’ll add smart home devices such as smart lights, smart plugs, and smart security cameras. The Echo Show is particularly useful if you have smart cameras as you can see the camera feed right from its screen.
In order to connect to your devices and the Alexa app, the Amazon Echo needs a Wi-Fi connection. You connect it to Wi-Fi when you first set your Echo up.
But, over time, you may need to change the Wi-Fi network that your Echo is using. However, some Echo users find that the Echo often reverts back to the old Wi-Fi it was using. Why?
Why Your Echo Connects to the Wrong Wi-Fi
Connecting to the wrong Wi-Fi can definitely be an annoying problem! This is especially the case if the Wi-Fi it keeps connecting to is slower than the one you’re trying to connect to.
- Sometimes this issue occurs after a power outage. When reconnecting, Amazon Echos may revert to whatever Wi-Fi it was connected to when it was first set up. If you happen to use multiple routers or have more than one Wi-Fi network, this is yet another reason that your Echo may go with a different Wi-Fi.
- If your preferred Wi-Fi network and/or router experiences some kind of power or service interruption, your Echo may try another Wi-Fi, in order to keep working. If the signal of your preferred Wi-Fi drops out often, the Echo will revert to what it ‘thinks’ is more stable.
- Or, it may just jump to another Wi-Fi for no other reason except that it wants to! Obviously, this is unacceptable.
So how do you remedy this situation?
How To Stop Your Echo from Connecting to the Wrong Wi-Fi
No matter what the reason, you want your Echo to stop changing Wi-Fi when you don’t want it to. Fortunately, there are a few ways that can help to stop this from happening.
Forget Network
One of the first options you’ll want to explore, is to go to your individual Echo devices and have them forget the Wi-Fi network you don’t want to use. Some have had mixed success with this method.
On your Echo Show, you can simply go to the screen. Swipe down the top menu and hit Settings.
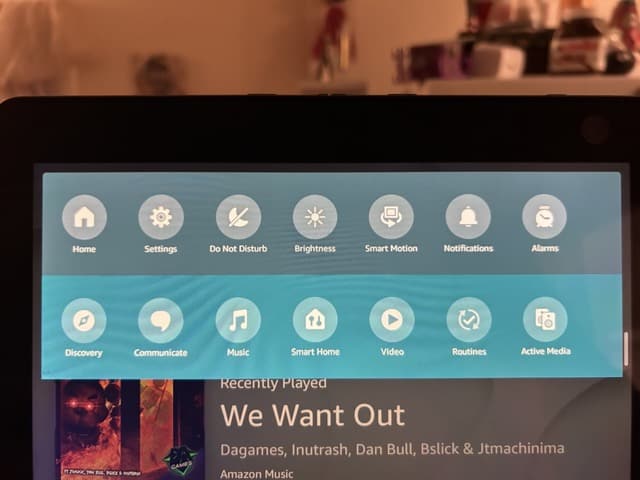
On the next screen, you’ll see your Network, tap on that.

The following screen will show you different Wi-Fi networks that you have saved, as well as those in the area that are available. Tap on the small “i” next to the network that you want your Echo to forget.

That next screen will show you the Wi-Fi network name as well as signal strength. On the bottom, right-hand corner you’ll also see an option to Forget. Tap on that so that your Echo forgets the network.

For your Echo Dots, the only option in the Alexa app is to change the Wi-Fi network, not forget it altogether. To change the Wi-Fi, go to the Alexa app Dashboard, hit Devices, then Echo and Alexa.

On the next screen, select the Echo device that you want to change the Wi-Fi on, and tap on the gear icon in the upper right-hand corner to go to that Echo's settings. Then on the next screen scroll down to where it says Wi-Fi network, and select the word Change in small blue letters.
You’ll then be taken to screens that will show you how to press the Action button on your Echo so that you can change the Wi-Fi network.
To remove the Wi-Fi altogether, however, you’ll have to go to Amazon.com.
Deleting Wi-Fi on Amazon.Com
If you have Echo Dots and want to delete the Wi-Fi account you want no part of, you’ll have to go to Amazon.com in order to do this.
Start with navigating to Amazon.com. Once you’re there, go to the top, right-hand corner of the screen where you see your name. Mouse over that section and look at the drop-down menu that appears. Hit Content and Devices.
On the next screen, go to where you see the different tabs and select Preferences. On that screen, you’ll see several options. Scroll down until you see Saved Network Passwords.

You’ll see a couple of options here. Your Saved Wi-Fi passwords as well as Your Saved Thread Passwords. You’ll be focusing on Wi-Fi.

Note: The only thing about this, is it will delete all of your passwords from all Devices. So even if you have a Network you actually want to use, that one will be deleted too. However, you can always add that back in later.
At this point, it’s a good idea to restart all of your Echo devices, as well as force close the Alexa app if it was open. This refreshes everything with the new settings so that you can proceed.
Once you’ve done that, you can go into your Alexa app and connect your Echo devices to the Wi-Fi that you actually want them to use. This way you don’t have to worry about them re-connecting to your old Wi-Fi.
Block Echo at the Router
Another option you can try is going to your actual router to block your Echo from being able to connect to it.
The steps to do this will vary depending on your brand of router, as well as if the router is provided by your ISP. If you’re using an ISP (Internet Service Provider) like Xfinity or Verizon, you’ll be doing this via their app.
To use Xfinity, for example, after opening the app, look to the bottom of the screen and hit the Connect button.
On the next screen, you’ll see the details of your Wi-Fi, as well as devices that are connected to your Wi-Fi network.

You can also scroll down and view devices that were previously connected, but not currently connected.

Choose the Echo that’s giving you a problem, and then you’ll have two choices. The first, is you can pause the device. This makes it unable to connect to that particular Wi-Fi network. You can unpause it later if you like.

If you tap on Device Details, that next screen will provide the option to Forget the Device.

However, this won’t prevent the Echo from connecting again. In this case, pausing the device will be your best bet.
Eero offers similar options, also via the app, allowing you to block or pause specific devices as you require:

The options will vary between ISPs as well as router apps. In general, however, you want to locate the list of devices that are connected or have been connected to that particular Wi-Fi network. Once you’ve done that, you can select the Echo you don’t want connected, and see what options you have.
Factory Reset Your Echo
Perhaps one of the least desirable methods is a good old-fashioned factory reset. These are never fun, but, they can potentially eliminate any issues, as you’ll be starting with a clean slate. Since it’ll be reset, it will be as it was when you first got it, which means that any saved Wi-Fi networks and passwords will be removed.
Before you do this, it’s important that you remove any saved Wi-Fi networks from Amazon.com. This way, when you reset your devices, the old Wi-Fi networks are no longer available.
There are two ways to reset your Echo. For an Echo Show, go to the device itself and swipe down from the top of the screen. Select Settings from that menu.
On the next screen, go to Device Options.

Then you can choose Reset to Factory Defaults.
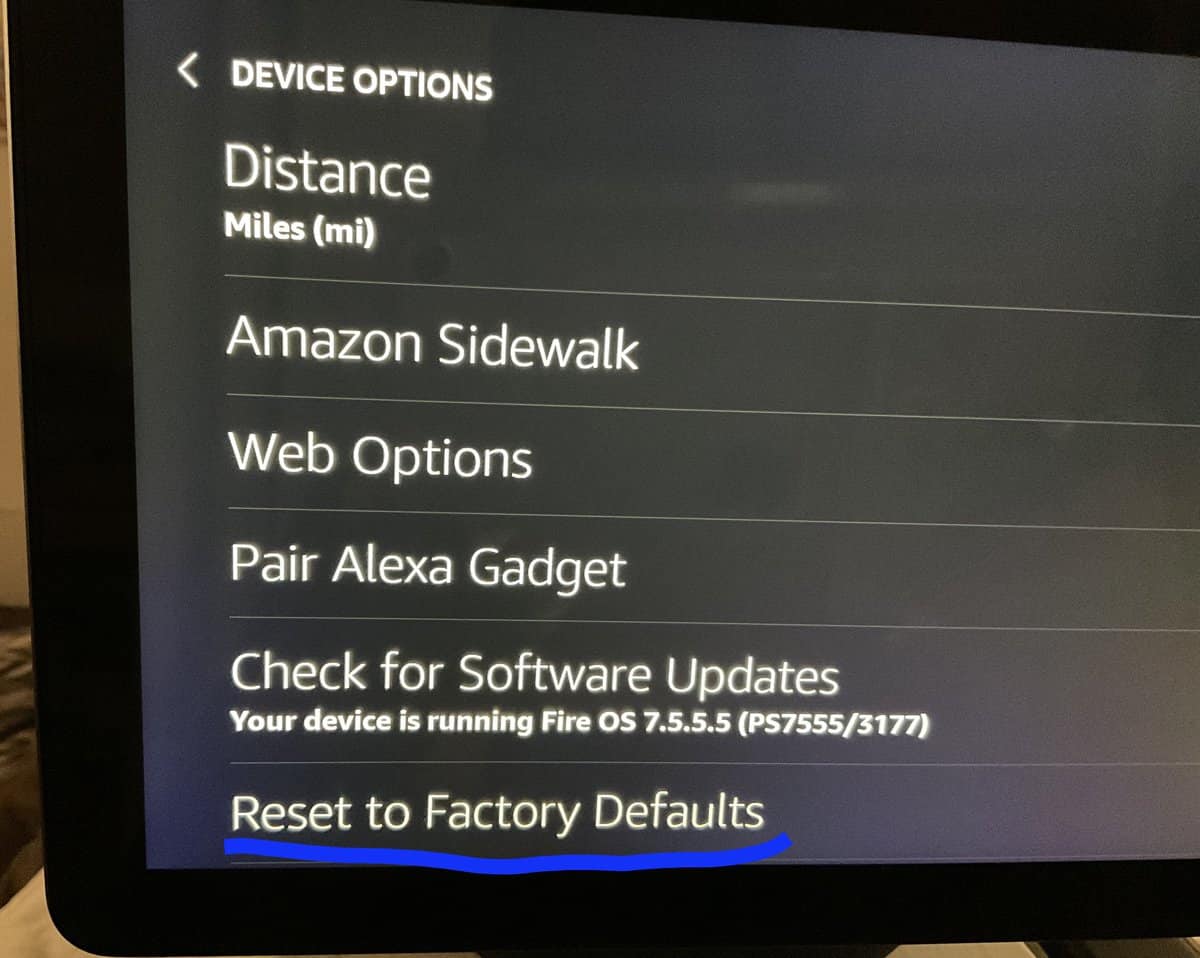
Your Echo Show will then shut down and go through the process of Factory resetting itself.
If you have an Echo Dot, you reset it by holding down the Action button for about 25 seconds.

Do this until the light turns orange and begins spinning, indicating that it’s in setup mode.
Note: Factory resetting your device via the Alexa app used to be possible, but many users have found that the option has disappeared. So for now, using the Action button is the best solution.
It’s also important to note, when you’re setting up your Amazon Echo again in the Alexa app, uncheck the box that says to save Wi-Fi network passwords to Amazon. This will save you a lot of headaches in the long run!
Getting The Right Network
Getting your Echo to forget old networks can be a frustrating challenge! However, with a few troubleshooting tips, getting your Echo connected to and staying connected to the right network can be a cinch!


