Automations in the modern smart home are one of the most useful things today. They make things easier such as creating bedtime routines that help get the little ones to sleep, or even help you to relax after a long day. They may even be of help to families who are hard of hearing.
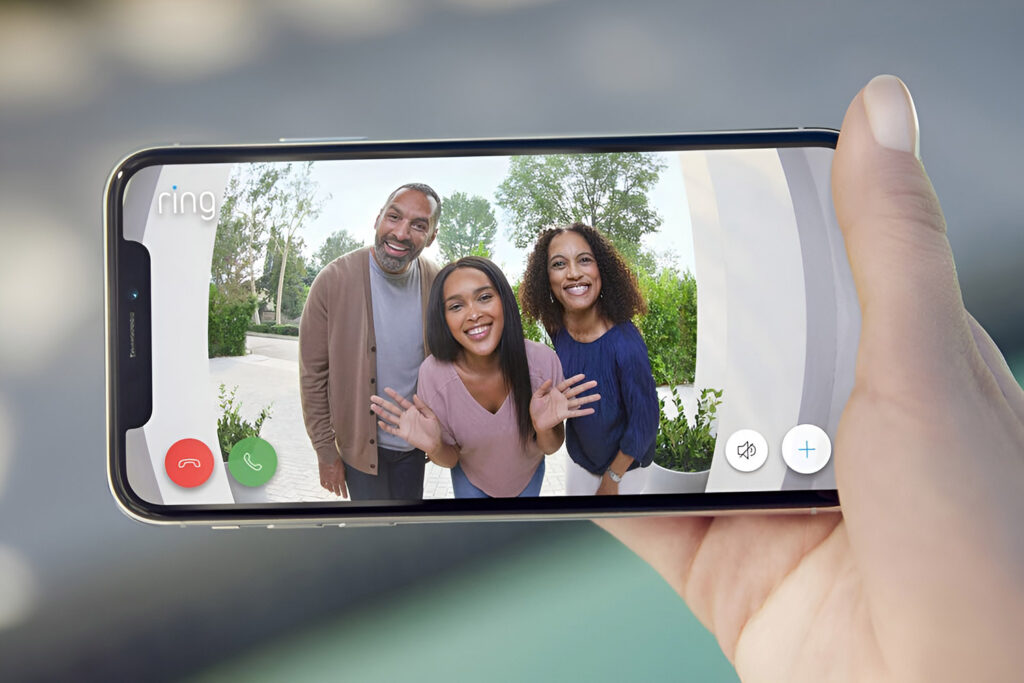
For example, if someone is hard of hearing, hearing impaired or deaf, a wireless doorbell ringing with loud sound is going to be just as useful as eating soup with a fork! To that end, automations that provide some sort of visual indication like a flashing strobe light or a door chime with a visual component would be necessary. But is it possible? And if so, how can you do this?
What are Smart Home Automations?
Smart home automations are when various smart home devices work together. They do this from a central point, or hub where these devices are connected to and controlled from.
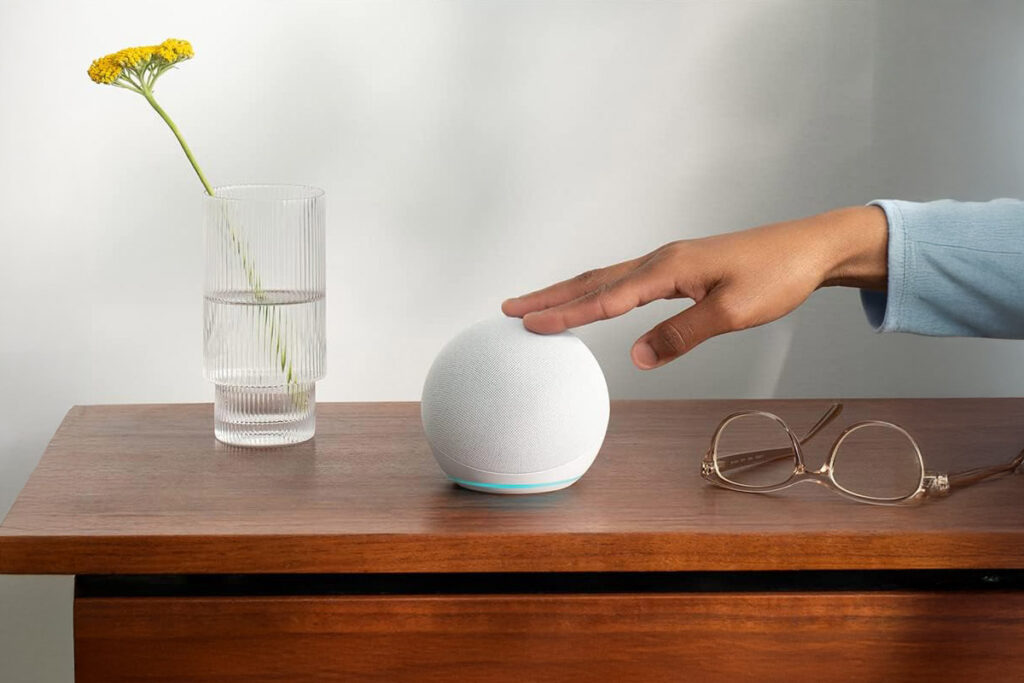
Smart home hubs commonly used are Amazon’s Alexa and Apple HomeKit. From these hubs, you can create automations between a variety of smart devices from different manufacturers. As long as each device you intend to use is set up and compatible with your smart home hub of choice, you’re good to go.
Smart home devices that are commonly used in smart home automations include cameras, smart lights, alarm systems, and video doorbells, bright flashing strobe light, door chime. These devices can come from a variety of manufacturers such as Wyze, Ring, Amazon, and Philips Hue, just to name a few.
They can even use different wireless communication protocols such as Wi-Fi, Zigbee, and Z-Wave. All of these can work together harmoniously to create smart home automations such as door chime to assist you in your everyday life.
Smart home automations work on the principle of a trigger and a reaction. For example, consider an outdoor smart camera. An automation can be set up so that when that camera detects motion, a light that’s set up on the front porch lights up. The trigger is the motion, and the action is the light turning on. You can even have more than one reaction, such as several lights coming on, and maybe even an announcement from your smart home hub.
So how do you create these smart home automations?
Creating Smart Home Automations
With the wide variety of smart home hubs available, creating smart home automations will vary across different platforms. Their capabilities, limitations, as well as the wireless communication protocol that they use, will also vary.
Consult your device’s instructions for the most detailed information. However, below is an overview of how you can get started creating smart home automations that get a light to flash when someone rings your smart doorbell.
With Alexa

Creating automations with Amazon’s Alexa is one of the most popular options. In the Alexa app, these automations are called ‘Routines’.
Side Note: you will need an Amazon Echo device in order to use routines. Whilst many Echos are pointless for people who are hard of hearing, they can often be set-up fairly easily (all within the Alexa app) and then forgotten about. Alternatively, you can use an Echo Show with closed captions enabled – which should then be moderately useful.
Once you’ve set up all of the devices you need, such as your smart doorbell, wireless door chime, strobe light and any smart lights to indicate that someone rang your bell, you can then begin setting up your routine.
You’ll start by opening the Alexa app, then navigating to the bottom right of the screen where the three lines are for ‘More’. On the next screen, select “Routines”. There you’ll see any routines that you’ve already created, as well as be given the option to create new routines via the plus sign “+” on the top right-hand corner.
At this point, you can then set the parameters of your routine. You’ll see the option to create the trigger under “When this happens”. The trigger will be ringing the doorbell:

In this case, the trigger action with be when someone presses or rings your smart doorbell:

After you’ve chosen and saved your trigger, you can then choose to “Add action”, which would be getting a particular smart light, or set of lights to turn on. Now, just the light being on may not provide the best indication (unless it’s a light designated just for the doorbell alone), so the light needs to do something, such as turn off, then on again.
Here is where you would need to add a section to cause this to happen. So after you’ve added the light to turn on, you’ll go back and add another action. This time scroll down to “Wait”:

Next, choose the duration you’ll want to wait before turning the light off – you can set this as low as 5 seconds:

Then, add in turning the light on, and another “Wait” section. This will then achieve the desired blinking light effect. Make sure to save your routine when you’re finished.
Click here to see a video clip showing this process instead.
With Google Home

Google Home also has options when it comes to creating smart home automations. Just as with Alexa, Google Home automations are called ‘Routines.’
When you’re ready to set up a new routine, open up the Google Home app, then select “Add +” which will be near the bottom of the screen. Under “How to Start”, hit “Add Starter”. This will be the device or trigger that will start your routine.

This can be a voice command, device, or even set to a specific schedule. In this case, it would a device, such as your smart doorbell. Someone ringing the doorbell will trigger the action.
So now that you’ve set up your routine where your smart doorbell triggers a light to turn on, what next? What about the delay or wait so that your lights can flash?
Google Home users often complain about the lack of a ‘Delay’ or ‘Wait’ feature. While some users in the UK have reported seeing a feature like this pop up recently, users in the US have yet to see it – if they ever will.
At this time, unfortunately, with Google Home’s routines, you cannot make your smart lights flash or blink. If the manufacturer of your particular smart light allows for some sort of setting that does this, that’s a different story. But in general, it will not be able to flash. Alternatively, you may choose for the light to display in a certain color to indicate that someone rang the doorbell.
With Apple HomeKit
In order to create smart home automations with Apple HomeKit, you’ll need to use the Home app. You’ll then need to set up one of your Apple smart devices as your smart home hub. This can be your Apple 4KTV, iPad, Mac, or the HomePod. Make sure you’ve also added HomeKit accessories to the Home app.
Once you’ve got your smart home hub set up and connected your devices to the hub, you can begin setting up your automations.
You’ll start by opening the Home app, then going to the Automations tab. You’ll push button to create a new automation, which is displayed as a plus “+” sign. Next, think about the automation you’re trying to create. In this case, getting a light to flash when someone rings your smart doorbell.
This kind of automation would be under “An Accessory is controlled”. You’ll then choose the action that triggers the automation, in this case, someone pressing the doorbell button. Then select ‘Next’. On the next screen, you’ll select the device that reacts, such as a smart bulb. You can choose to have the bulb turn on. However, just as with Google Home, there is no straightforward way to get the bulb to blink.
Some users have been able to use shortcuts with mixed success in order to achieve this.
With Home Assistant

In Home Assistant, first, you want to make sure that you’ve set up all of your devices in the app. Once you’ve done this, you can move on to creating the home automations.
After you open the Home Assistant app, go to your sidebar and locate the button labeled “Configuration”. Once you’ve selected this, then click on “Automation”. On the next screen, you’ll see your main hub for creating, controlling, and editing your smart home automations.
Click the plus sign “+” in orange to create a new automation for your Ring doorbell and smart lights. After you’ve given this new automation a name, you can then start creating the triggers.
In the “trigger” section select the triggering action, which would be the doorbell being rung. The next step would be to set the action, which in this case would be having one of your smart lights turn on.
With Home Assistant you can adjust the routine so that there is a delay before they turn off. To achieve the blinking effect, you can add turning the light on to the routine again, then delay the turning off – until whatever interval you choose.
Once you’re sure everything is to your liking, hit the orange save button with the small disk icon.
Other Options Besides a Blinking Light
If a blinking light indicating someone rang the bell isn’t sufficient, or you want to have a different indicator, there are a couple of other options. These are also helpful if you have a hub that doesn’t support creating a blinking light, such as Google Home or Apple HomeKit.
One such option is you can have a smart light display a certain color.

When you create your automations, make sure to select that you want your smart light to display a certain color instead of it just switching on and off:

Another option is having a notification sent to your smartphone or tablet. Companies like Ring and Wyze already send notifications to your devices when someone rings the bell. However, configuring your notifications in the doorbell’s respective app can offer different notification options that may prove useful.
For example, device notifications that vibrate can be helpful in knowing when someone is at the door. Your smart device’s notification settings can be helpful in this regard too. Some offer vibration in patterns, or at longer intervals or higher intensity.
Never Miss The Door Again
Realizing someone is at the door can be a challenge if you or certain family members are deaf or hard of hearing. Creating smart home automations can help, but the steps will vary depending on the system you’re using.
Some hubs don’t allow for blinking lights, however other options such as changing the light color or adjusting notifications can also make things easier to know when someone is at the door.


