I’ve been using the Philips Hue Dimmer Switch for a while, and it’s a game changer for smart lighting. Instead of always reaching for my phone, I can just tap a button to turn my lights on, dim them, or switch between scenes. It’s small, battery-powered, and sticks to the wall—or you can just use it like a remote.
However, sometimes you'll see a red error light, which usually means the connection has been lost. We'll show you how to fix your dimmer switch in a few simple steps.
👉 Don't miss: Best Smart Kitchen Appliances (2025)
What Is the Hue Dimmer Switch?
- Wireless dimmer switch
- Bridge optional
- Wall-mount or handheld
- Magnetic remote
- Scene selection
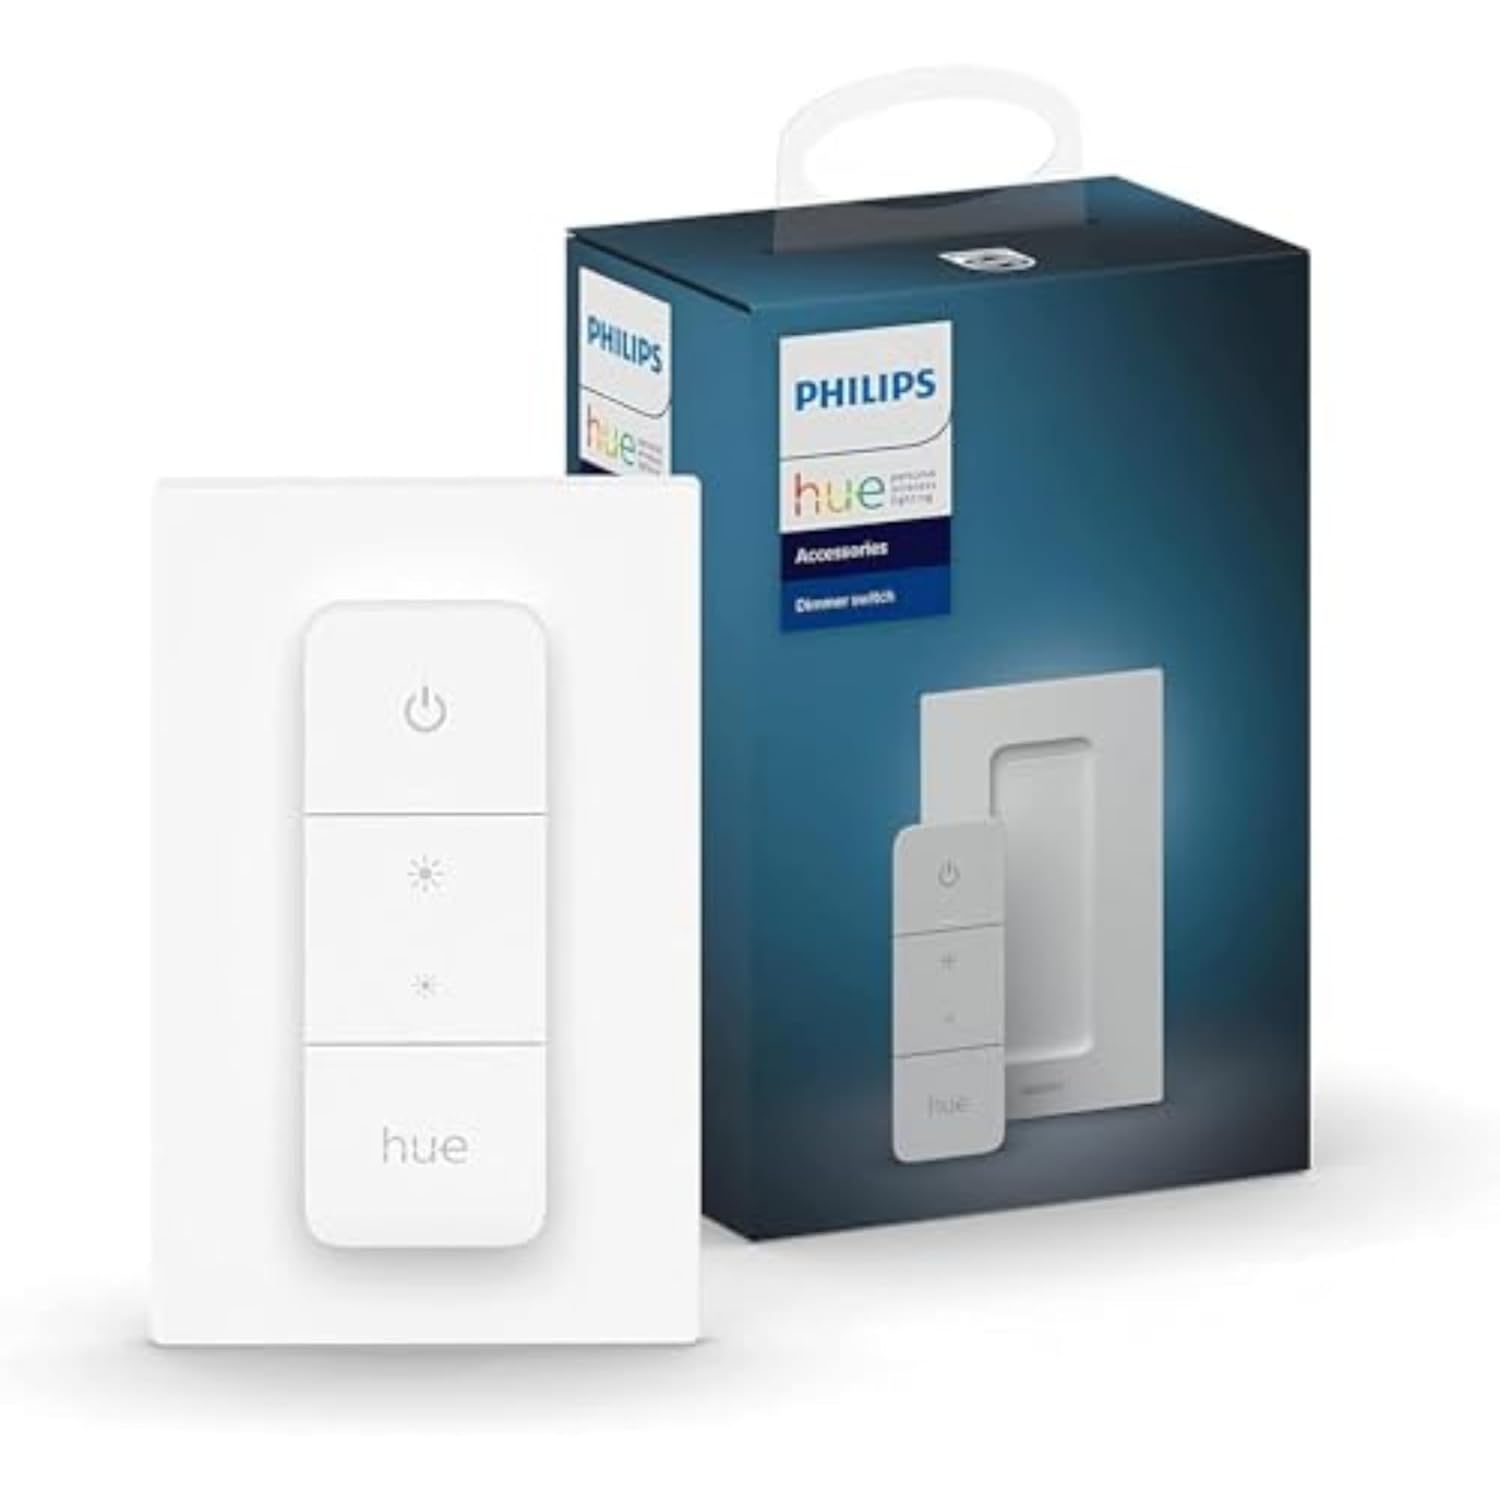
The Philips Hue Dimmer Switch is a wireless smart light switch designed to control Hue lights without needing an app. It’s easy to install, works with Bluetooth or a Hue Bridge, and has four buttons—on, off, and brightness controls. If you have a Hue Bridge, you can customize what each button does, like setting specific lighting scenes.
You don’t have to mount it on the wall either. The switch slides right out of its base, so you can carry it around like a remote. It’s a simple way to control your lights, especially if you don’t want to rely on voice commands or your phone.
👉 Upgrade your speed: Best Internet Providers for 2025
What If There’s a Red Error Light?
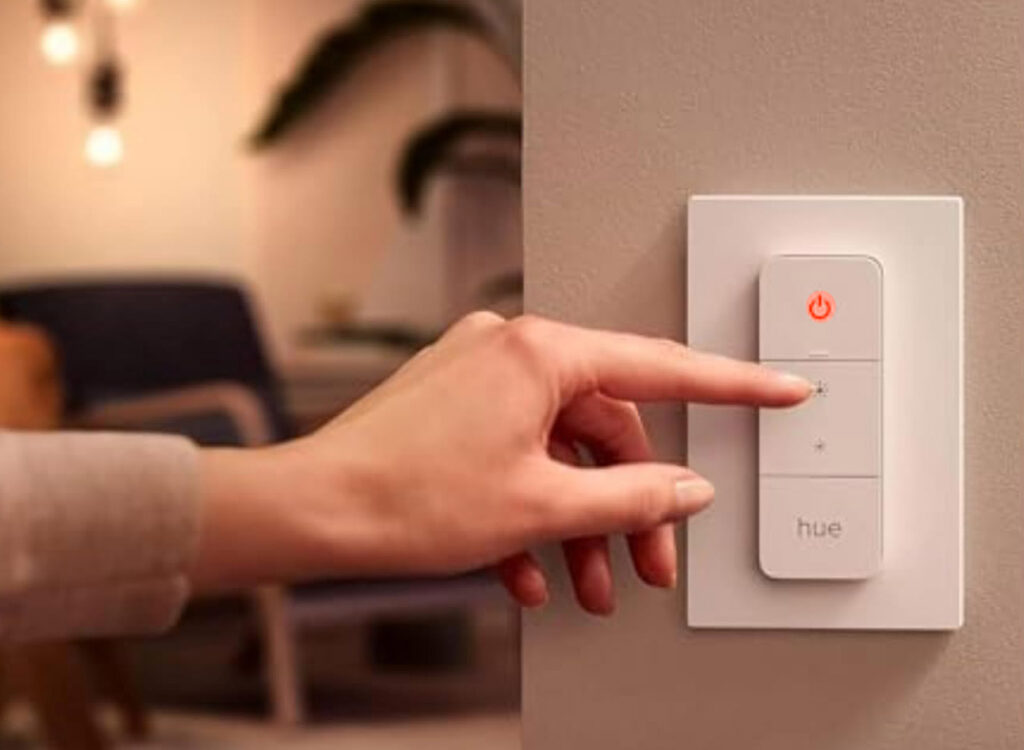
Normally, the dimmer switch just works, but if you see a red light when pressing a button, something’s wrong. This usually means it lost connection to the lights or the Hue Bridge. Sometimes it’s just a low battery, but other times, it could be a pairing issue or a temporary glitch.
Common Causes of the Red Error Light
- Low battery
- Connection issues with the Hue Bridge or Bluetooth
- Too far from the lights or Hue Bridge
- Interference from other wireless devices
- Outdated firmware
- The switch needs to be reset
- Physical damage
How to Fix the Hue Dimmer Switch Red Error Light
If your Hue Dimmer Switch is flashing a red light, don’t panic. I’ve dealt with this a few times, and it’s usually a simple fix. Let’s go through the steps to get it working again.
👉 Related reading: Philips Hue ‘Home and Away’ Not Working?
Check the Batteries
- Long-lasting power
- Works in multiple devices
- Reliable storage
- Trusted Duracell brand
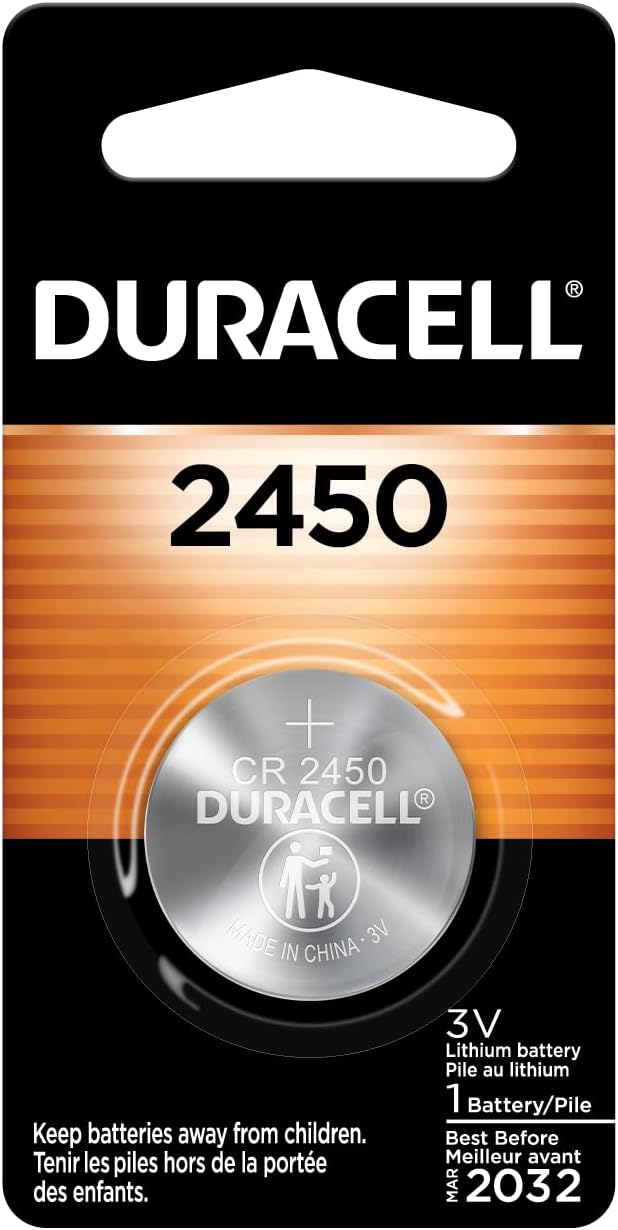
The most common reason for a red light is a low battery. The Hue Dimmer Switch runs on a CR2450 coin cell battery, and when it gets weak, the switch struggles to connect. Open the back cover, take out the old battery, and pop in a new one. Make sure the battery is facing the right way before closing the cover. If the red light is still there, move on to the next step.
Move Closer to the Hue Bridge or Lights
Sometimes, the switch is just too far away to connect properly. If you’re using a Hue Bridge, try standing closer to it. If you're using Bluetooth, make sure you're within 30 feet of the lights. I once had trouble with my switch in the bedroom, and it turned out my Bridge was too far away. Moving the Bridge to a more central spot fixed the issue.
👉 Related reading: Best Smart Home Devices – 2025 Shopping Guide
Reconnect the Switch in the Hue App
If the switch got disconnected, re-pairing it can help. Open the Hue app, go to Settings > Accessories, and find your Hue Dimmer Switch. Remove it, then press and hold the Setup button on the back of the switch for 10 seconds until the light blinks. Go back to Add Accessory in the app and follow the instructions to reconnect it.
Restart the Hue Dimmer Switch
A quick restart can sometimes fix glitches. Press and hold the On and Off buttons at the same time for about 10 seconds. The switch should blink to show it’s restarting. After that, try using it again to see if the red light is gone.
Reset the Switch
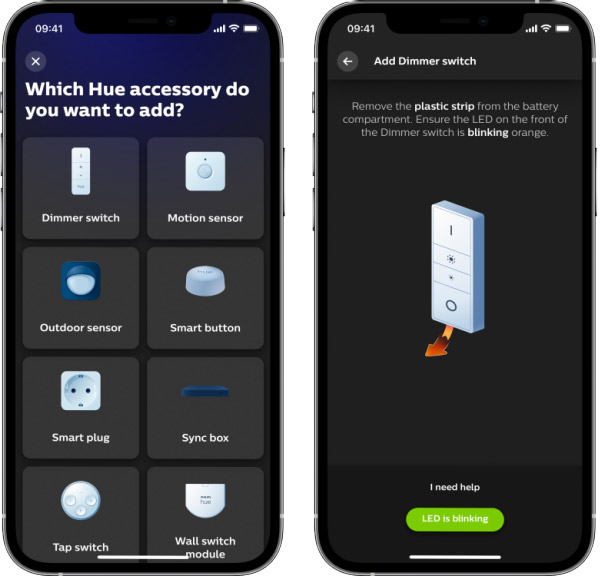
If reconnecting didn’t work, try a full reset. Hold the Setup button on the back of the switch for 10 seconds. You’ll see the light blink to confirm the reset. Then, open the Hue app, go to Settings > Accessories, and select Add Accessory to set it up again. This helped me when my switch wouldn’t respond at all.
To do this:
The Hue Dimmer Switch can connect in two ways: with a Hue Bridge or via Bluetooth. If you have a Hue Bridge, you’ll get more control and customization options. If you don’t have one, you can still use the switch to control your lights over Bluetooth.
Connect with a Hue Bridge
Using a Hue Bridge lets you customize what each button does, control more lights, and manage your switch through the Hue app.
Make sure your Hue Bridge is already set up and connected to the Hue app. If you haven’t done that yet, you’ll need to install the Bridge first.
- Open the Hue app on your phone.
- Go to Settings and tap Accessories.
- Tap Add Accessory and choose Hue Dimmer Switch.
- If your dimmer switch has a plastic battery strip, remove it. The light should start blinking orange.
- If it doesn’t blink, press and hold the Setup button on the back of the switch until it starts blinking.
- The Hue app will find the dimmer switch. Follow the on-screen instructions to assign it to a Room or Zone and customize the button functions.
Connect with Bluetooth
If you don’t have a Hue Bridge, you can connect the switch directly to your lights using Bluetooth.
- Hold the dimmer switch close to the light you want to control (within six inches).
- Press and hold the On button for three seconds until the green light blinks.
- Repeat for up to 10 bulbs.
- To remove a light from the switch, hold the Off button for 10 seconds while near the light.
Once connected, you can use the switch to turn the lights on and off, adjust brightness, and cycle through preset scenes. However, you won’t be able to set up custom button functions without a Hue Bridge.
👉 What’s the Difference Between Philips Hue Bridge 1 and 2?
Check for Interference
Wireless devices like Wi-Fi routers, other smart home gadgets, and even thick walls can cause connection problems. If you have a lot of smart devices, turn some off and test the switch. Try moving your Hue Bridge or Wi-Fi router a few feet apart. I had interference issues when my router and Bridge were too close, but spacing them out solved the problem.
Update the Firmware
Outdated software can cause problems. Open the Hue app, go to Settings > Software Update, and check if there’s an update for the Dimmer Switch. If there is, install it and see if that fixes the issue.
Check for Physical Damage
If nothing else has worked, check the switch itself. Press all the buttons to make sure none are stuck. If the switch has been dropped or exposed to water, it may not work properly. If you see any cracks or damage, you might need a replacement.
If you’ve gone through all these steps and the red light is still flashing, it might be time to contact Philips Hue support. We’ll go over when to reach out to them next.
What To Do If the Red Light Won’t Go Away
If you’ve tried everything and the red light is still flashing on your Dimmer Switch, it’s time to contact Philips Hue Support. They can help troubleshoot further and determine if the switch is defective. You can reach them through the Hue app or their website.
Continue reading:


