

In this post:
Installing a Ring Doorbell isn't terribly difficult, but you do need to use the correct screws. If you use the wrong ones, you might run into problems like a loose mount or even damage to the device. I’ll go over the different screws included in the box, what each one is for, and why it’s important to use them correctly.
Types of Screws Included

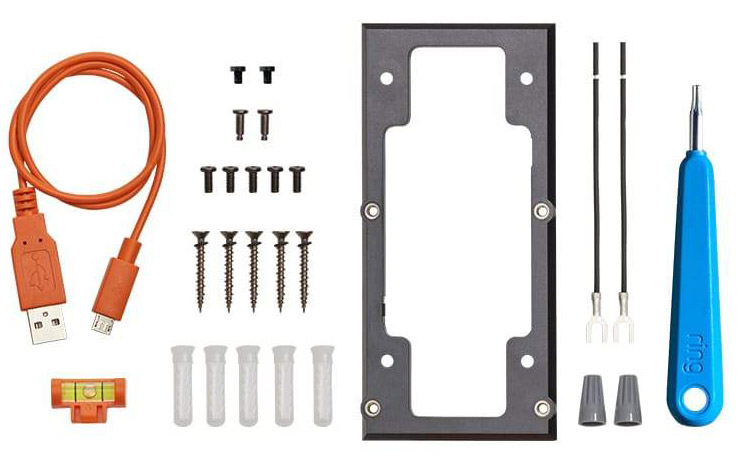
When you open the box, you’ll find two types of screws: security screws and wood screws. Both serve different purposes, and Ring provides the right ones to install your device safely.
Security Screws

Security screws keep the doorbell attached to the bracket once it’s mounted. These screws are small but important because they help prevent tampering. Ring includes a special screwdriver with a star-shaped end to tighten or remove them. Regular screwdrivers won’t work, so don’t lose the one that comes in the box.
When installing your Ring Doorbell, wait until the last step to put in the security screws. If you insert them too early, you might have to remove them later, which can be annoying. If you ever need to take your doorbell off for charging or maintenance, you’ll need this screwdriver to loosen the security screws.
Wood Screws
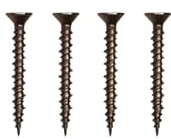
Wood screws are used to attach the mounting bracket to a surface. If you’re installing the doorbell on wood, these are the screws you’ll need. They’re longer and designed to hold the bracket securely.
If you're installing your doorbell on brick, stucco, or concrete, don’t use the wood screws by themselves. You’ll need to use the provided wall anchors first. Drill holes into the surface, insert the anchors, and then screw in the wood screws. This helps prevent the screws from coming loose over time.
👉 Related reading: Can Ring Doorbells Be Jammed?
Why Using the Right Screws Matters
Using the wrong screws can cause serious issues. Ring specifically warns against using anything other than the included short security screws when securing the doorbell to the bracket. Using a different screw in that spot can damage the battery, which could lead to overheating or even a fire hazard.
If you ever lose a screw, get a replacement from Ring or a trusted source. Using random screws from your toolbox might seem like an easy fix, but they may not fit correctly or could cause problems later.
👉 Related reading: Can Ring Doorbells Record Video Locally?
Tools You’ll Need
- Ring screwdriver (includes two ends: one for security screws, one for wood screws)
- Drill (if installing on brick or stucco)
- Wall anchors (for harder surfaces)
Ring includes a screwdriver with two ends—one for the security screws and one for the wood screws. If you’re installing your doorbell on a harder surface like brick or stucco, you’ll also need a drill to make holes for the wall anchors.
Enjoy Your Ring Doorbell!
When setting up a Ring Doorbell, pay attention to the screws. Security screws lock the device in place, while wood screws attach the bracket to the wall. Don’t swap them out for different ones, and always use the included tools.
If you need replacements, stick with ones designed for your specific Ring model. Following these steps will help you avoid installation issues and keep your doorbell secure.
Continue reading: