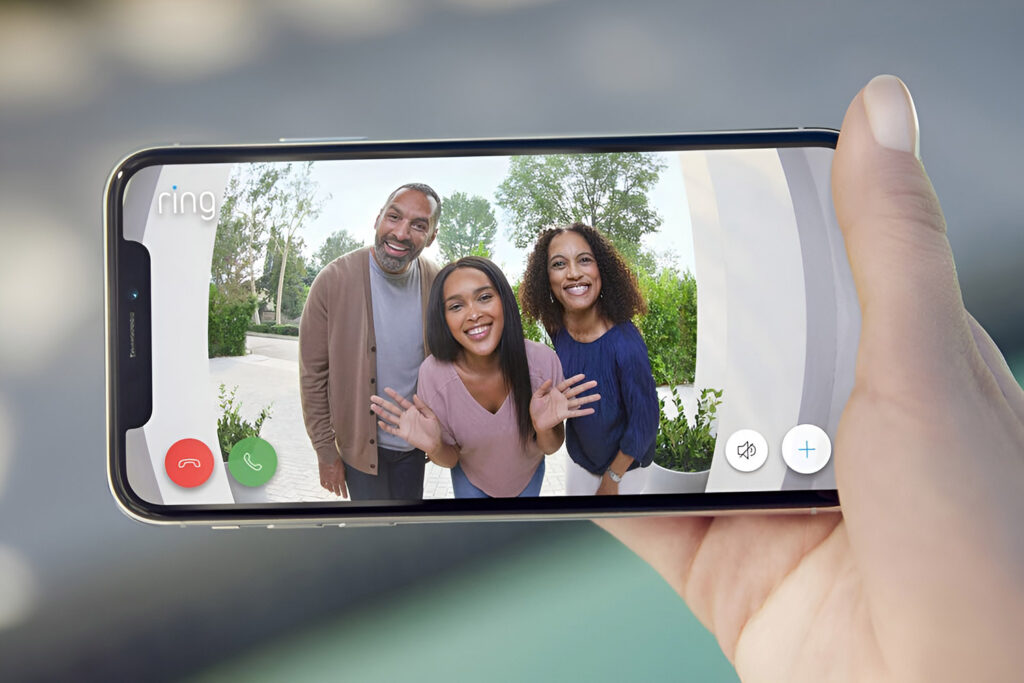
I recently purchased a Ring Indoor Cam for around $20 in an Amazon bundle, far cheaper than the outdoor Ring Stick Up Cam which is $99 when not in a sale, or still $40+ as part of a bundle/sale. The same is true of Nest: their indoor camera costs $129, compared to $199 for the outdoor variant.
Therefore it's common to want to buy an indoor smart camera, but have it facing outwards to protect your backyard or check on your property's front. Does this work as expected?
An indoor smart camera can face outwards through glass or a window, but you may have problems with glare and motion detection not working properly. However depending on the version of smart cam, you might be able to fix these problems.
Why You May Want a Smart Cam Facing Outside

Whether you have nuisance neighbors out the front of your property that you want to protect against, or you're worried that a break-in will occur through your backyard (which is often more shielded from neighbors, a good thing for burglars), it makes perfect sense to want a smart camera facing outside to protect your property and help you feel more secure at home.
The question is then what type of camera you should buy for this purpose?
As I mentioned in the intro, an indoor cam is often a lot cheaper than an outdoor cam. This makes sense, because there's less waterproofing needed and sometimes an outdoor device needs more durable electrical components.
In addition to this, an outdoor camera is harder to install because you'll probably need to get a ladder and install it high up. This compares to an indoor camera that simply needs to be plugged in and placed on a window ledge.
As a result, it's quite common to purchase an indoor smart cam and face this through the glass pane in your window to face outside. Unfortunately this can have a couple of big issues:
- Glare from the glass, which is especially a problem at night but can be a problem during the daytime too.
- Motion detection not working on cameras that use passive infrared sensors (PIR).
I look at these problems below, and how you might be able to work around these issues.
Problem #1: Glass Glare (And How To Fix It)
Have you ever got your smartphone out and taken a photo or video through glass? The result can often be something like this:

That's me taking a photo standing outside, pointing inside (hence all the gravel in the reflection), but the same is true when you're indoors pointing outside.
Window blinds, curtains and other artefacts (including – dare I say it – dirty glass panes!) can obscure the video recordings from an indoor camera facing through your window.
The problem is even worse at night time – your camera will have switch to night vision mode (based on its infrared sensors), and will probably be using infrared LEDs to lighten up the surrounding area so that its night vision can work better. However behind glass, this can actually cause a bunch of glare from the infrared LED lights ‘bouncing back' off the glass and into the camera.
This can either cause a small amount of visual disruption to the final recordings, or cause a much wider ‘wipe out' effect from the recording:

Whilst the cause of the above isn't a glass pane, the end result is still the same: an obstructed recording due to lots of light behind reflected back into your smart camera's lens.
How to Fix This
There's no “one size fits all” approach to this problem – you will have to experiment with a few different approaches, whilst watching the camera feed back (during daytime and nighttime) to find a perfect solution for you. But things that often work include:
- Disabling the infrared lights for night vision. Whilst this can make night vision quality worse in normal circumstances, if your recordings are already being harmed by light bounceback, disabling the infrared lights can massively improve the recording quality overall.
Both Ring and Nest allow you to do this in the app which makes it easy (see the end of this section for this), but if you don't have the option for your smart camera, you may need to get tape and put it over the IR lights. - Add (or turn on) outdoor lighting. If you're able to, adding outdoor lighting will reduce the need for your smart camera to rely on infrared lights, reducing the glare caused by them.
Of course, if you're using an indoor camera because installing an outdoor camera isn't practical, it may not be practical to add outdoor lighting either! But if you already have outdoor lighting that's simply turned off, try turning it on and seeing if it helps. - Use a suction mount. You can purchase glass suction mounts, that can then allow you to mount your smart camera on the other side of the window. This will eliminate any problems with glass-based glare completely, and can be quite a nice solution.
The only downside is how to power your camera if it's a plug-in version (and not battery powered). You may need to run the cable through the window frame, or keep the window open a bit and run it through the open window space. Neither are perfect options, but they may work for you? - Move your camera around a bit. Try experimenting with your camera's position: rotating it from side to side may help, as can moving it backwards (or forwards) a bit. You'd be surprised how even a small change to the camera's physical position can help reduce glass glare a lot.
- Finally, you could try installing an IR illuminator outside. This is another solution that requires an outdoor installation, but they can really make a big difference:
With Ring's Indoor Camera, you can go into Device Settings then Video Settings and disable the “Infrared Lights for Night Vision” option at the bottom:

There are some other options open to you, too, which I discuss more towards the end of this article.
Problem #2: Motion Detection Not Working (& A Possible Fix)
Motion detection can be buggy (or simply not work at all) through glass, depending on the type of camera you own.
The vast majority of battery powered smart cameras (and doorbells) rely on passive infrared sensors to see if motion has occurred. This is the same technology that motion sensors within alarm systems use, and they rely on detecting a change in the infrared signature in-front of the camera.
This works because humans give off thermal/infrared signatures when we move about, and so cameras (and motion sensors) can pick up on this.
Unfortunately glass completely blocks this, meaning that PIR based cameras won't be able to detect motion when they're sat behind a window.
Having said that, another way that smart cameras can detect motion is by using pixel-based detection. In other words, they keep checking the video feed and will compare each frame to the previous one. If there's been a change, this will count as motion and the camera will start recording properly
This method uses more electricity, and so it's not used on battery models – instead, it's typically used for plug-in and hardwired smart cameras and doorbells.
The other difficulty is that pixel-based detection often doesn't work at night-time (it doesn't with Ring's cameras, for example). So even in this case, PIR sensors will be used as a fallback option – again meaning that the window will block motion detection from working.
How to Fix This Motion Detection Problem
As you can tell, the issue of motion detection can vary per smart camera model. It's best to Google around for your specific smart cam to check that you're able to have working motion detection behind a window, but some general tips you can try are:
- Purchase a Nest camera, since their Indoor cameras seem to work fairly well through glass as they rely more on advanced algorithms for detecting motion (as part of the Nest Aware plan), instead of just relying on more primitive pixel + PIR change detection.
- Purchase a pixel-based detection camera, instead of one that relies solely on PIR sensors. As mentioned above, cameras that rely solely on PIR sensors cannot work through windows as the infrared bounces back off the glass. You either need to have a smart camera that records 24/7 (and thus doesn't need motion detection), or purchase a smart camera that has pixel-based detection. But even then…
- If it has pixel-based detection, accept that you can only rely on your smart camera in daytime. If your smart camera uses pixel-based detection, it should work fine during the day when looking through a window.
It's only at night that it'll have problems. So if you mainly need motion alerts during the day time, you could just accept this as a ‘known issue' at night. - Move the smart camera outside by using a suction mount, putting it on the outside ledge or install it along the roof line (such as the soffit). Whilst this requires more effort than balancing it indoors, moving your camera outside will eliminate any motion detection problems.
You can purchase a suction mount to attach the camera to the outside of the window pane, or potentially attach the camera to the outside ledge or your roof line.
Tips for Facing Ring and Nest Cameras Through Glass
As you can tell from this guide, the way that you can avoid glass glare and motion detection issues can vary depending on your particular smart camera.
But since Ring and Nest cameras are some of the most popular, I wanted to cover some specific points for these two cameras.
Stop Glass Glare With Ring Cameras
Glass glare is often caused by the camera's infrared lights bouncing off the glass, back into the Ring cameras lens. Thankfully you can turn this option off in the Ring app, as I touched on earlier:
- Open the Ring app
- Click on your device
- Click the “Settings” cog in the top right
- Go to “Device Settings”
- Then to “Video Settings”
- From here you can select the toggle button to disable the infrared lights which come on in night vision mode:

Reducing Window Glare in Nest Cameras
One of the benefits of Nest's cameras is that you have the cleverness of Google behind it. One of their features is the ability to zoom and enhance on a particular part of the recording, and Google's AI then improves the image quality of that one area.
Google's support guide walks you through these steps, but the benefit of doing this is that you can crop out any objects or surfaces that are causing glare on the final recording, allowing you to see a good quality final image with no glare.
Of course, this is more useful for glare at the edges of your video. If it's in the middle, you'd have to zoom too much and you'd probably miss important information from your recordings.


