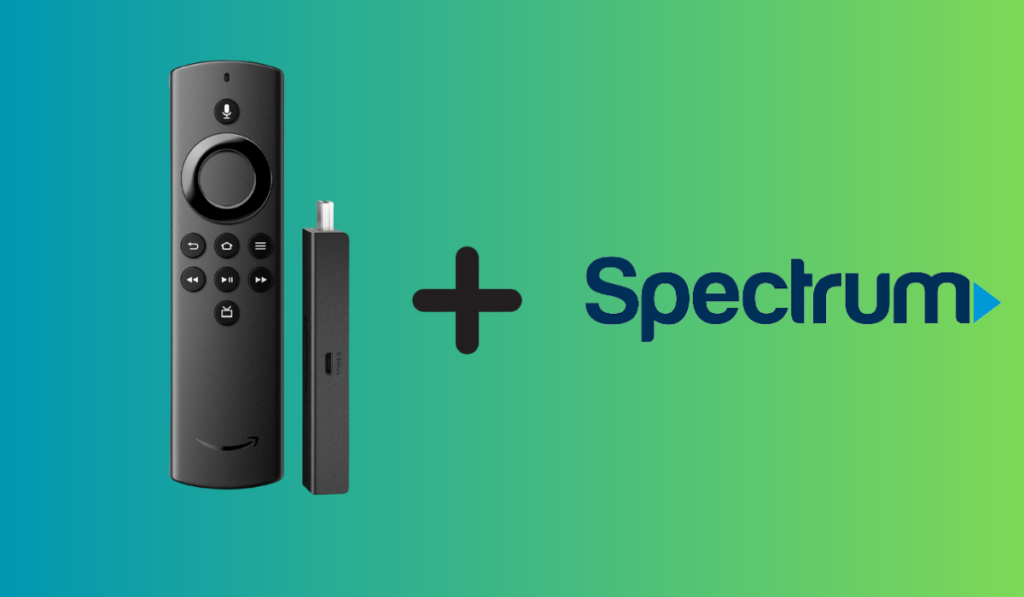
Using an Amazon Fire TV Stick with a projector is a pretty straightforward operation. With no wires to run, and no cables to manage, there are just a few steps to connect a Firestick to a projector and start streaming to your 100in+ screen.
To connect an Amazon Fire TV Stick to a projector:
- Plug the Fire TV Stick into the projector’s HDMI, and a power source (USB)
- Turn the system on and connect the Fire TV to Bluetooth Speakers, a Receiver, or another audio solution (an HDMI Audio extractor or wireless HDMI Kit)
The issue with connecting a Fire Stick to your projector is that its HDMI signal carries both video and audio, leading to a common setup challenge. However, by the end of this article, you'll know how to effectively resolve this and use your Fire Stick with your projector.
How To Connect A Firestick To A Projector
Connecting a Firestick to your projector is quite similar to connecting it to a TV and is generally straightforward. However, setting up the audio to your preferences might require some additional steps, which we'll discuss following the connection instructions:
- Locate the HDMI Port on the Projector: Find the HDMI input port on your projector. This is where you'll connect the Fire TV Stick.
- Plug in the Fire TV Stick: Insert the Fire TV Stick directly into the HDMI port on the projector. If the space is tight or the HDMI port is hard to reach, you may use an HDMI extender.
- Connect to Power: Connect the Fire TV Stick to a power source. You can use the USB power adapter that comes with the device to plug it into an outlet. Some projectors might have a USB port that can power the Fire TV Stick, but it's usually recommended to use a wall outlet for reliable power.
- Turn On the Projector: Power on your projector and switch it to the correct HDMI input channel. You should see the Fire TV Stick's home screen appear on the projector.
- Pair the Firestick Remote: If it's your first time setting up the Fire TV Stick, pair the remote by pressing the Home button for 10 seconds. Follow the on-screen instructions to complete the setup. Then, you can connect to Wi-Fi and sign in to your Amazon account.
The Main Issue With Connecting a Fire Stick to a Projector
The Fire Stick might seem like the perfect solution. After all, you get the power of Amazon’s content library, streaming at 4k, and the product page even advertises Dolby Atmos audio.
The unit is tiny, which means it’s easy to mount with the projector. This means you don’t have to run wires. The Fire TV Stick even comes with its remote control, but in case you lose it, you can control it with a regular remote as well (our tutorial). What’s not to like? The only hard part is figuring out the audio.
Getting the Sound to an External Audio System

Well, the problem here isn’t caused by the Fire Stick itself, it’s caused by the fact that you’re using a projector. Projector audio comes in two flavors: the projector will either have onboard speakers, serving as its own audio solution, or it will have no on-board speakers meaning you need to create the audio solution yourself.
This means you instantly have a much larger problem to solve. If you want to actually use that Dolby Atmos sound that the Fire Stick pumps out, you’ll need surround sound speakers, and those speakers need to somehow get their sound from the projector.
This is already starting to sound like a lot of work and, more worrisome, a lot of wires that will need to be run. There’s no getting around that: a proper surround setup that isn’t powered by a wireless speaker solution is going to require wires, but specifically, to accommodate the Fire Stick and a projector, we do have a few options to solve the speaker issue.
Your Options for Managing Sound from Fire TV to Your Speaker System
There is one comparatively easy option here, and a couple more off-the-beaten-path solutions. You should definitely try to make the Bluetooth option work first, to save yourself the headache of figuring out the HDMI Audio Extractor or wireless HDMI Kit.
Using Bluetooth
If you have wireless Bluetooth speakers you'd like to hook up, this will be a piece of cake. Simply navigate to the Bluetooth pairing settings on the Fire TV, put your speaker in pairing mode, and then test the system to make sure it works.
If your goals are a little more advanced, like using the Dolby Atmos to run a surround sound system, you'll first need to make sure you have a Receiver that has Bluetooth built-in. Then, the instructions are the same as for wireless Bluetooth speakers. As you can see, using Bluetooth is the simplest option.
Using an HDMI Audio Extractor
The first solution solves the problem right at the projector itself, using a tool called an HDMI Audio Extractor. These units are pretty straightforward. Take the Tenson HDMI to HDMI + Optical Toslink (on Amazon), for example. It has HDMI in, and HDMI out, and also options for SPDIF/Optical out and a simple 3.5mm jack.
The HDMI piece is simple: plug the Fire Stick into the HDMI, and run a short HDMI cord from the HDMI out to the projector.
If you’re trying to run the Dolby Atmos sound to your surround sound system, you’ll need to use the Optical cable, and that optical cable will need to be run to a receiver allowing you to split the audio channels up to your speakers.
If you don't need Dolby Atmos but just want audible sound, you can easily run a 3.5mm jack cable wherever you need to, although that might require some extensive cable management.
Using a Wireless HDMI Kit

If you own a projector, a wireless HDMI kit is a truly swiss-army-knife-like tool you can use to solve all sorts of problems. That’s true for the Fire Stick speaker problem as well. A Wireless HDMI Kit allows you to do just what the name implies: you can take an HDMI signal and throw it somewhere else without wires, with units like the Iogear Wireless (on Amazon) even able to handle 4k signals.
How To Use A Wireless HDMI Kit Setup with a Projector
With the HDMI receiver at the projector, you can place the Fire Stick anywhere, as long as it connects to the HDMI Transmitter.
This approach resolves the speaker issue differently. You'll still use the HDMI Audio Extractor for sound, but you avoid extensive cable runs because you choose the cable's starting point.
Once set up, this system supports any HDMI source, thanks to the combination of the transmitter, projector, and audio extractor.
Considering this setup's versatility, upgrading your home theater to include a more advanced content box could be a worthwhile investment.
For this reason, if you’re going this far to simply support a Fire Stick setup running your projector, it might be worth your time to consider upgrading that component of your home theater and running a more robust content box.
Projector and Firestick Common Issues (Key Things To Know)

This section provides quick solutions for common problems you might face when connecting your Firestick to a projector, including issues with sound, signal, and connections.
No Sound Issue
The first thing to do is check volume settings and ensure on both devices that it's not muted or low. Next, go to the Fire Stick's settings and check the audio output settings, making sure they're compatible with your projector or external sound system. Lastly, inspect all cables for loose connections or signs of damage.
No Signal
If you are not getting any signal on your projector, the most common place to start is by checking HDMI connections and ensure that the Fire Stick is firmly plugged into the projector's HDMI port, as well as checking if you've selected the right input source. If the issue persists after restarting all devices, try using a different HDMI port, if possible.
Firestick Not Connecting to Projector
To troubleshoot the Firestick not connecting to the projector, and you've already ensured that the projector's resolution and settings are compatible with the Firestick, check if the Firestick is properly powered either through the projector's USB port or with its adapter. If not, a software update on the Firestick might do the trick. Consider doing a factory reset as a last option.
Is It Necessary To Use A Receiver For Projector?
A receiver is not mandatory but is recommended if you want high-quality audio, especially for surround sound systems. If the projector has built-in speakers and they meet your audio requirements, a receiver might not be necessary.
But, if you would like to use external speakers without built-in amplification, in most cases, a receiver will be needed to manage and amplify the audio. In addition, for complex home theater setups with multiple audio/video sources, a receiver can simplify management and provide better control


