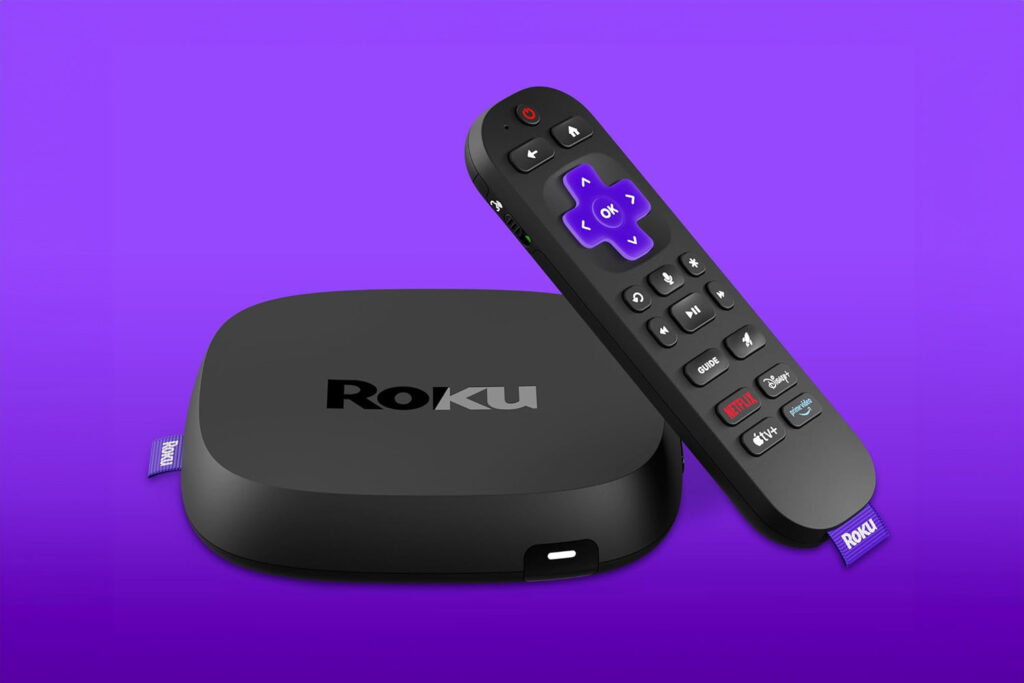
Roku TVs have gained immense popularity for their easy-to-use interface and extensive streaming options. However, sometimes we might want to switch between different inputs like HDMI, cable, or gaming consoles.
To change the input on your Roku TV, press the “Home” button on your remote and navigate to “Settings.” From there, select “TV Inputs” and choose the input you'd like to use. You can typically find these on the Roku home screen too. Use a HDMI-CEC enabled device to make this switch automatically.
In the following sections, we will guide you through the process of changing the input on a Roku TV, but we also have more to say on how you can streamline your Roku TV setup within your home theater. Let's get started!
👉 Related reading: Xfinity Flex vs Roku: What to Know
How To Change The Input on a Roku TV

If you have your remote, this is pretty simple. If you don't, hang around for som other options in the next section.
First, take your Roku remote and press the Home button to navigate to the Roku TV's Home screen. On this screen, you'll find the input options you can choose from, such as a game console, Apple TV, or cable box.
To change the input on your Roku TV, follow these simple steps:
- Use the arrow buttons on your remote to scroll up or down to locate the input you want to switch to (such as HDMI, AV, etc.)
- Press the right arrow button to highlight the input option.
- Press the OK button on your remote to select the input and switch to it.
In case you have streaming devices like the Apple TV or Amazon Fire TV, you'll need to ensure the devices are properly plugged into the HDMI ports on your Roku TV. And don't forget to turn those devices on, so they are detected by your Roku TV.
How To Change The Input On A Roku TV Without The Remote
If you don't have the remote, don't worry. You're not alone. Here's a step-by-step guide on how to change the input on a Roku TV without the remote:
- Download and install the Roku mobile app on your smartphone (iOS or Android) or tablet.
- Connect your mobile device to the same Wi-Fi network as your Roku TV.
- Open the Roku mobile app and tap the Remote icon, and do any pairing you need to make sure your Roku TV is connected to the app.
- From within the app, tap the Input button.
- Select the desired input option from the list.
Alternatively, you can also change the input on your Roku TV using the TV panel keys. Look for the physical buttons on the TV and press the Input or Source button to toggle through the available inputs. These methods will allow you to change the input on your Roku TV even without the remote.
A Note on Setting the Default Input
You can set the Roku TV to default to a certain input when you power it on, so you don't have to make this input selection ever time. To set the default input for your Roku TV, follow these simple steps:
- From the Roku home screen, go to the Settings menu.
- Select the “System” menu.
- Choose “Power,” and then “Power On.”
- Select the input you want to be the default when the TV turns on.
- Save your changes.
That's it! Your Roku TV will now boot to the input you selected instead of the Roku home screen.
Using HDMI-CEC for Automatic Input Switching
HDMI-CEC (our guide) is a convenient feature that allows multiple devices connected to your Roku TV through HDMI ports to communicate and control each other. This means when you connect a device like a gaming console or Apple TV to an HDMI-CEC port, your TV will automatically switch to the correct input when you turn on the new device.
Enabling HDMI-CEC on your Roku TV is simple. First, look for the HDMI ports on your TV labeled as CEC compatible. Next, connect your additional device to one of these HDMI-CEC ports. Some devices, such as gaming consoles or Apple TV, may also require enabling their own HDMI-CEC features, like “1-Touch Play.”
Once HDMI-CEC is enabled on both the TV and the device, you'll experience seamless input switching. For instance, when you power on your gaming console, your TV will automatically detect and switch to the correct input, letting you begin playing games instantly. And powering down the device will typically power off the TV too. Note that this may cause your Roku TV to turn off by itself, as we have explained in one of our guides.
Keep in mind that not all devices support HDMI-CEC, so it's essential to check compatibility before connecting them to your Roku TV. However, for devices that do support this feature, it can make managing your home entertainment setup much more convenient and user-friendly.
👉 Related reading: Here's How To Find Your Roku IP Address
Troubleshooting Common Input Problems
Just because you can select the right input doesn't mean it's all working! See below a grab-bag of issues you may run into around managing inputs and some quick steps you can take.
Dealing with ‘No Signal' Message
Sometimes you might encounter a ‘No Signal' message on your Roku TV. Here's how we can easily fix it:
- Ensure the right input is selected by pressing the “Home” button on your Roku remote and selecting the correct input from the “Input” menu.
- Check if the connected device is powered on and functioning correctly.
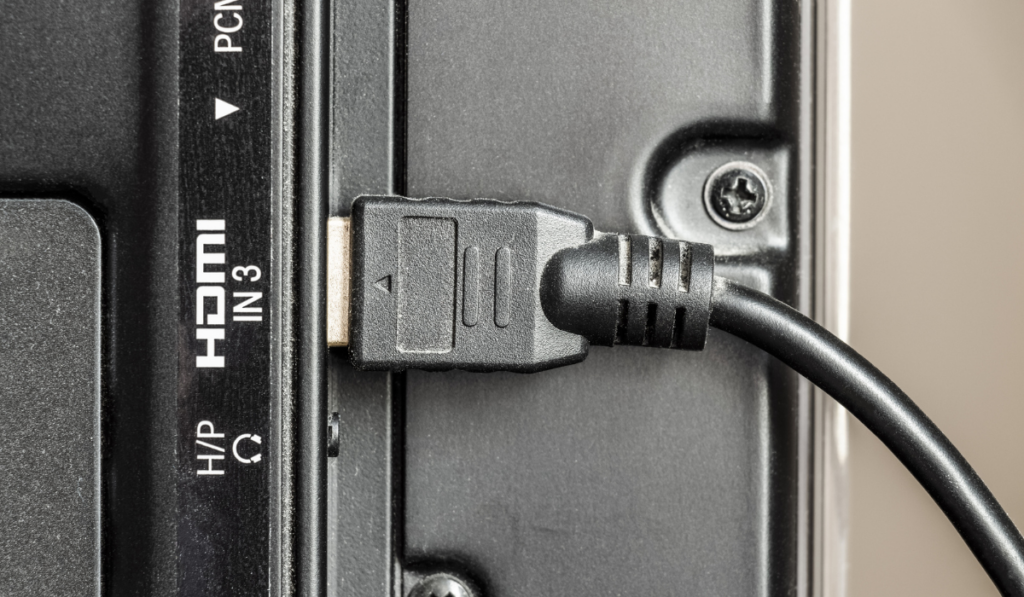
- Inspect the HDMI or other connecting cables to ensure they are securely plugged in and free from damage. If needed, try a different cable (on Amazon) to confirm.
Addressing Black Screen Issues
Experiencing a persistent black screen on your Roku TV may be alarming, but we have some tips to help you address it:
- Unplug your TV and wait 10 seconds before plugging it back in. This allows for a “hard reset” which often resolves the issue.
- Double check the video output settings of your connected device, ensuring they match your TV's supported resolutions.
- If you're connecting a device through an AVR or HDMI switch, try connecting it directly to the TV to rule out any interference.
Way more rarely, you may have a black screen simply because you've paused content on a black screen! It won't happen often, but it may confuse you.
Resolving Wi-Fi Connectivity Problems
Wi-Fi connectivity issues can wreak havoc on your Roku TV experience. Here's how we can tackle them:
- Check your Wi-Fi network's strength and confirm the TV is within range.
- Reset your Wi-Fi router by turning it off and on again.
- If the issue persists, navigate to your Roku TV settings and perform a Network Connection Reset.
If you're having consistent internet issues, consider swapping your Roku onto a 5GHz WiFi network (external guide).
What if My Roku TV Doesn't Have Input Options?
If you've been searching for input options on your Roku TV but can't find them, it's possible that you're using a Roku streaming device connected to a smart TV, rather than an actual Roku TV itself. In this case, you'll need to use the remote for your smart TV to access its input settings.
To change the input on your smart TV, look for a button labeled “Source,” “Input,” or something similar on your TV remote. Pressing this button should bring up a menu that allows you to select different inputs, such as HDMI, AV, or others. Just choose the input where your Roku device is connected, and you should see the Roku screen appear.
👉 Related reading: How To Turn Off Voice On Roku (3 Quick Options)
In-put-ting Roku In It's Place
As we conclude, let's start by pouring one out for that pun. We hope this concise guide has provided you with the information needed to easily change the input on your Roku TV.
By following the steps in the How to Change Input on Roku TV article, you should now be able to navigate the menu and make adjustments with confidence. You can even do it without a remote, but, if you've read much on our blog, you know our next recommendation will be for you to start using a universal remote!