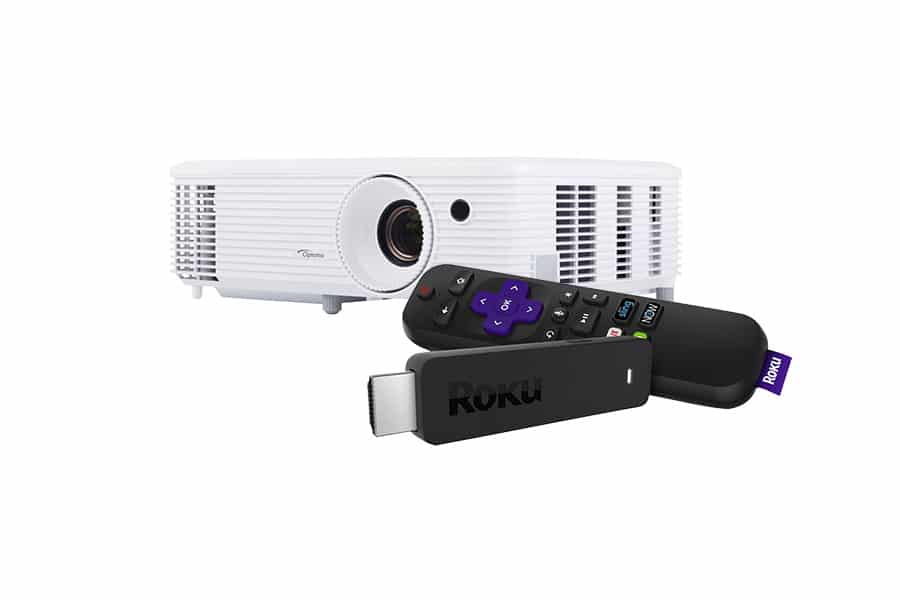
Using a Roku Stick with a projector is a great alternative to getting a Roku smart TV. With the Roku Streaming Stick+, you can get 4K picture, making Roku a great option to pair with a projector.
You can connect a Roku Stick directly to a projector, but to get the sound to a soundbar or speaker system you should use a wireless HDMI kit and an HDMI audio extractor or A/V Receiver. This will allow you to stream video to the projector, and route the audio to better speakers.
The most common issue with connecting a Roku stick to a projector is around how to manage the audio and get it off the projector's speakers to a soundbar or speaker system. We'll examine the options you have below, but rest assured there are easy and simple solutions for this problem.
Options for Connecting a Roku Stick to a Projector
The only way to connect a Roku Stick to a projector is with an HDMI connection. Depending on the model of Roku Stick you have, you may want to use an HDMI cable. We have an article on how to connect a Roku to devices without HDMI, and those options work for projectors too, but if you're going to the trouble of a projector we really feel like you shouldn't suffer other problems–use a projector with HDMI!
And, before we get too far, we'll just say that the Roku stick when used this way can lead to some interference with the Projector if it's a smart projector using it's own wireless connection to do smart-screen things. If you have internet connectivity issue on the Roku after installing it in a smart project, have a look at this separate guide. But for now, let's get back to how you would set this up at all!
Connect via HDMI Directly to Projector
The only way a Roku Streaming Stick+ (on Amazon) has to connect to a projector is with HDMI. To do this, simply plug your Roku Stick’s HDMI plug to the projector’s input jack. There is a downside of hooking the stick up directly to a projector though: the Roku device will be sending it's audio to the projector, and that is not where you want it.
Most projectors have very bad speakers or no speakers at all, and none have proper surround sound quality speakers. That's simply not what they're designed for.
And if you do have a nice speaker system, getting the audio back off the projector and down to that system will require more cables, quickly cluttering your “wireless” streaming stick's space. We'll talk about how to address this problem in the next section.
There's also a question of the ROKU remote, which will need to point to wherever the Roku Stick is in the room. This can be solved by either using short-throw projectors, rear projectors, or a long HDMI extension cable (on Amazon) to place the Roku Stick near the screen.
Obviously, this can be space-intensive, expensive, and cumbersome, but it's hard to get around that need for line-of-sight between the remote and the ROKU stick itself.
Roku has solved this problem with some of its models. The Roku Streaming Stick+ and the Roku Stick Express have a WiFi direct feature.
This uses WiFi to connect the remote instead of a standard infrared beam, allowing you to point the remote in any direction and get a response from your Roku Stick.
Connect via Wireless HDMI Kit
The quickest way to sidestep the audio situation described above is to use a wireless HDMI kit like the WeJupit Mini Wireless HDMI Extender Kit (on Amazon). We have a more detailed write-up on how wireless HDMI kits work on the site, but for the most part, they do exactly what they sound like.
And the benefit of having a wireless HDMI solution, in this case, is that you can put the Roku stick wherever you want, wirelessly beaming the video up to the projector which is fairly straight-forward to do if you follow our guide. This solves the sound problem because you can now manage the audio on the ground, preventing extra cables up to the projector.
You can either hook the Roku into an A/V Receiver (more on that below) and then run the output of the receiver to the wireless HDMI kit, or better yet you can skip the receiver step entirely by using a wireless HDMI kit in tandem with an HDMI audio extractor, like the J-Tech Digital Premium Quality Audio Extractor (on Amazon).
Using an HDMI audio extractor, you would plug the Roku into the extractor, then plug the extractor output into the wireless HDMI kit. From there, you have the video going to the projector via the wireless kit, but the audio has been freed up to route to the speaker solution (a soundbar, etc.) on the ground.
This can seem intimidating, but it's actually pretty straightforward, and we have a separate guide on using these extractor kits.
Once connected, you can level up your home theater by easily connecting Bluetooth speakers to the projector, using our guide.
Connect to an A/V Receiver
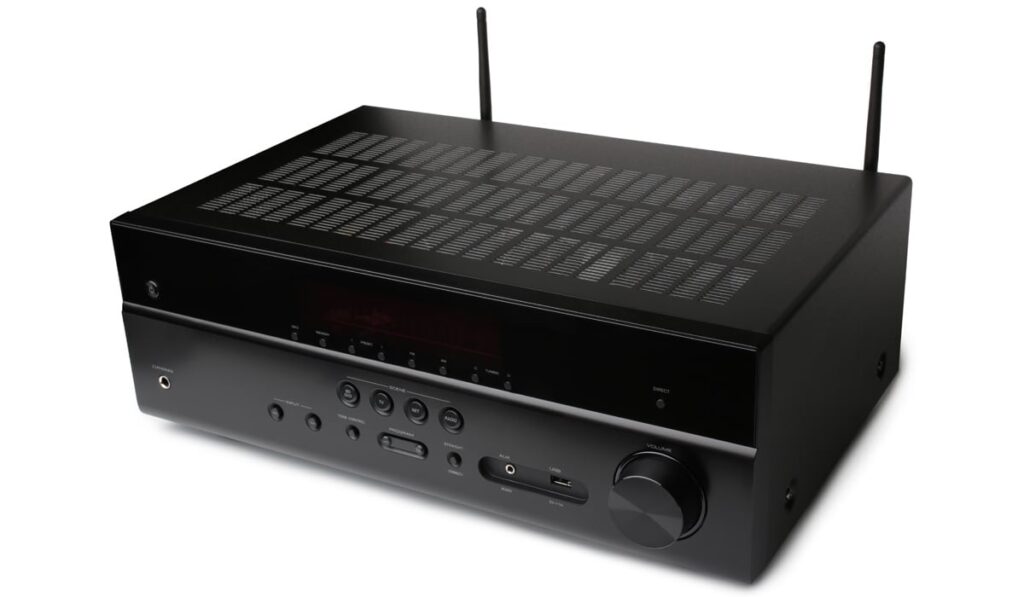
An A/V receiver is a great solution if you have a surround sound system or more than a few speakers to manage. Although the audio extractor can free up the audio from the Roku stick, it just won't have many outputs.
Using a receiver, you can plug the Roku stick int other receiver's HDMI in port, then route the audio as needed, and use an HDMI cord or wireless HDMI kit to get the video from the receiver to the projector.
Main Issue with Connecting a Roku Stick Directly to a Projector
As you've probably noticed in the above sections, there's a recurring theme around the Roku sound being trapped on the device, or worse, at the projector's onboard speakers. You have a few ways to solve this, but they do require a little thinking and a little planning.
Although the wireless HDMI kit will get the Roku down on the ground where you can manage it directly, you'll need to add an extractor kit or A/V receiver to formerly split the audio and video content.
The only trouble is that, if you're going to do this much work to manage the audio, you're likely already considering a more robust solution for the video content as well.
Problems with Roku Sound on the Projector's Speakers
Electronics don’t always work the way we expect. You may run into connectivity issues if you have a particularly old projector. But most problems with Roku Sticks and projectors relate to sound, or rather the lack of sound.
Annoying Automatic Features
The first and least expensive, option you should look into when you get no sound is if the projector is configured correctly. This can save you quite a lot of money if your sound issues are as simple as changing a setting.
The Optima HD26 projector, for instance, has automatically enabled a setting called HDMI link. This setting exists to allow the projector to coordinate multiple devices, but can apparently cause handshake issues with the Roku Stick. Disabling this feature fixes the problem.
So, a brief tour into the projector's settings is worth your time, specifically to hunt down the audio section and make sure the output is being routed where you'd like.
Advanced Audio Codecs
Another more expensive problem is a projector that doesn’t support the audio codecs that the Roku Stick uses. You’ll notice this problem only with certain media, usually blockbuster action, sci-fi, and fantasy films.
If you have this problem, you won’t be able to get sound from media that uses things like Dolby Digital or DTS. This is usually as simple (and expensive) as putting a sound system between your Roku Stick and your projector.
Older Equipment
If you’re using older, especially analog, equipment, it might not come with HDMI options at all. It’s unlikely that you’d be using a projector that old, but plenty of audiophiles prefer legacy audio equipment.
In this case, it may make sense to split the signal from the Roku Stick and use an HDMI audio extractor. This will strip the audio signal from the HDMI signal and allow you to transmit analog audio to your sound system as described above.
In the unlikely scenario where you are using legacy projection equipment, you can also get any of a variety of HDMI-to-analog converters. All of these will require an external power source. There is no such thing as a digital-to-analog cable.
Projecting with Roku
Hopefully, you are at a point where you can use your Roku stick and projector together for a premium viewing experience. And with a little work, you can manage the audio in a way that gives you a premium listening experience as well.