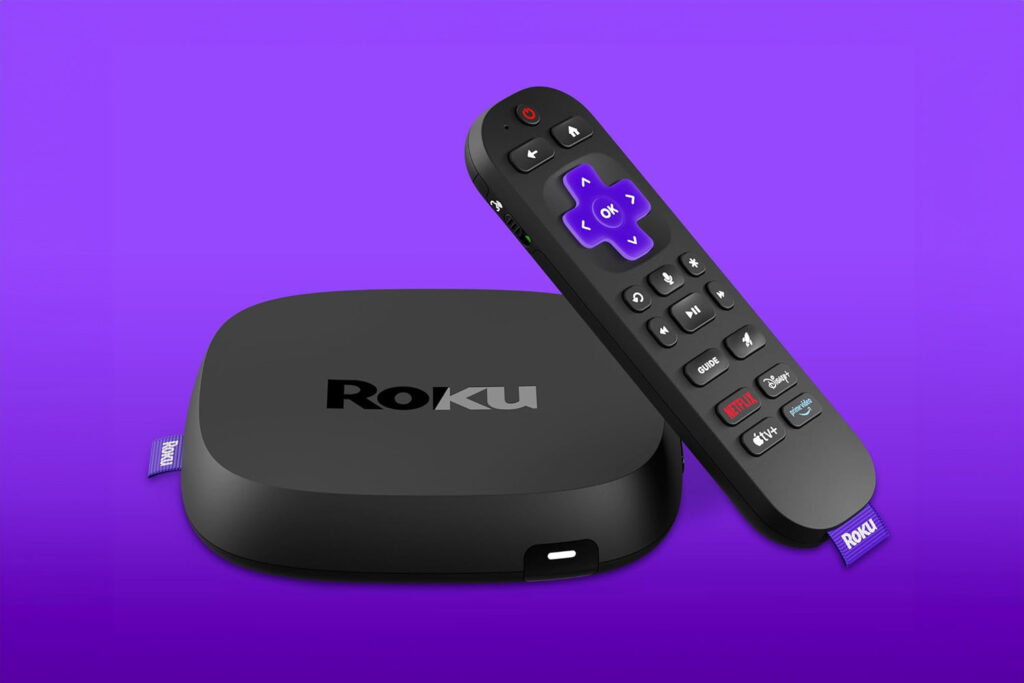
If there's one thing I've learned after a decade in the home theater game, it's that the smallest glitches can lead to the biggest headaches. I've been there: favorite show queued up, popcorn in hand, only to find my Roku stubbornly refusing to connect to WiFi after a reset. Talk about frustrating!
To fix your Roku not connecting to WiFi after a reset, first start by restarting the router and the Roku device. After that, you can consider disabling network pings and enabling Fast TV Start to try and manage the connection more directly. Finally, you may need to reset the Roku's network settings.
And don't worry, I've spent years solving problems just like this one, and I'm here to help you navigate through it. Today we're going to delve into why your Roku is playing hardball with you. We'll take a tour through some practical troubleshooting steps and share some proven solutions that'll have you back to binging in no time!
First: Check Some Key Roku Settings

Assuming that you have already reset your Roku device, maybe because you're clearing another issue or swapping accounts, there are a few other settings you should tweak on your newly reset device that has had all its defaults reset. In this section, we'll go over the key settings that you should check to ensure that your Roku device is properly configured to connect to your Wi-Fi network.
And a quick note, this troubleshooting–this whole conversation actually–is going to apply to Roku devices of all sizes. Whether it's the Express streaming box (on Amazon) or a Roku TV (also on Amazon).
Disabling “Network Pings”
One of the first things you should do is disable “Network Pings” on your Roku device. This feature is designed to help Roku troubleshoot any network issues that may arise, but it can also cause your device to lose its connection to your Wi-Fi network. To disable “Network Pings,” follow these steps:
- Press the Home button on your Roku remote.
- Navigate to Settings > Network > About.
- Scroll down to “Network Pings” and select “Disable.”
And if you don't have your Roku remote on hand, note that there are some universal remotes you can use on Roku.
Enabling “Fast TV Start”
Another key setting to check is “Fast TV Start.” This feature allows your Roku device to start up quickly when you turn on your TV, so you can start streaming your favorite content right away. To enable “Fast TV Start,” follow these steps:
- Press the Home button on your Roku remote.
- Navigate to Settings > System > Power.
- Select “Fast TV Start” and turn it on.
The reason this is relevant is because having Fast TV off may be the setting that is automatically disabling the WiFi chip when the device shuts down. It's not really broken, and the connection isn't really lost, but when you power the Roku on it may seem like there's no connection for longer than it should.
Next, Try Updating And Restarting Things

If the previous steps did not work, it's time to try updating and restarting your Roku device, router, and modem. Here are the steps you should follow:
Restart Roku Device and Router
First, unplug your Roku device from the power source and wait for at least 10 seconds before plugging it back in. Then, restart your router by unplugging it from the power source and waiting for at least 10 seconds before plugging it back in.
Wait for your router to fully restart before plugging your Roku device back in. This can help resolve any connectivity issues caused by temporary glitches.
Updating Your Roku, Router, and Modem
Next, check for any available updates for your Roku device, router, and modem. Updating these devices can help fix bugs and improve performance.
To update your Roku device, go to Settings > System > System update > Check now. To update your router and or modem, check your manufacturer's website for instructions on how to perform an update.
Advanced Troubleshooting
If you have tried all the basic troubleshooting steps and your Roku still won't connect to Wi-Fi after reset, it's time to try some advanced troubleshooting. Here are some additional steps you can take to get your Roku connected to Wi-Fi.
Router Firewall Blocking Roku
Sometimes, the Roku device may be blocked by the router's firewall, preventing it from connecting to Wi-Fi. To fix this issue, you need to check your router's settings and make sure that the firewall is not blocking the Roku device.
You can do this by accessing your router's settings page and checking the firewall settings. If the firewall is blocking the Roku device, you need to add an exception for it to allow it to connect to Wi-Fi.
Change Wi-Fi Channels
Another reason why your Roku may not be connecting to Wi-Fi after reset is that there may be too much interference on the Wi-Fi channel that your router is using. To fix this issue, you can change the Wi-Fi channel on your router to a less crowded one. You can do this by accessing your router's settings page and changing the Wi-Fi channel. You can also use a Wi-Fi analyzer app to find the least crowded channel in your area.
Keep in mind that changing the Wi-Fi channel may require you to reconnect all your devices to Wi-Fi. You may also need to reset your Roku device to factory settings and set it up again.
Reset For Success
At the end of the day, we all just want a seamless streaming experience, and having your Roku not connect to Wi-Fi after a reset can be a real bummer. But remember, this is a temporary problem. Whether it's changing your WiFi channel, disabling network pings, or updating your router firmware, there's a solution out there.
And to keep these issues at bay, remember the importance of regular software updates, optimal device placement, and the positive effects of routine router resets.


